3D Davinci Printer Review
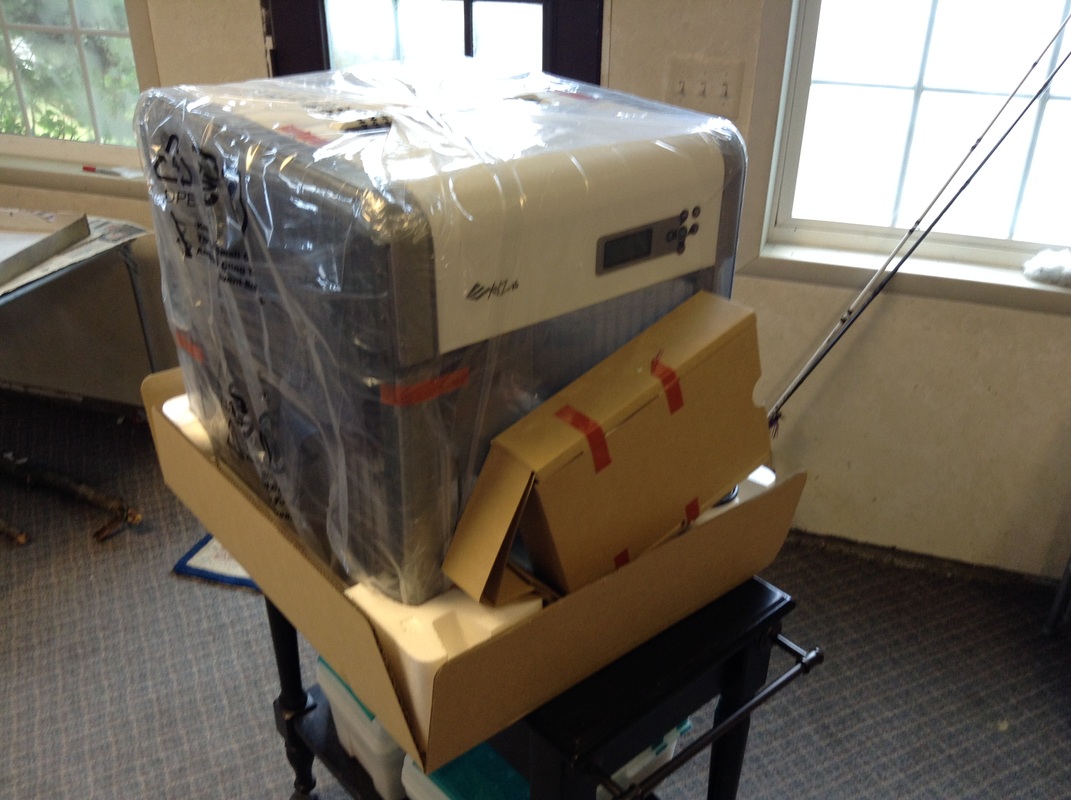
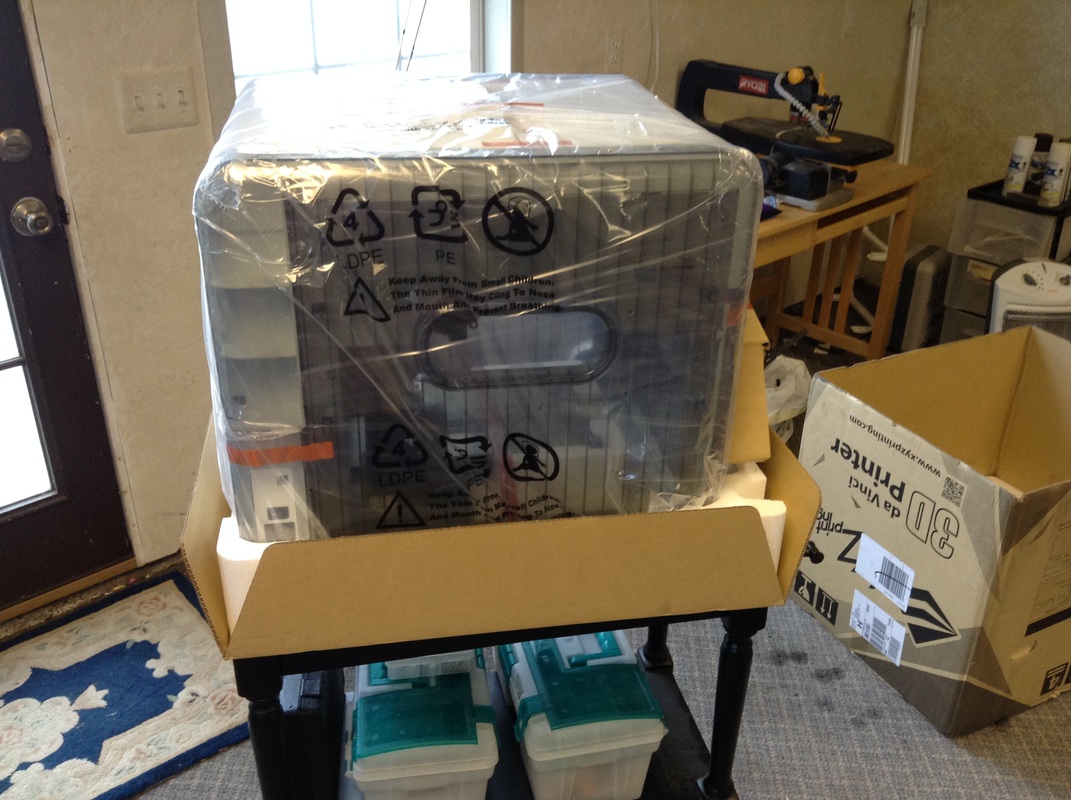
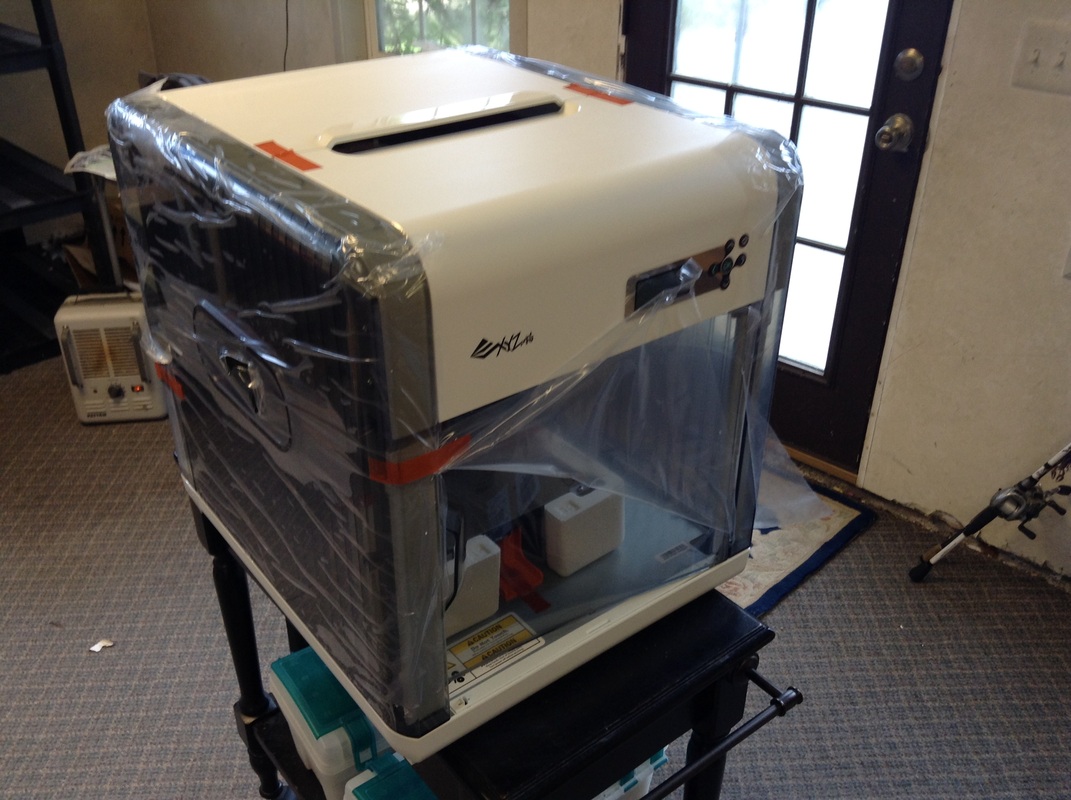
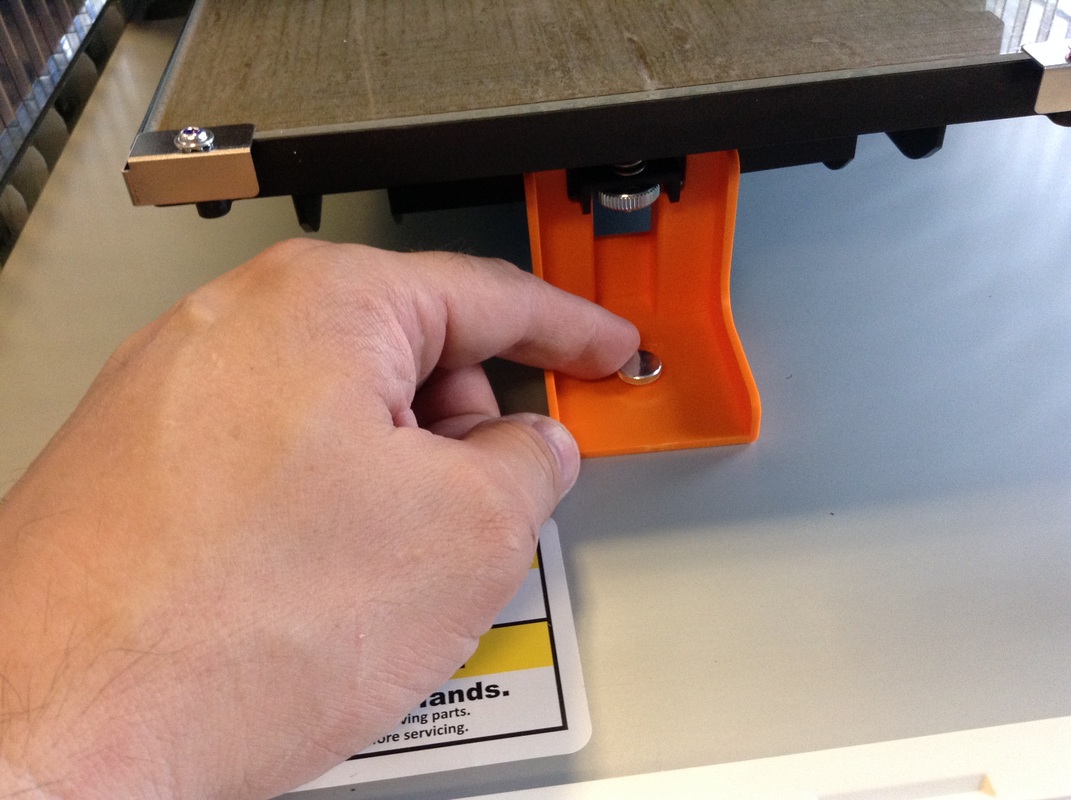
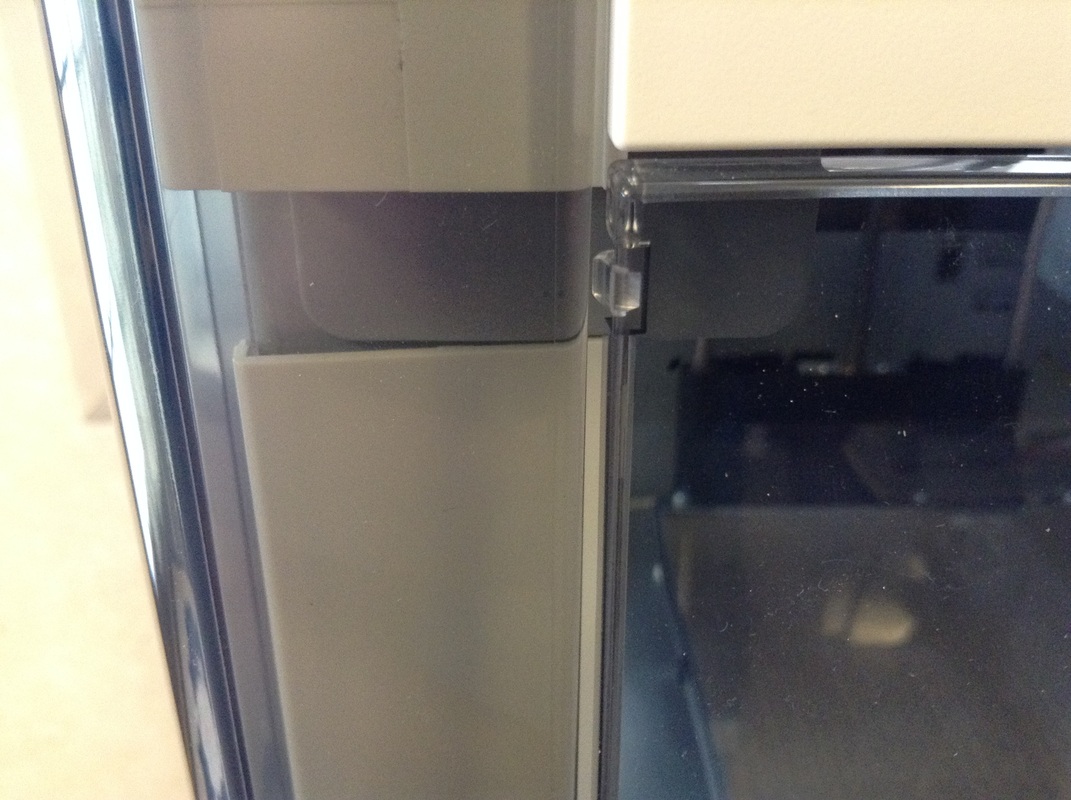
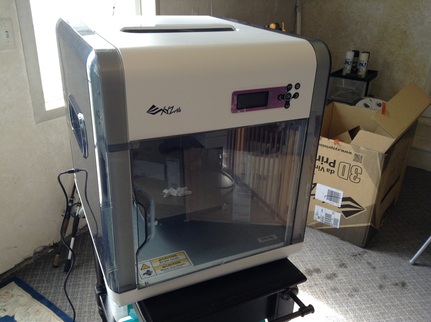
My Davinci 3D printer from XYZ arrived and through this page I'll update you on how well it works and any tips and tricks I find for using it. I purchased it through Amazon.com and used my Amazon Prime for free two day shipping. It arrived in one piece with just a small flaw. The plastic door was pushed in at the bottom. I had to carefully pull it out so I did not break it. I think the flexing from being pushed in left the door out of position because now it won't stay closed. I had to use a piece of the packaging tape to keep it closed until I can rig up some kind of magnet to hold it closed.
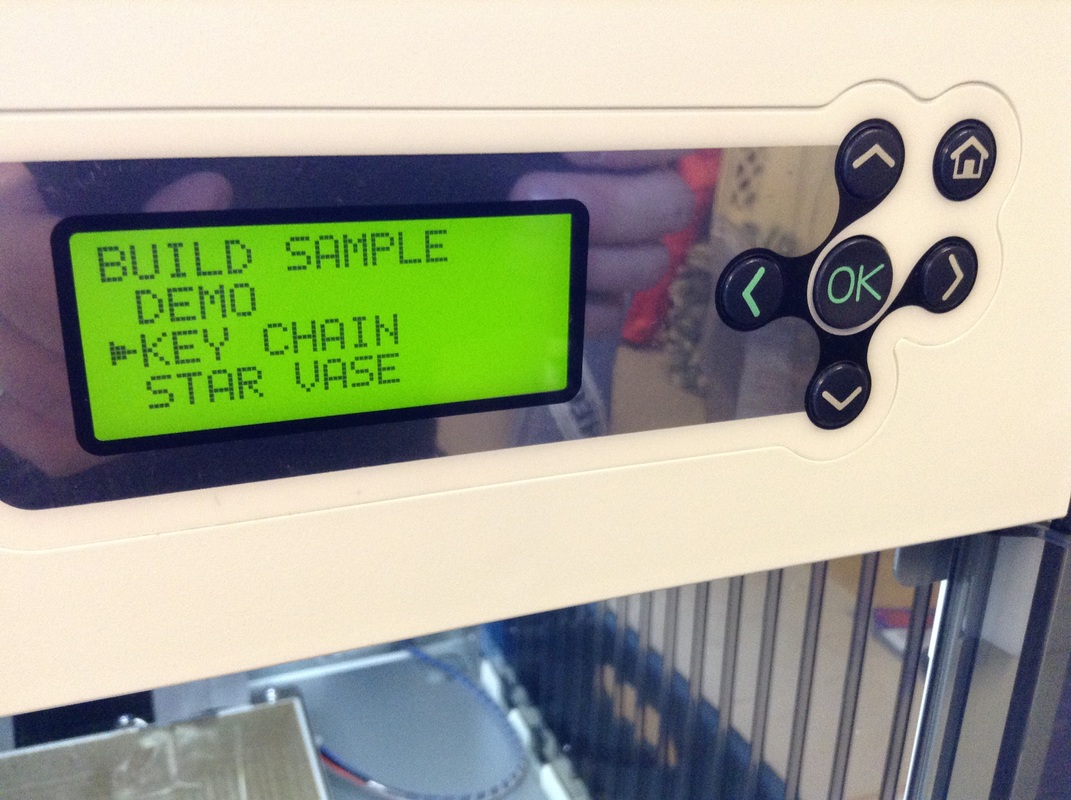
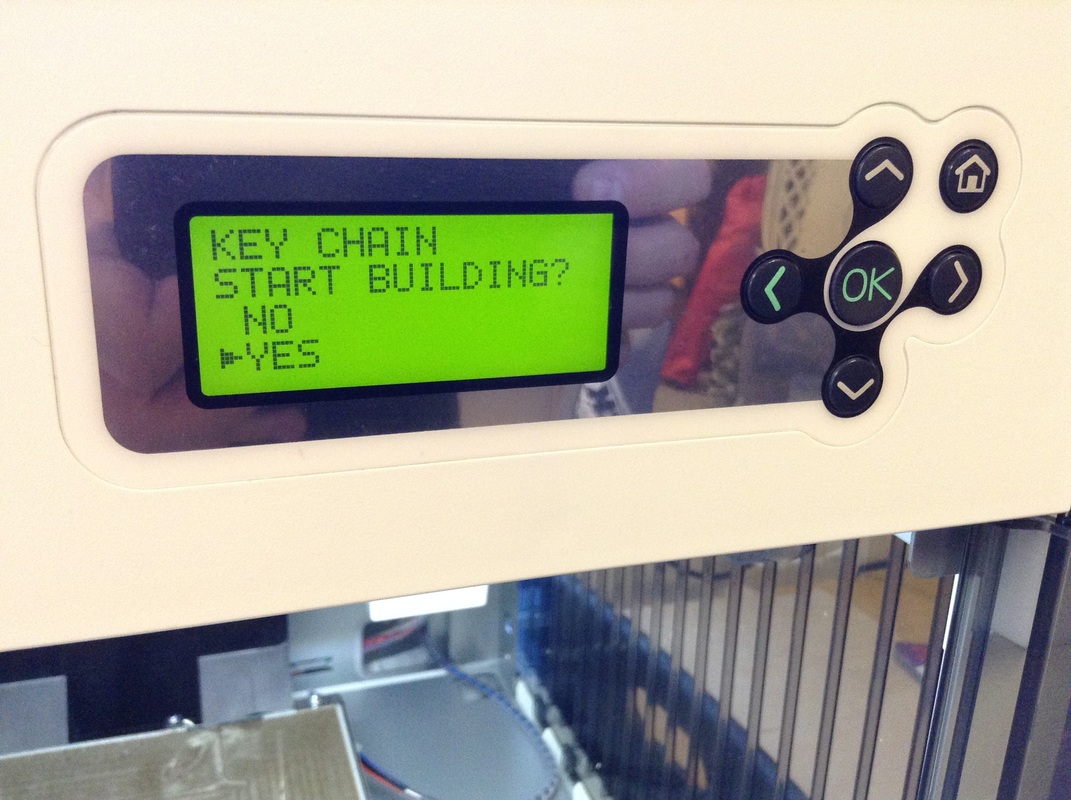
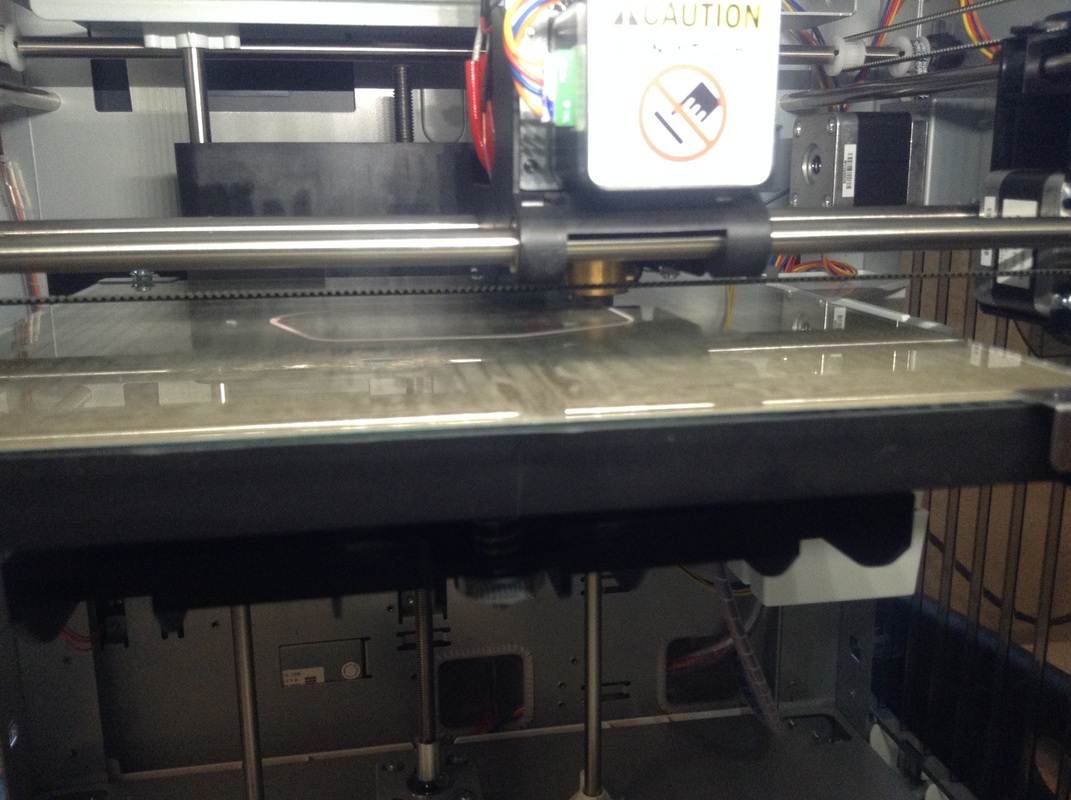
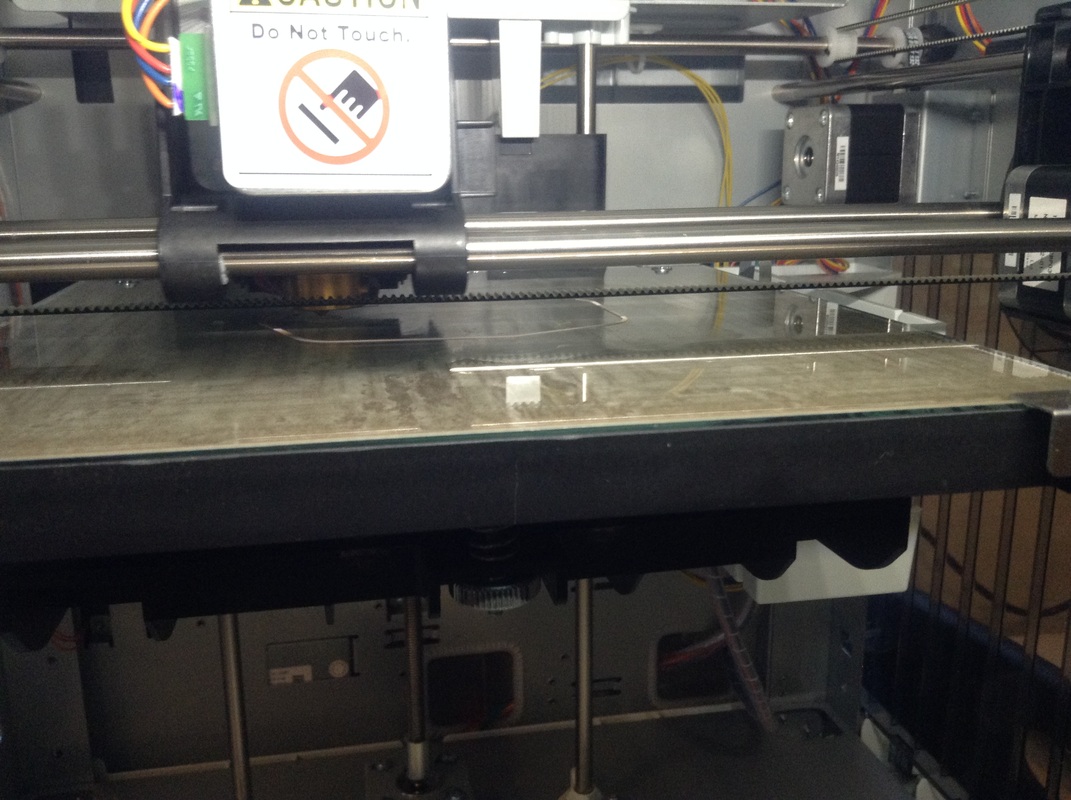
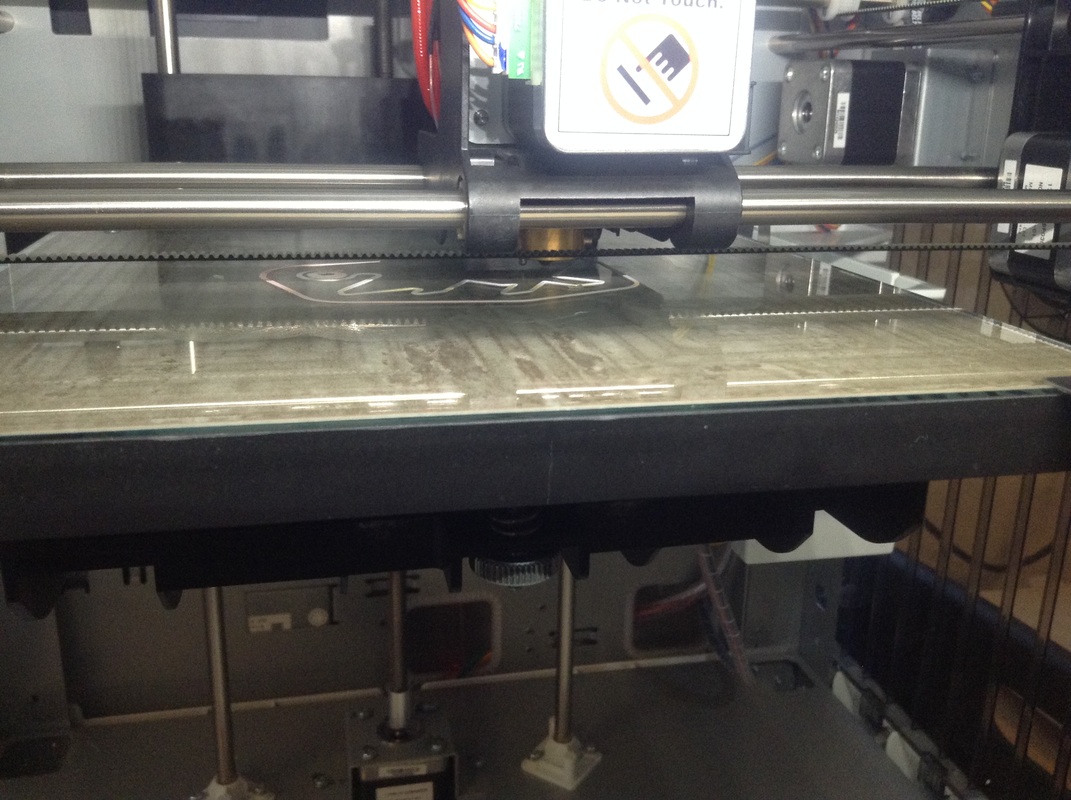
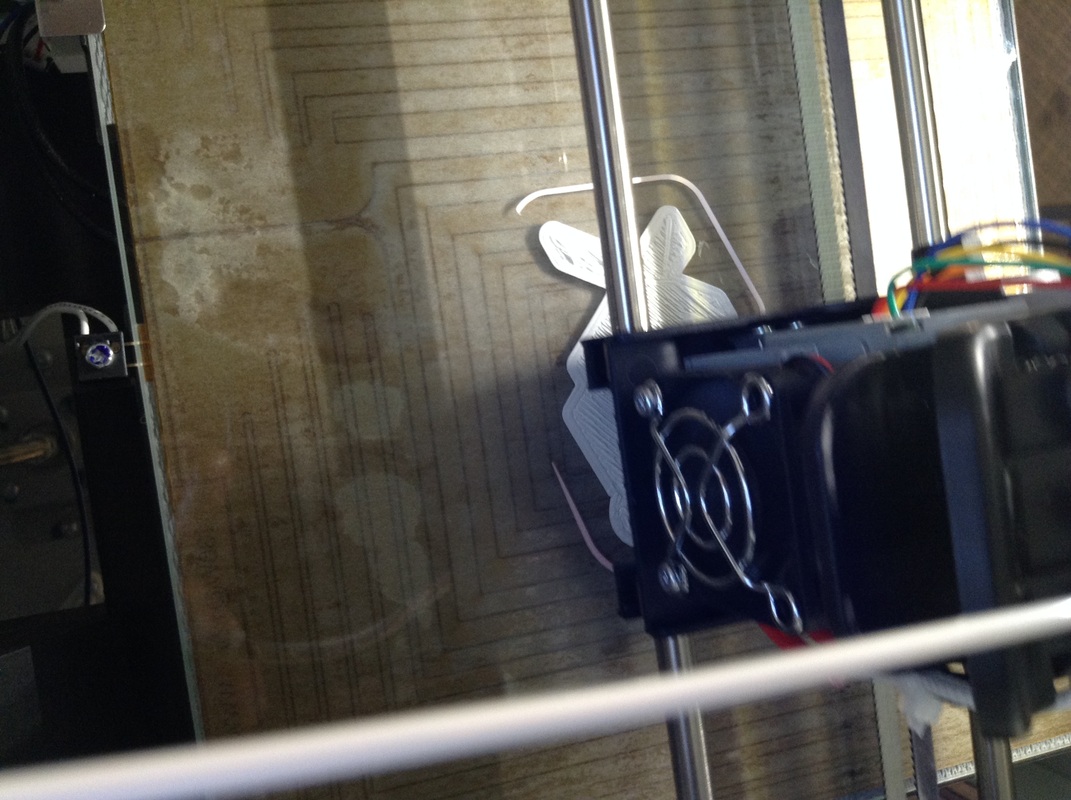
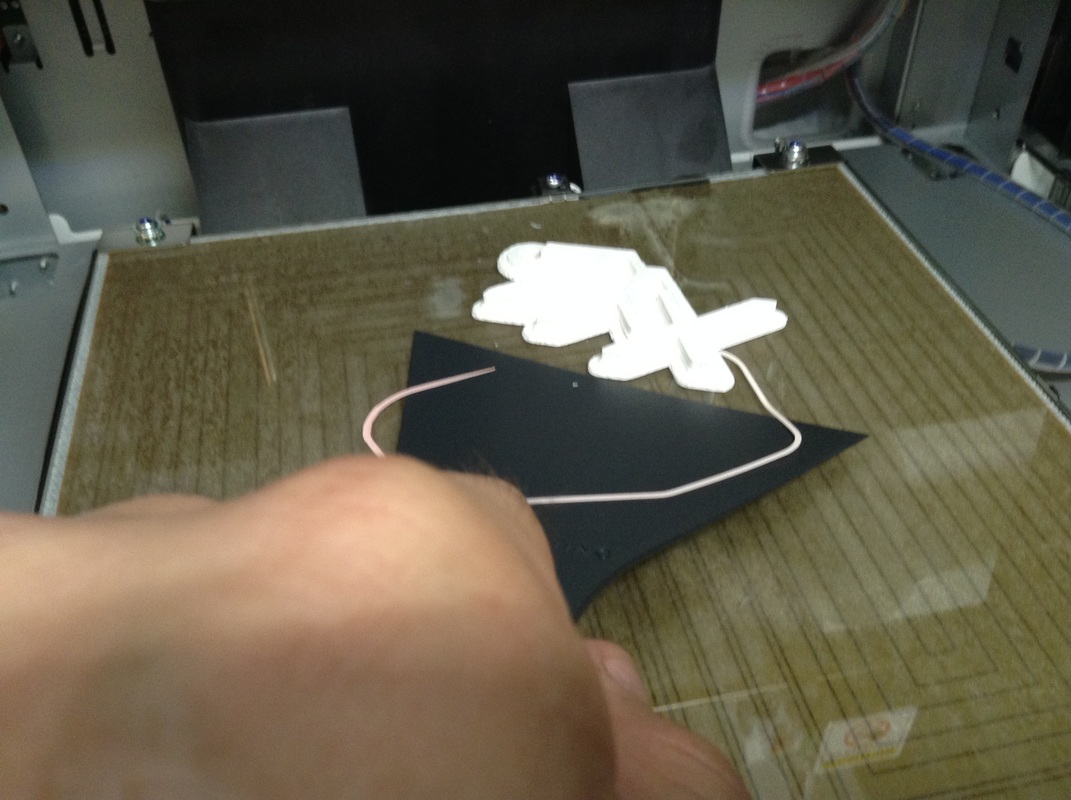
I have to admit that the setup was easy and the first prints went great. The printer comes with 3 sample files already on the flash drive so I printed two of them and they came out quite nice, though I'm not sure what one of them is.

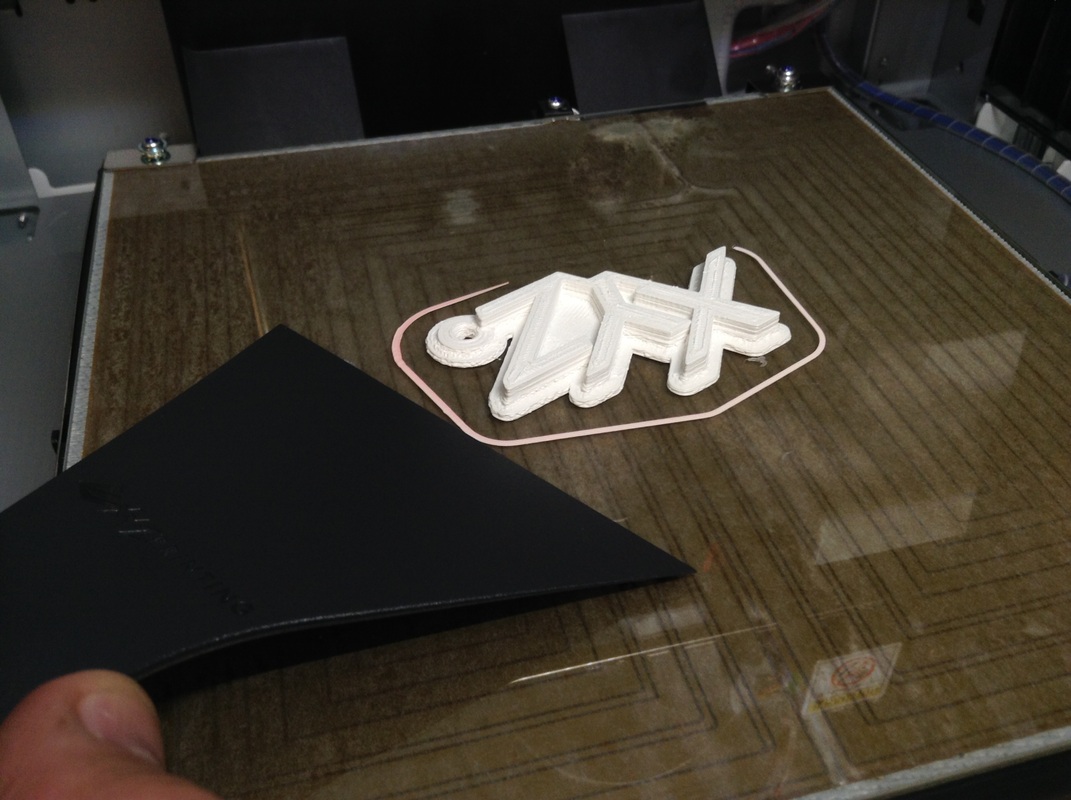
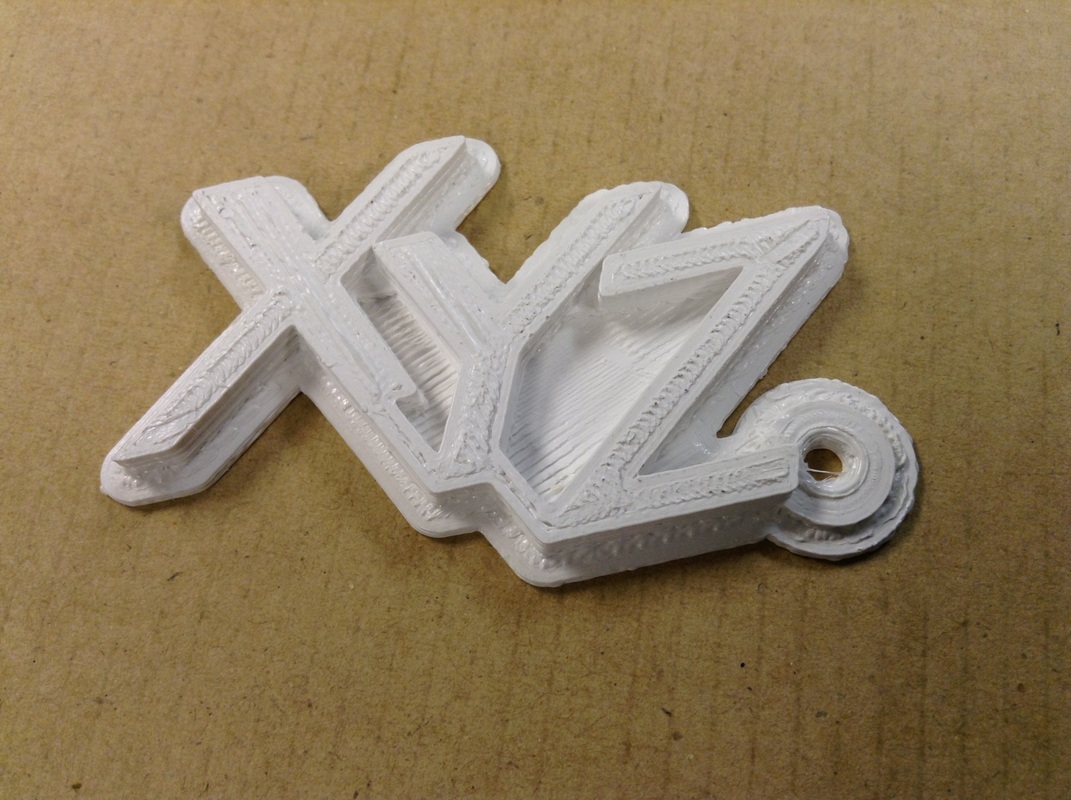
XYZ Keychain
|

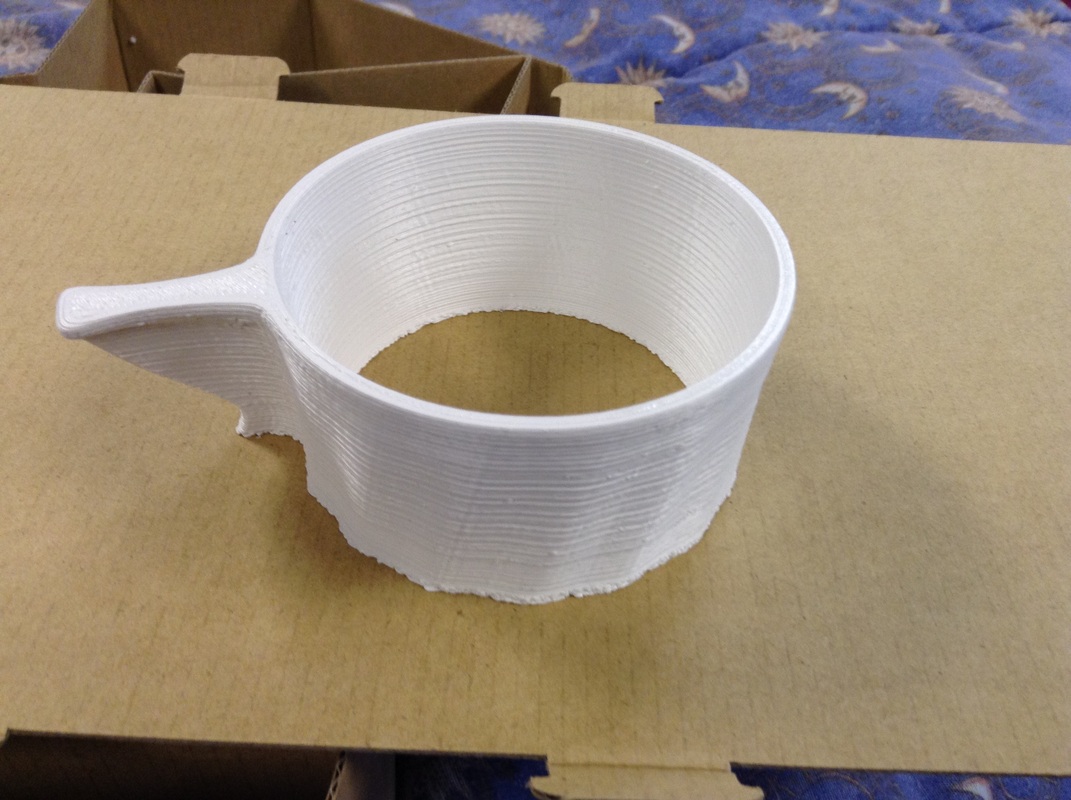
I have no idea what this is. It was called "Sample". It may be for holding a hot paper coffee cup from Starbucks?
|
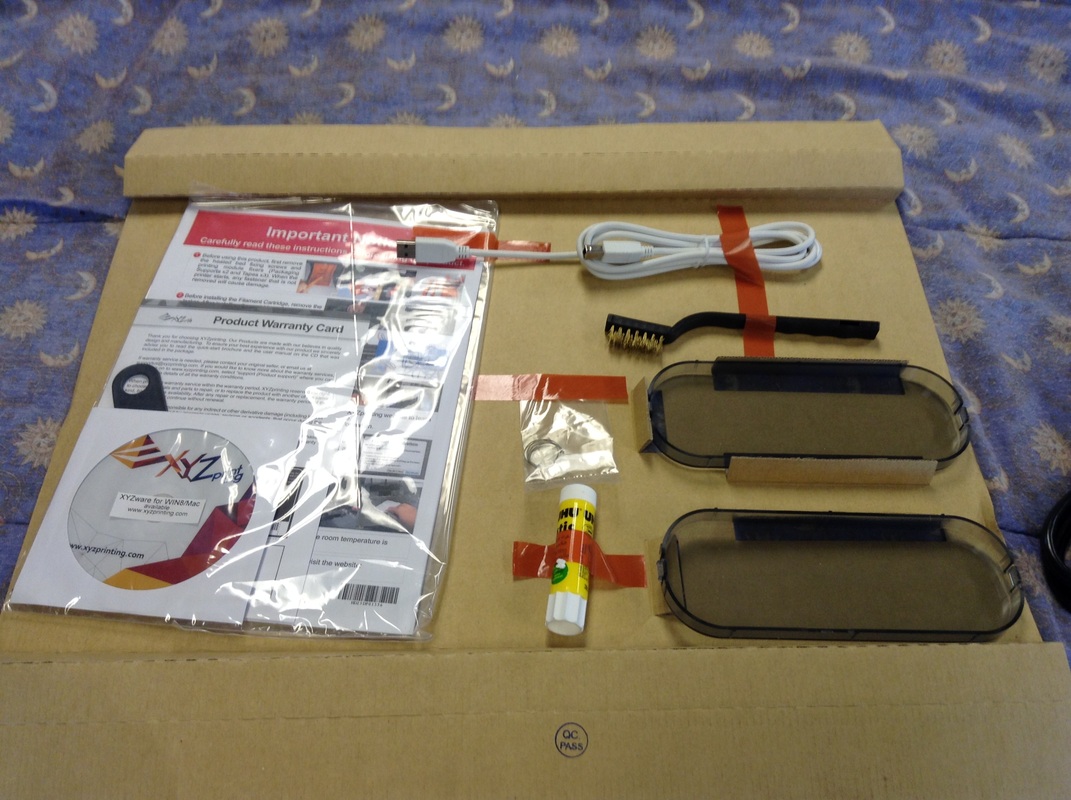
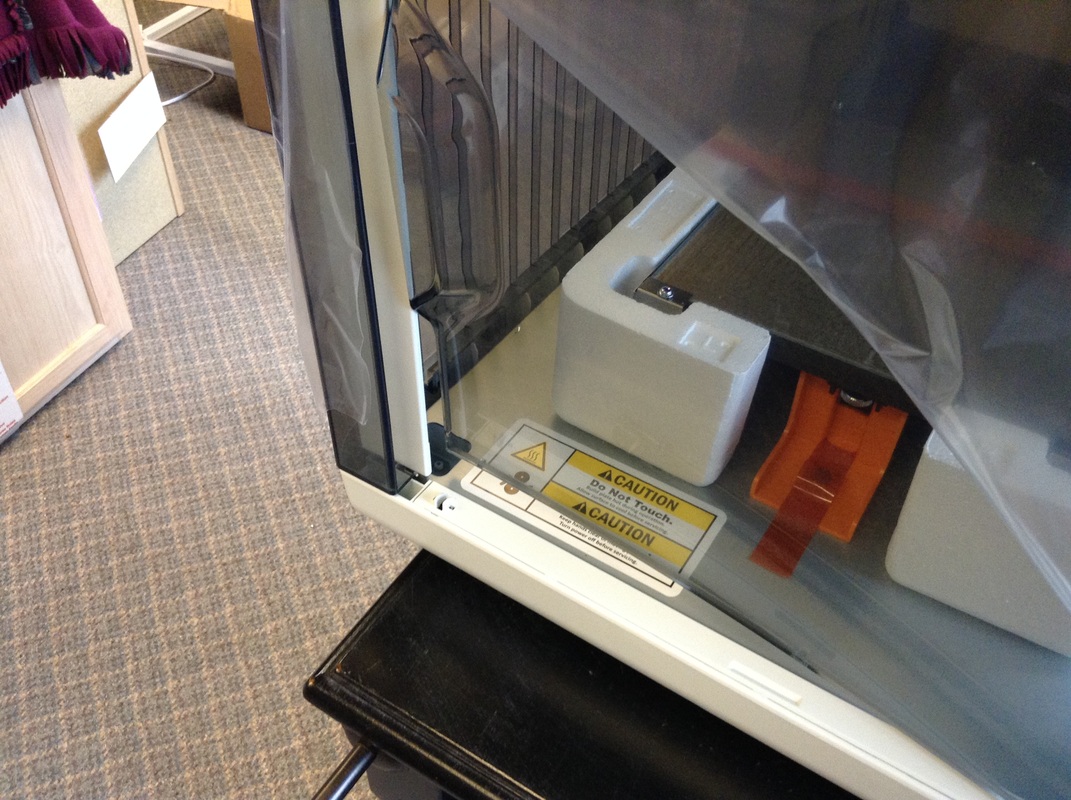
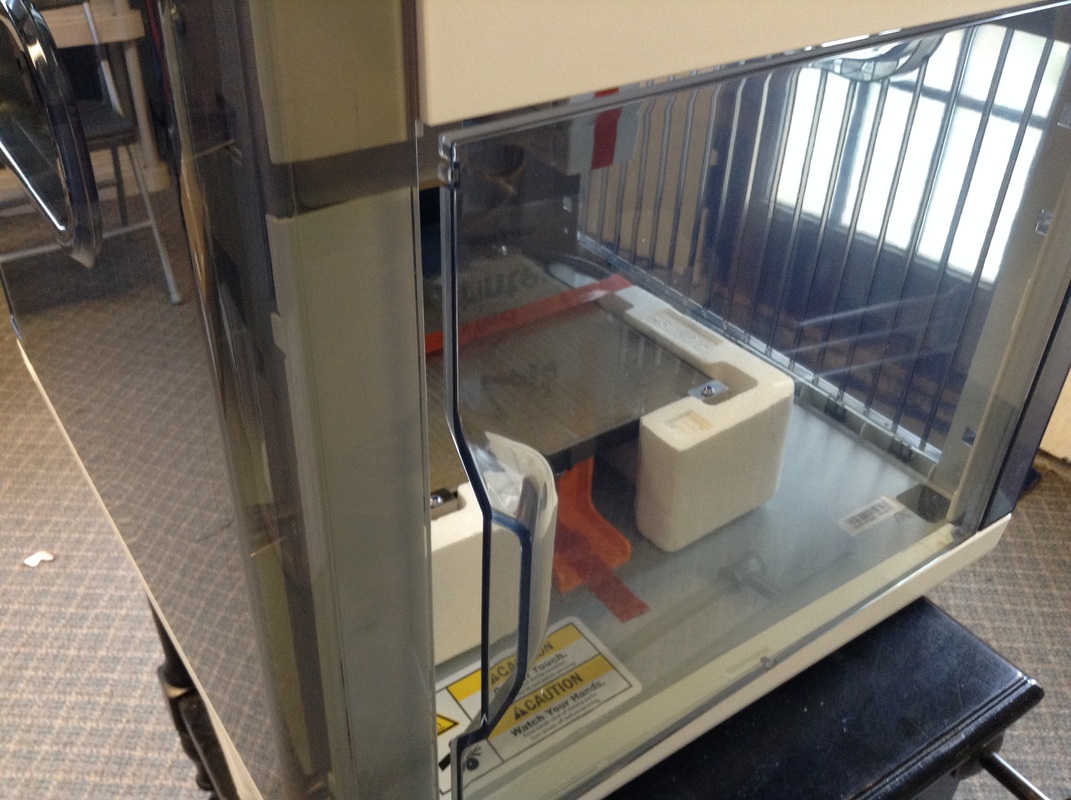
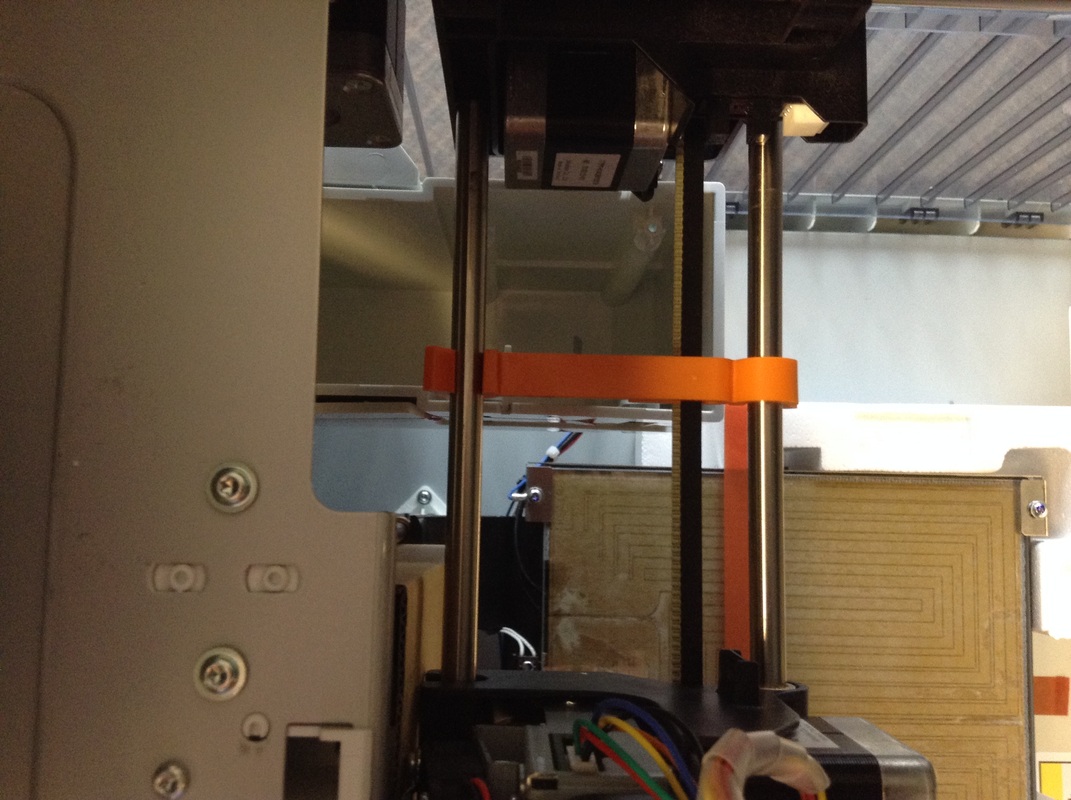
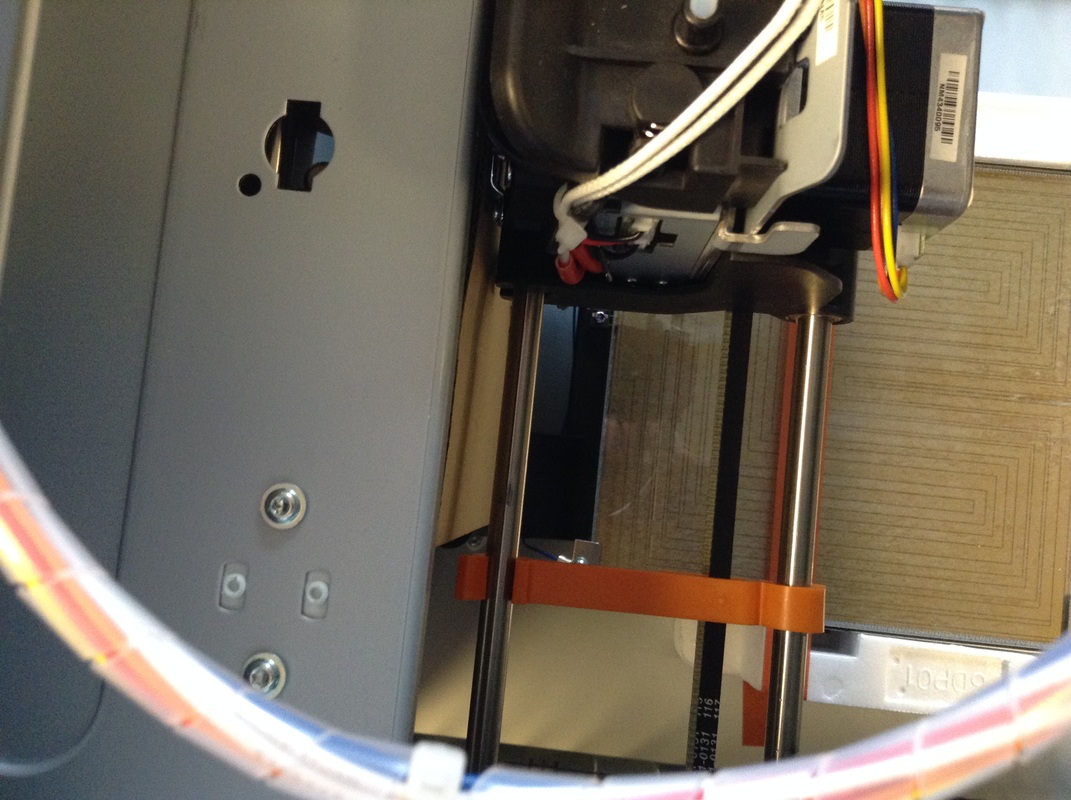
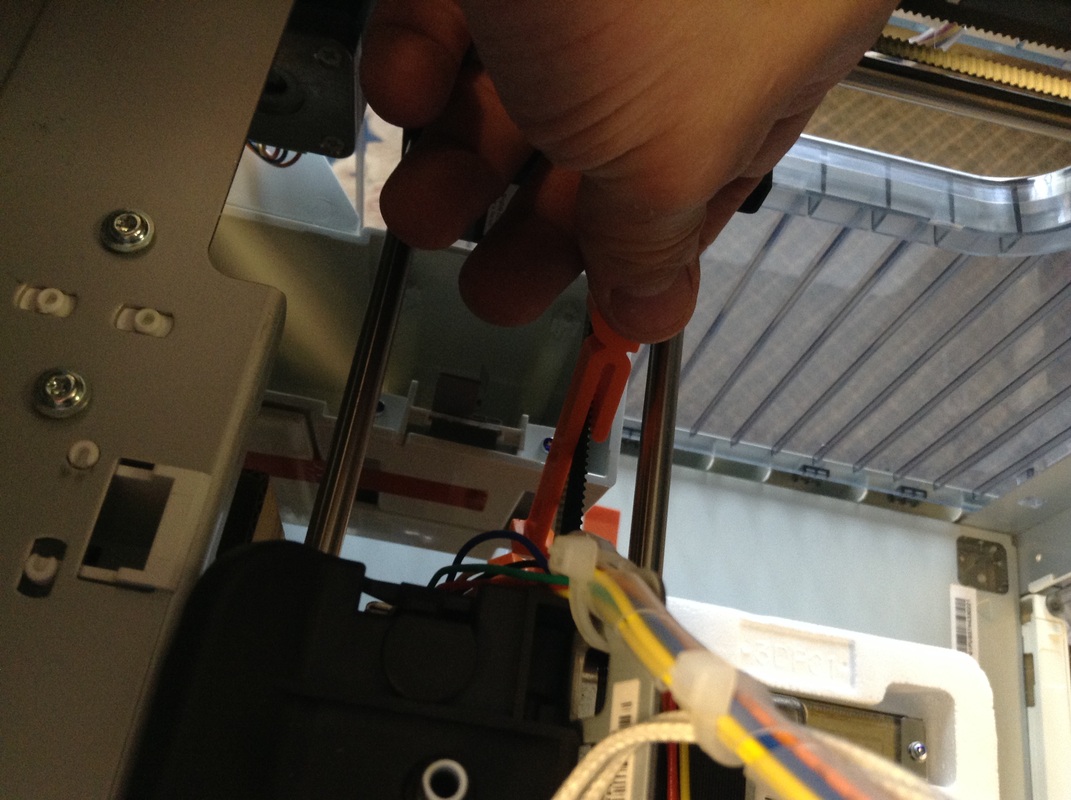
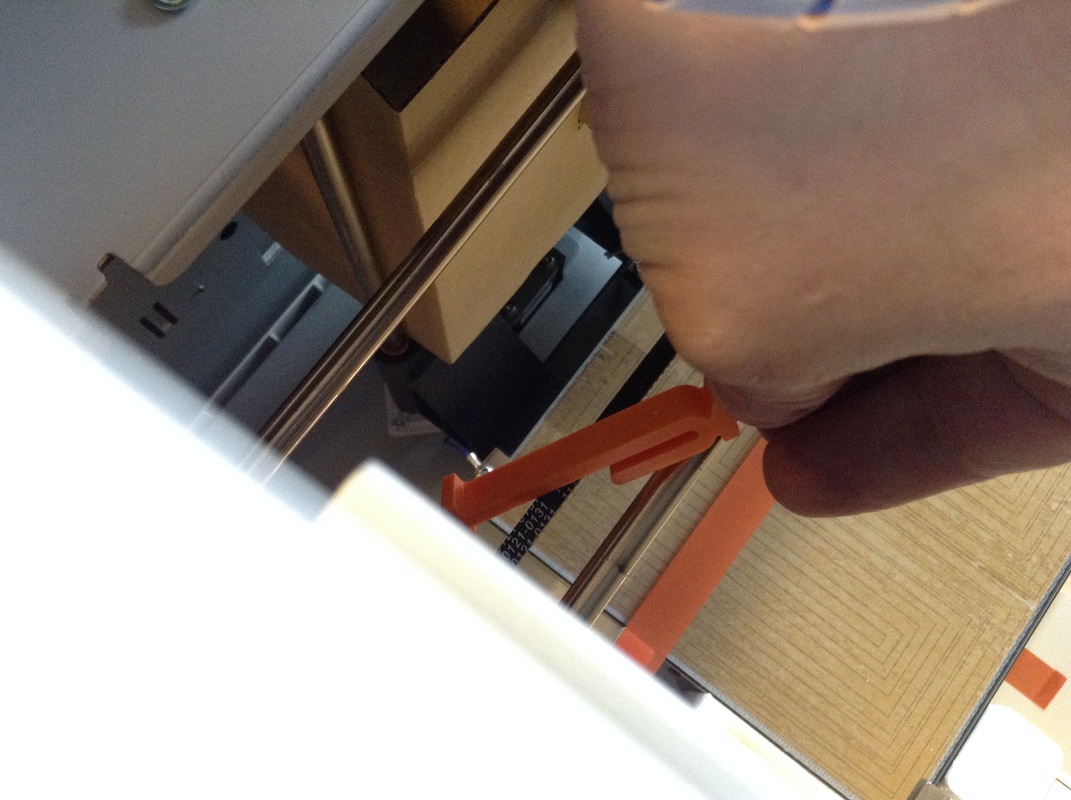
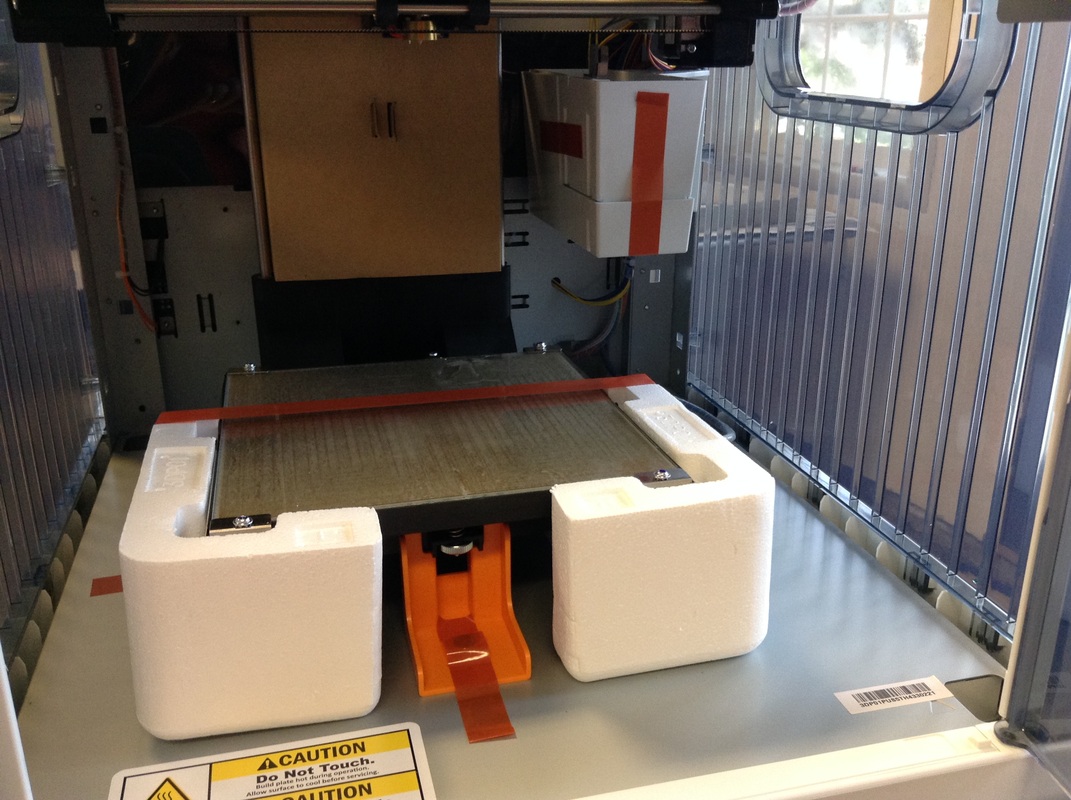
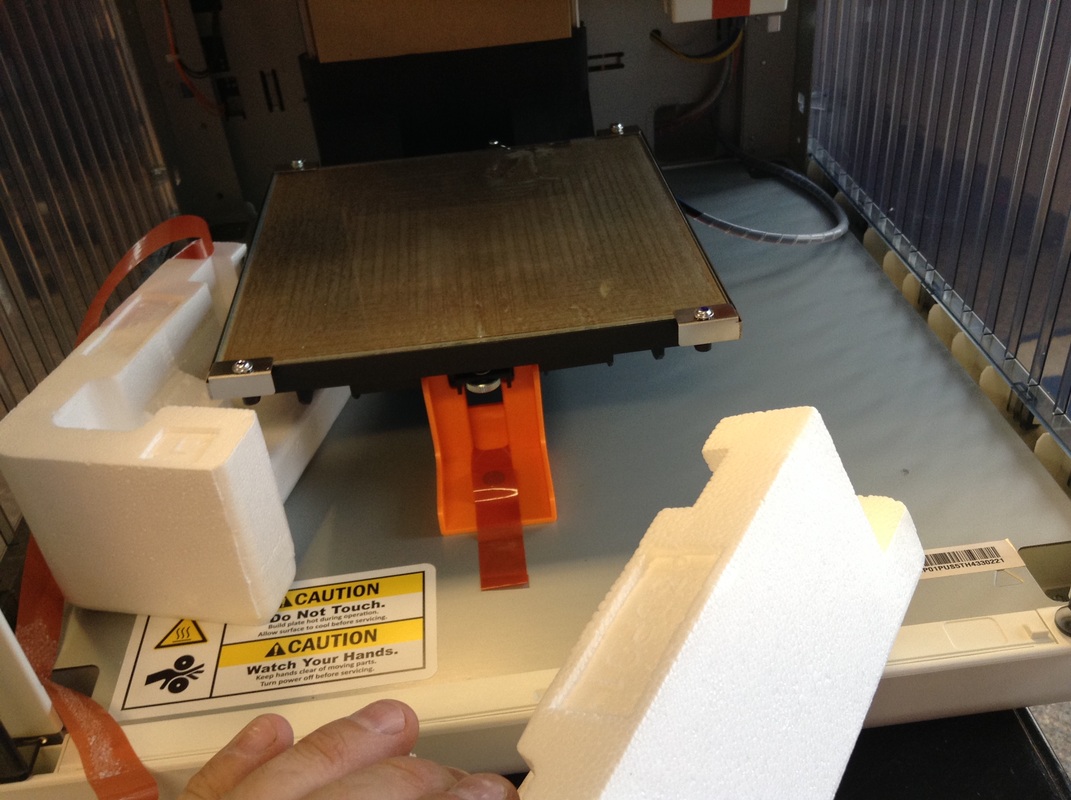
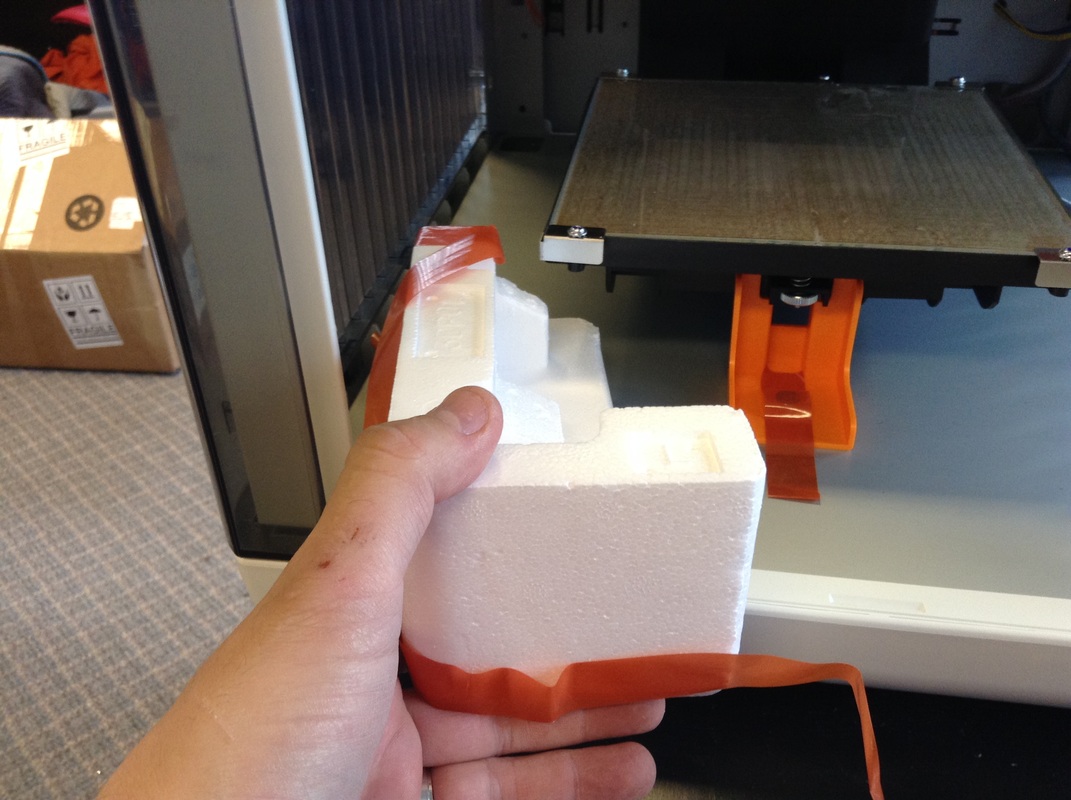
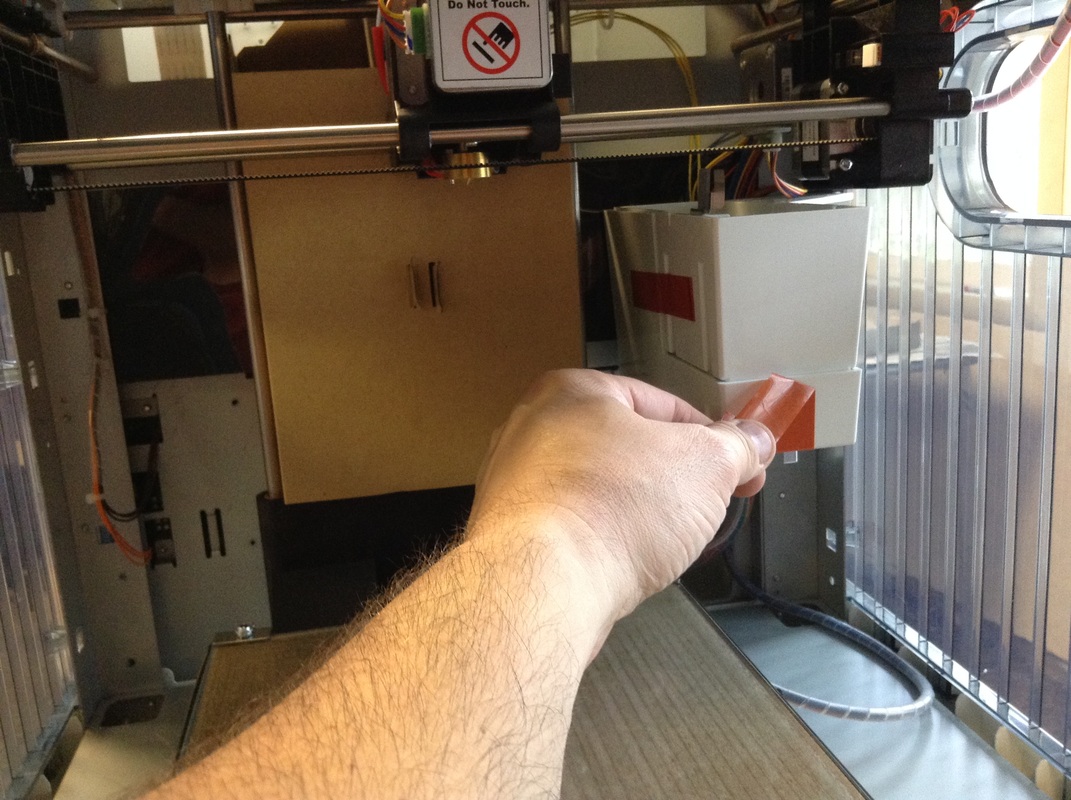
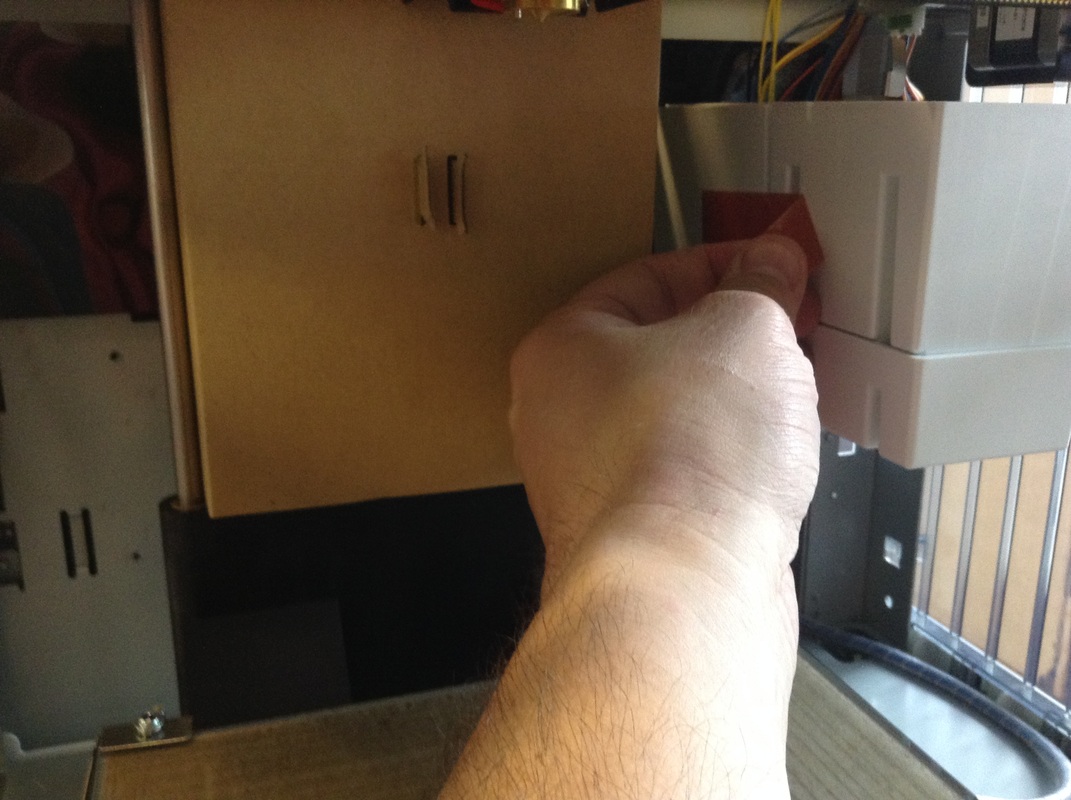
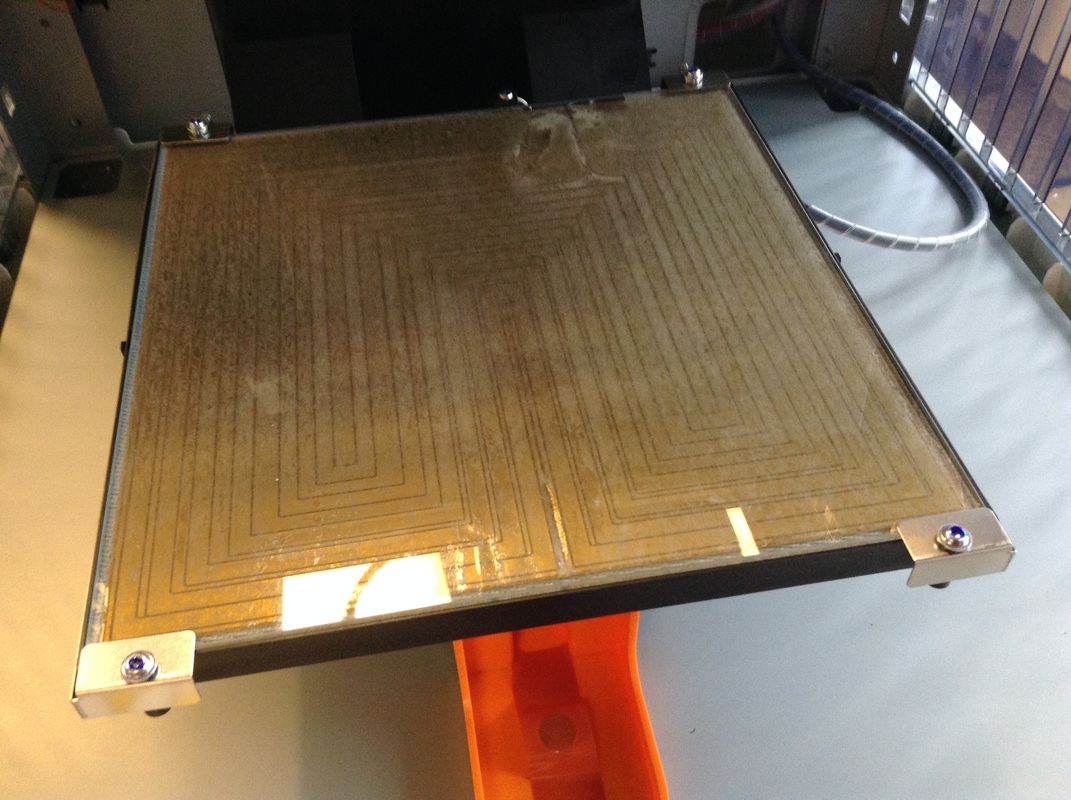
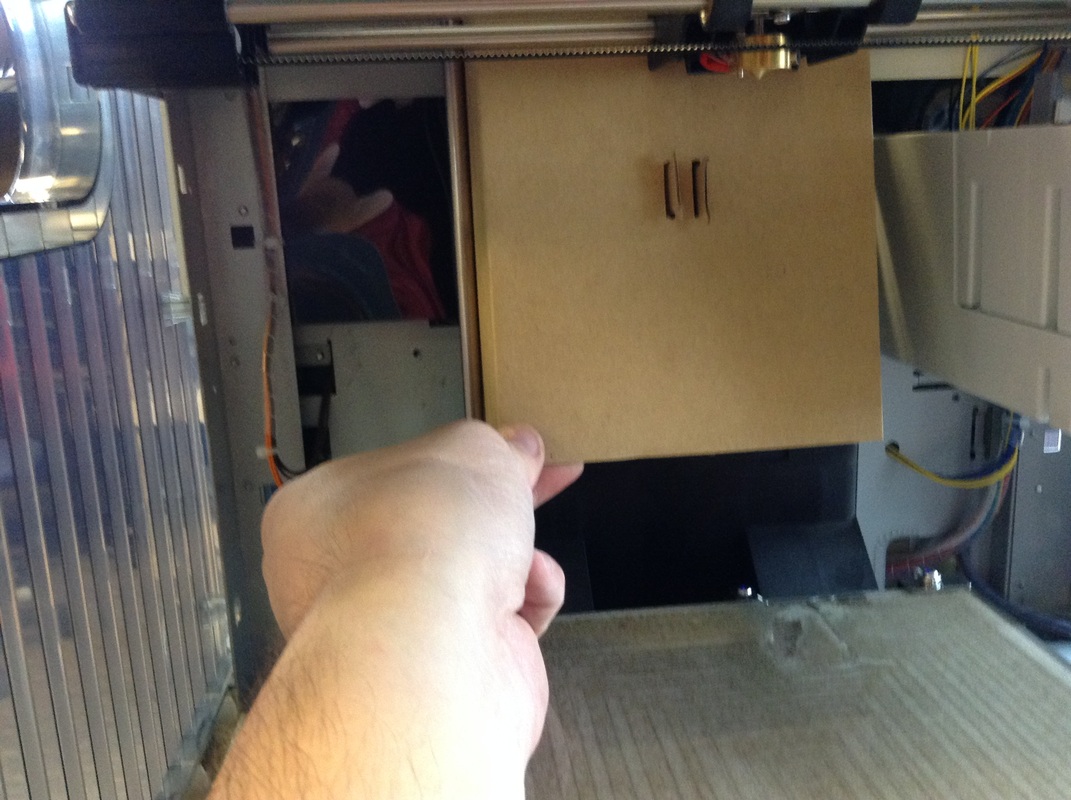
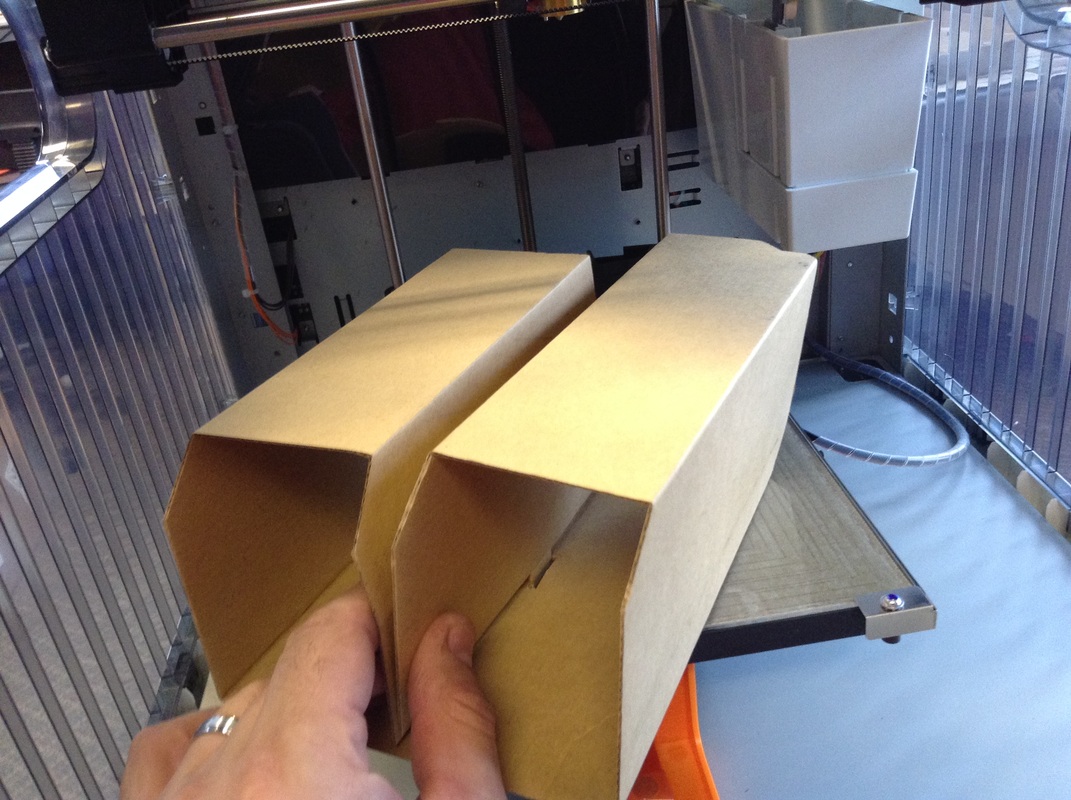
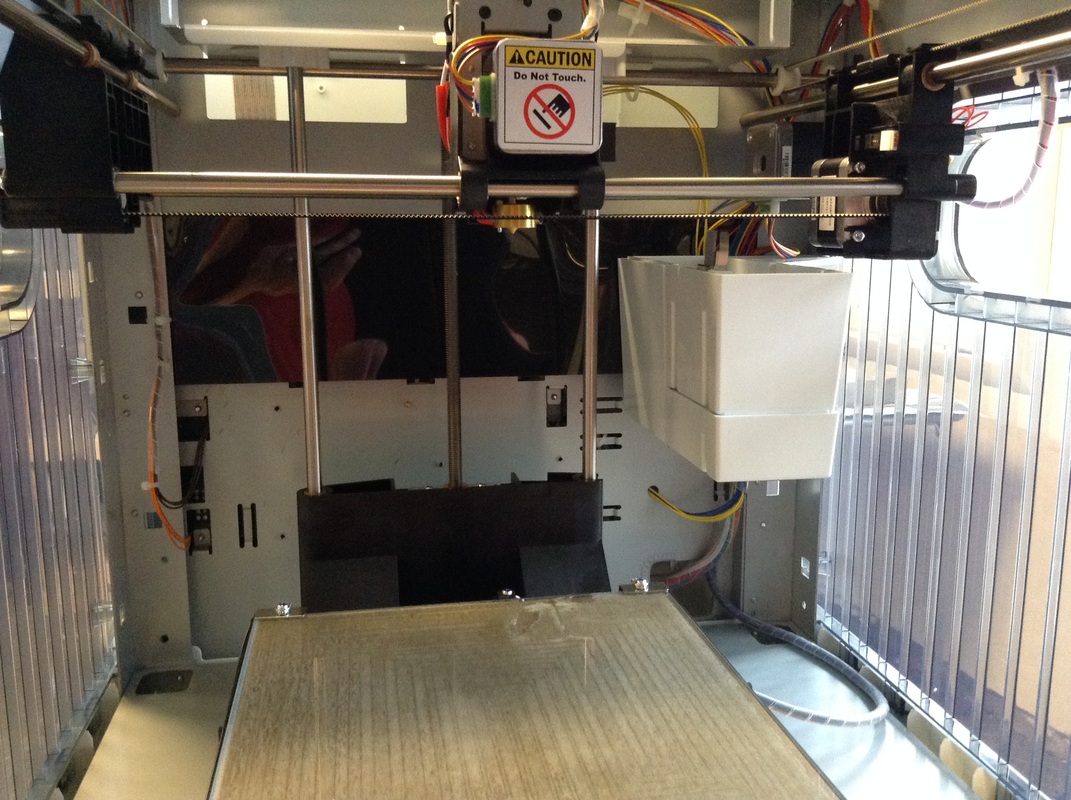
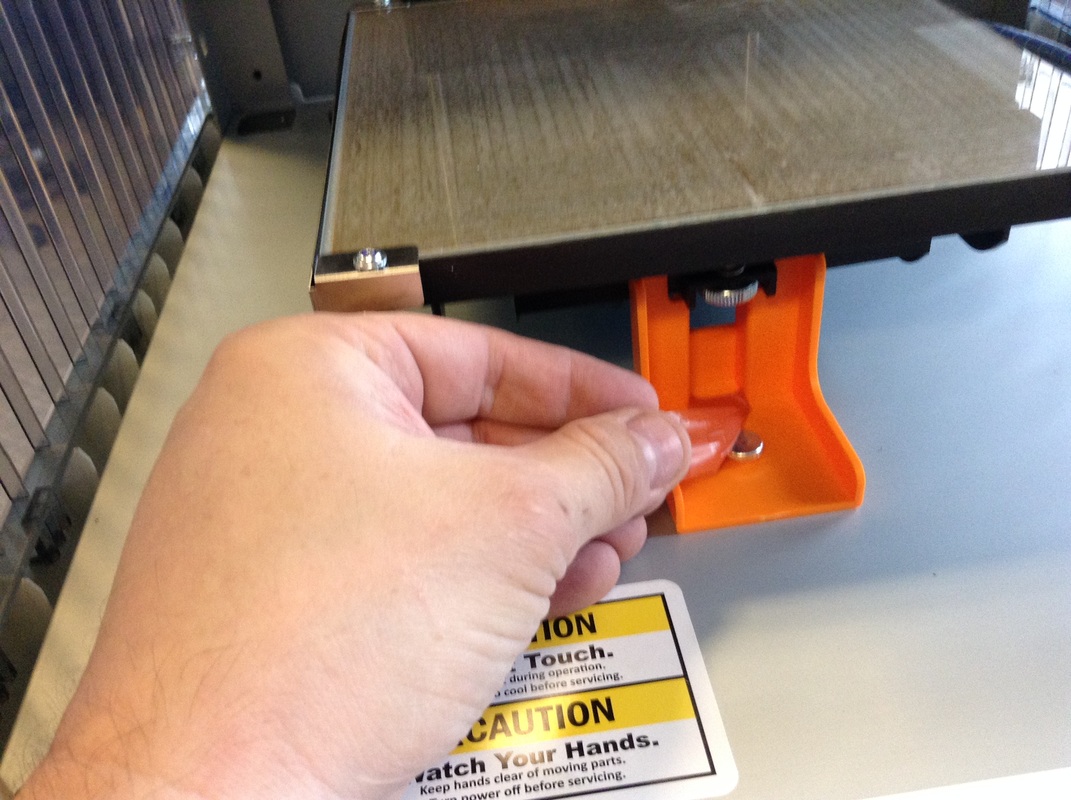
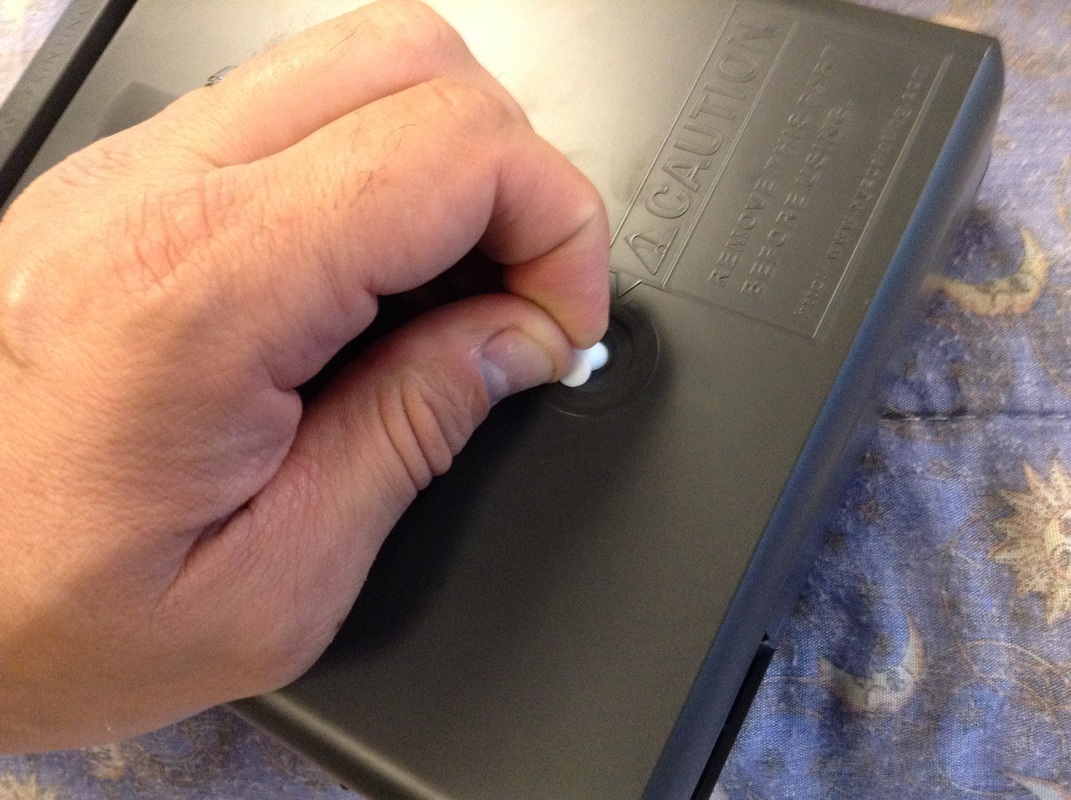
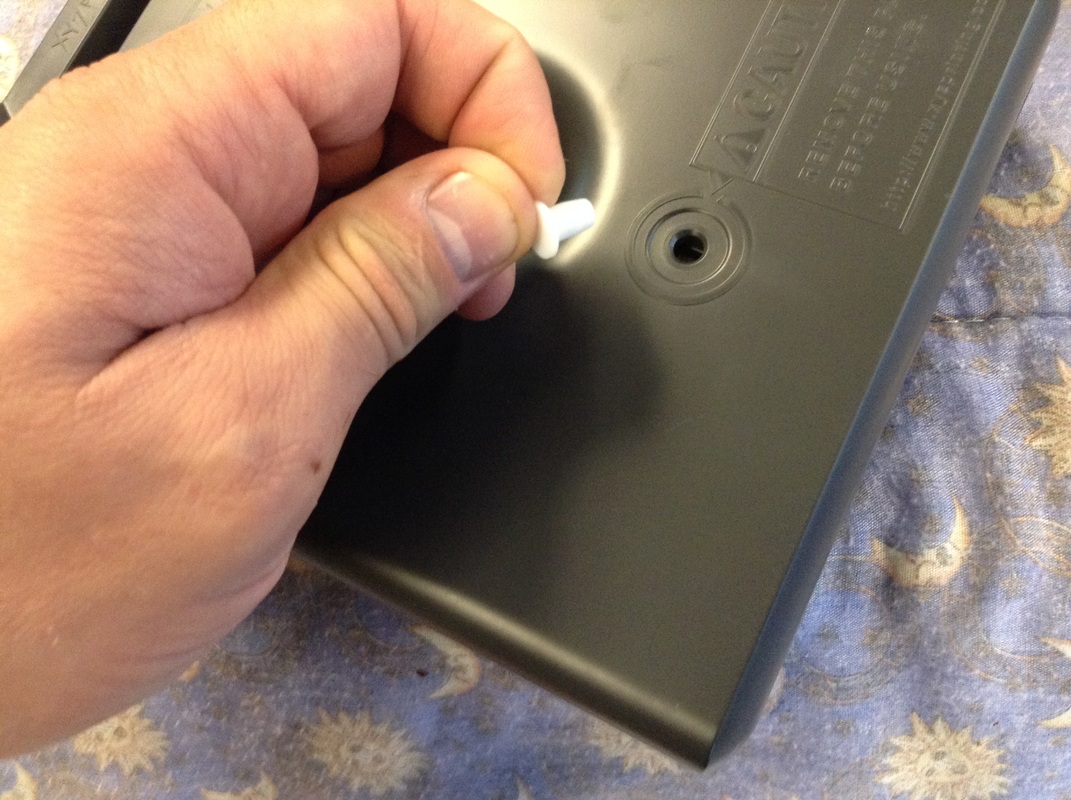
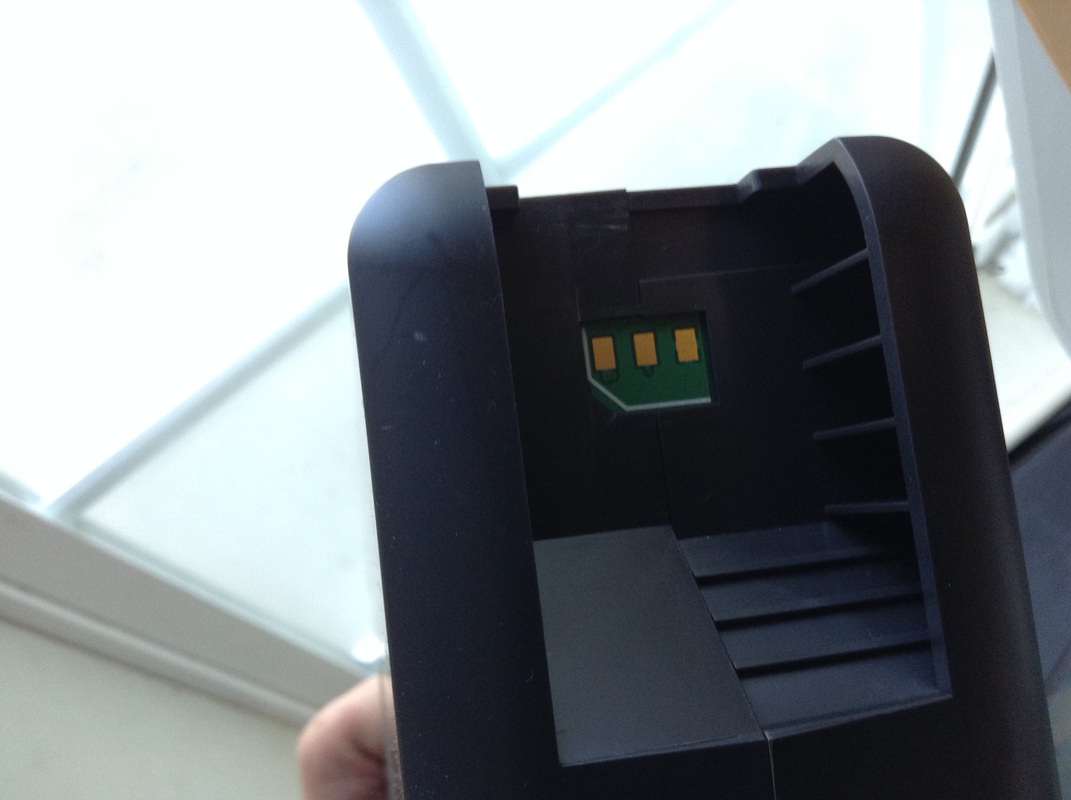
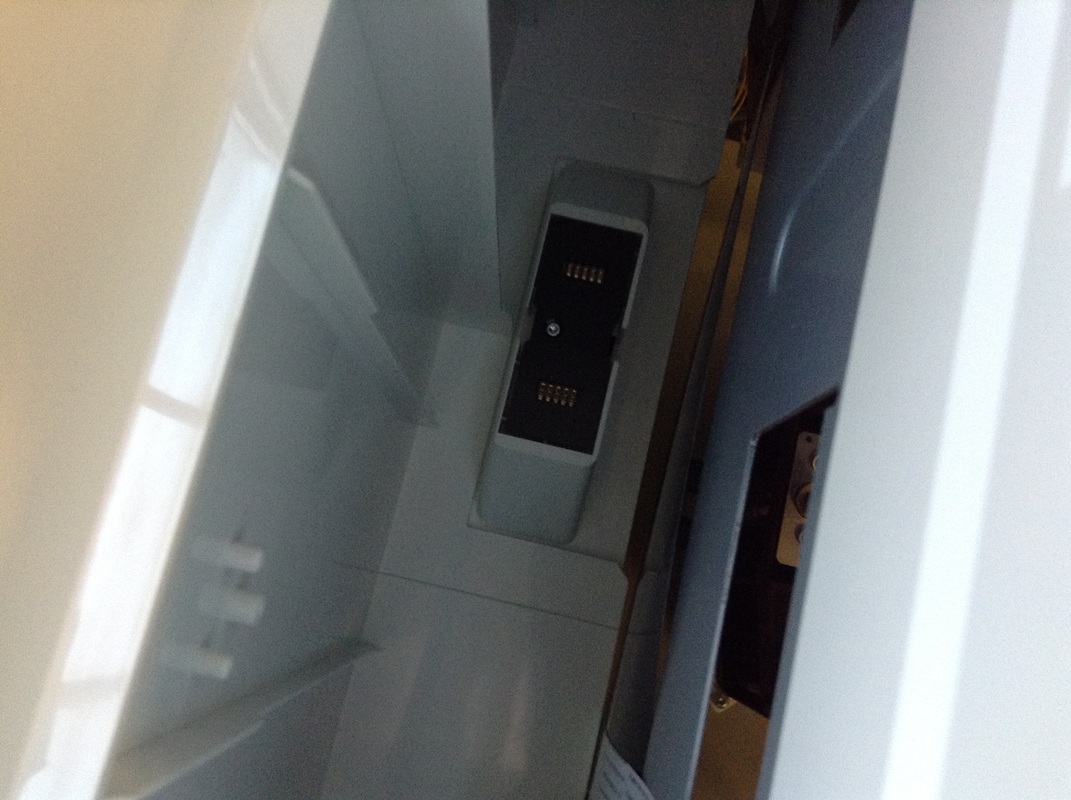
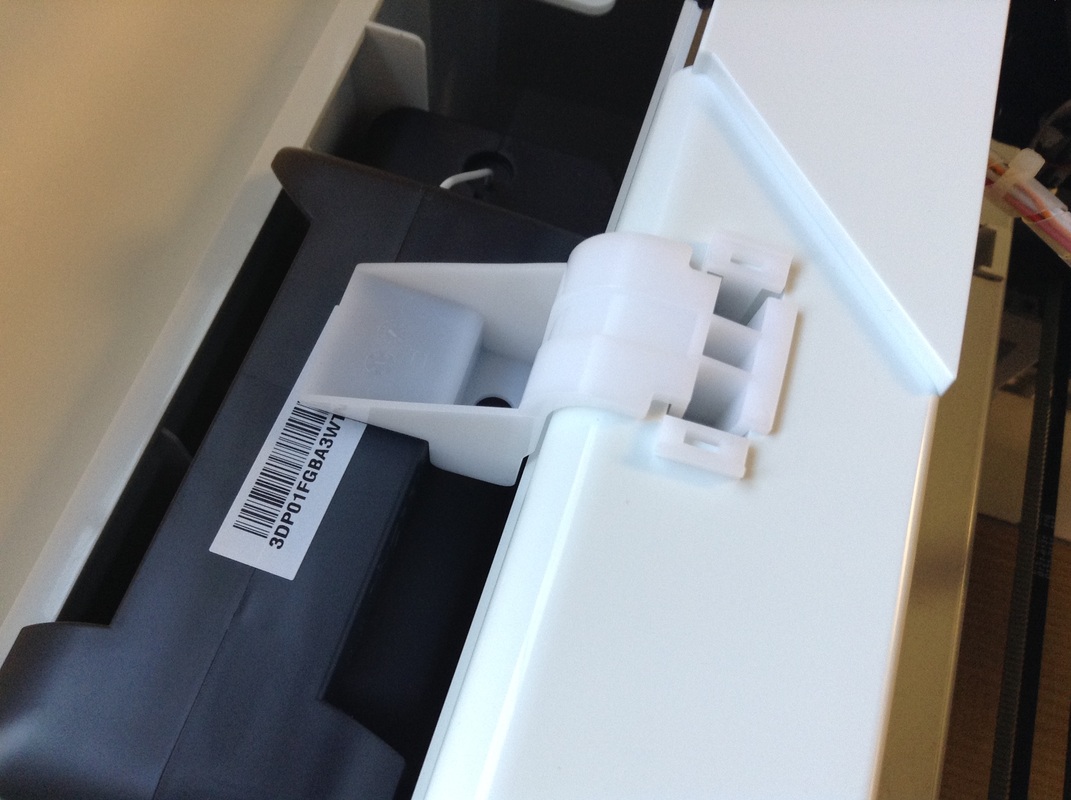
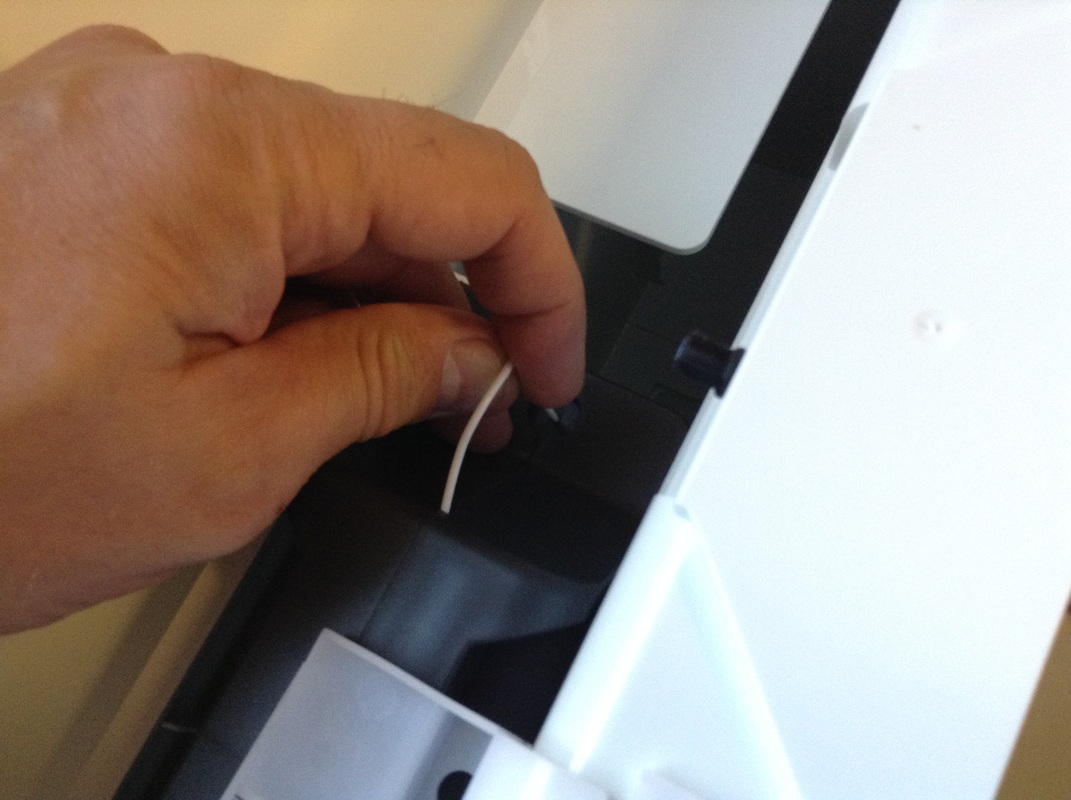
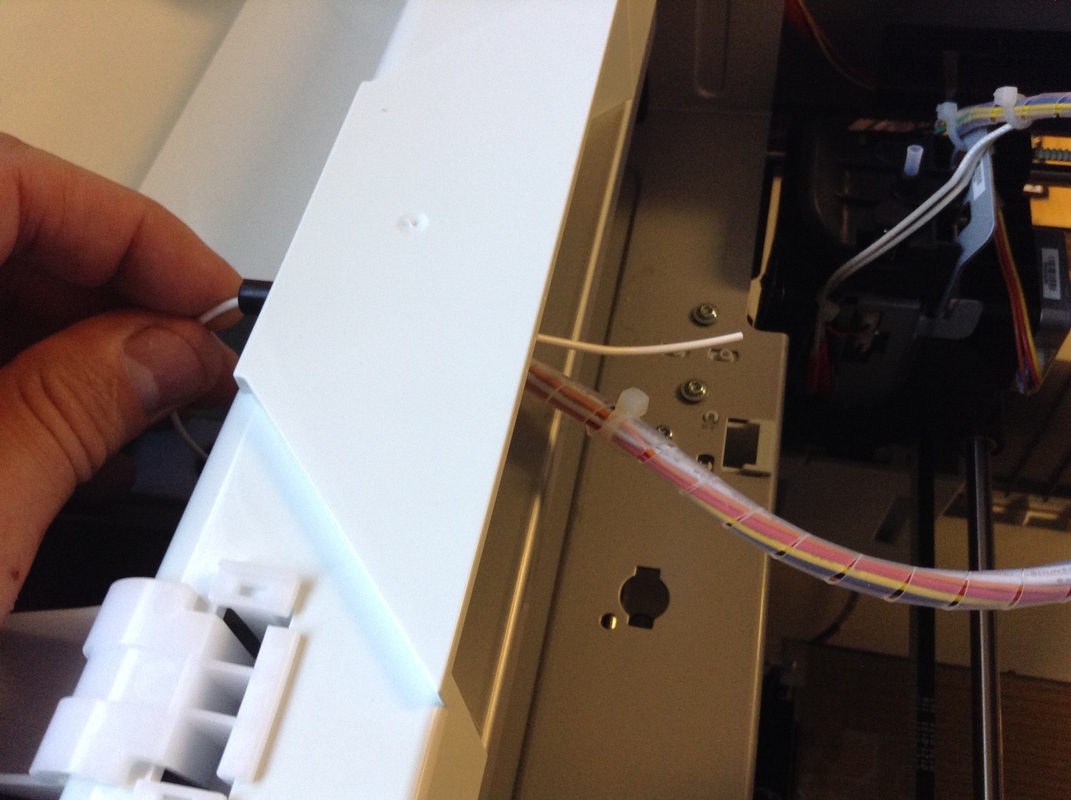
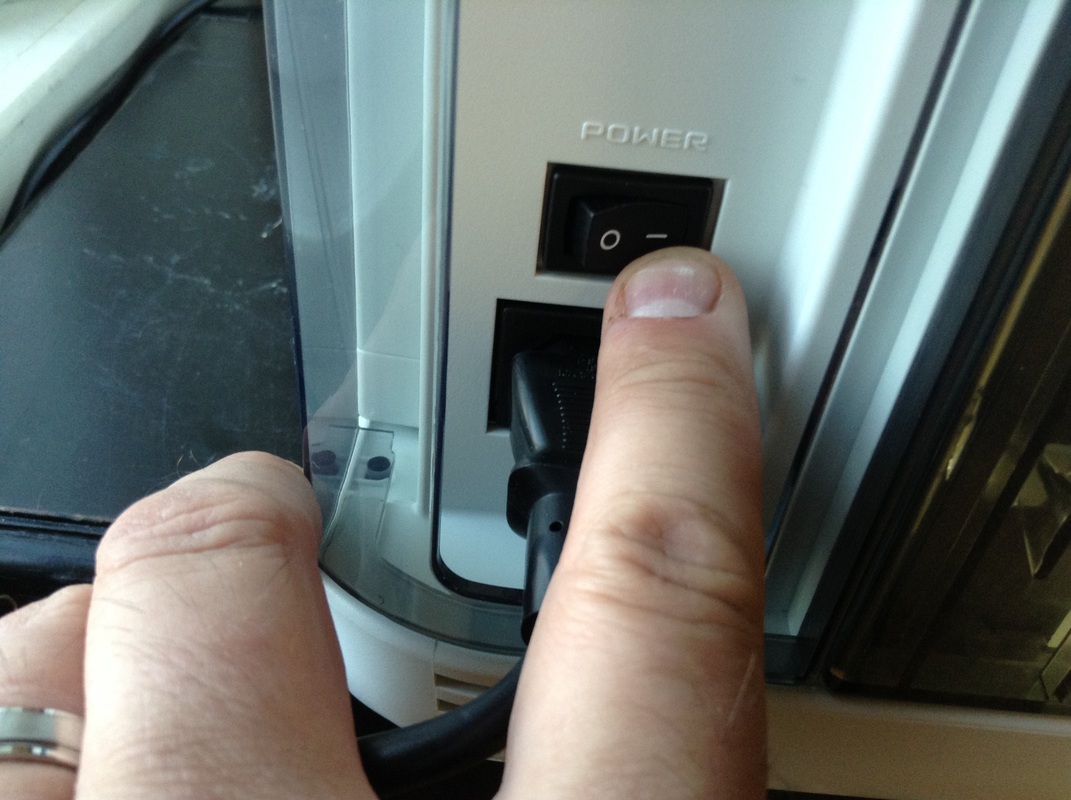
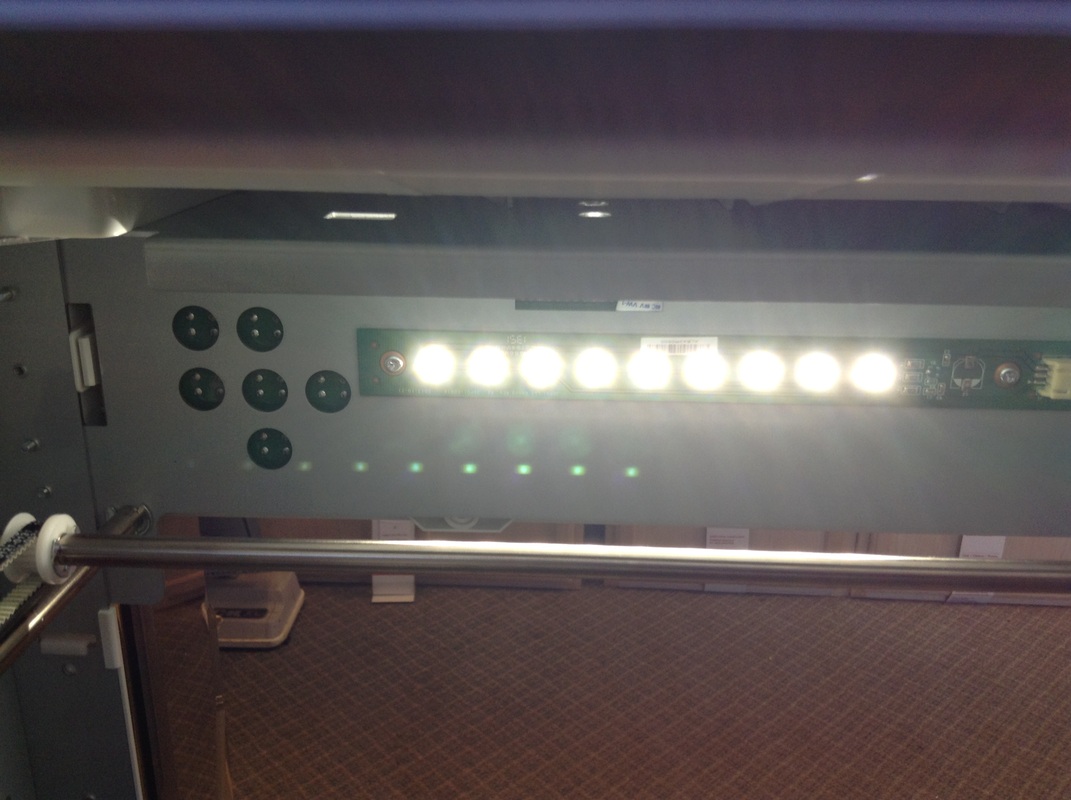
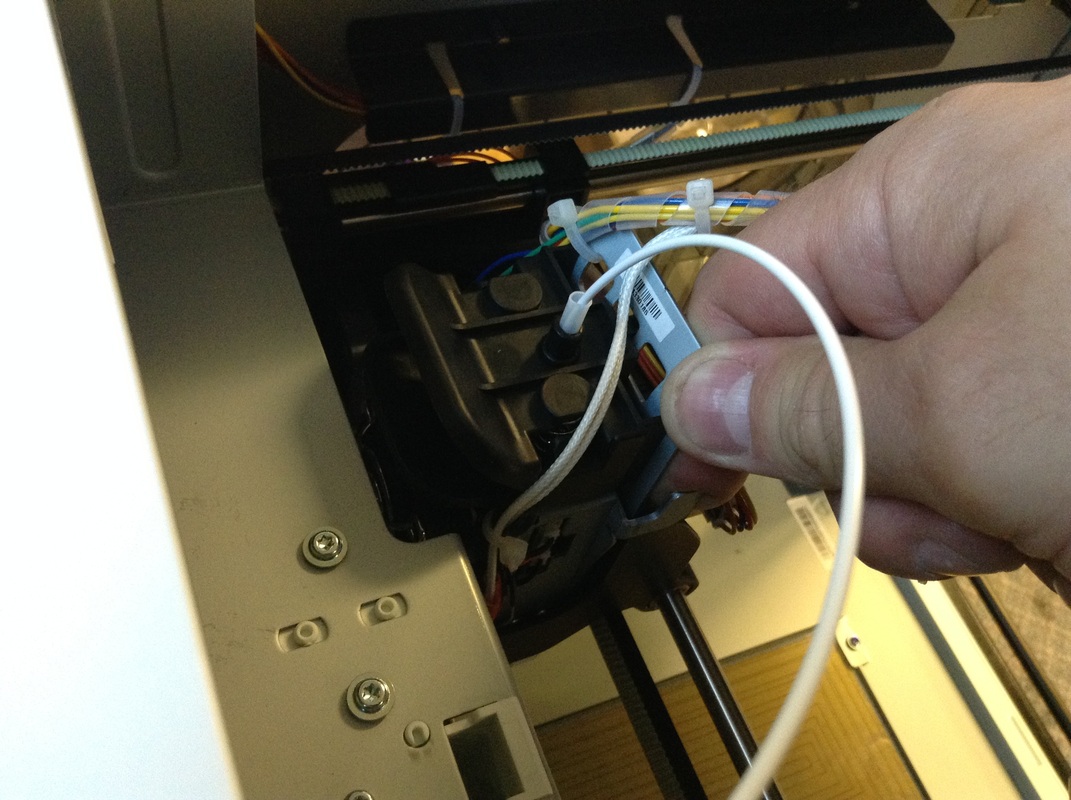
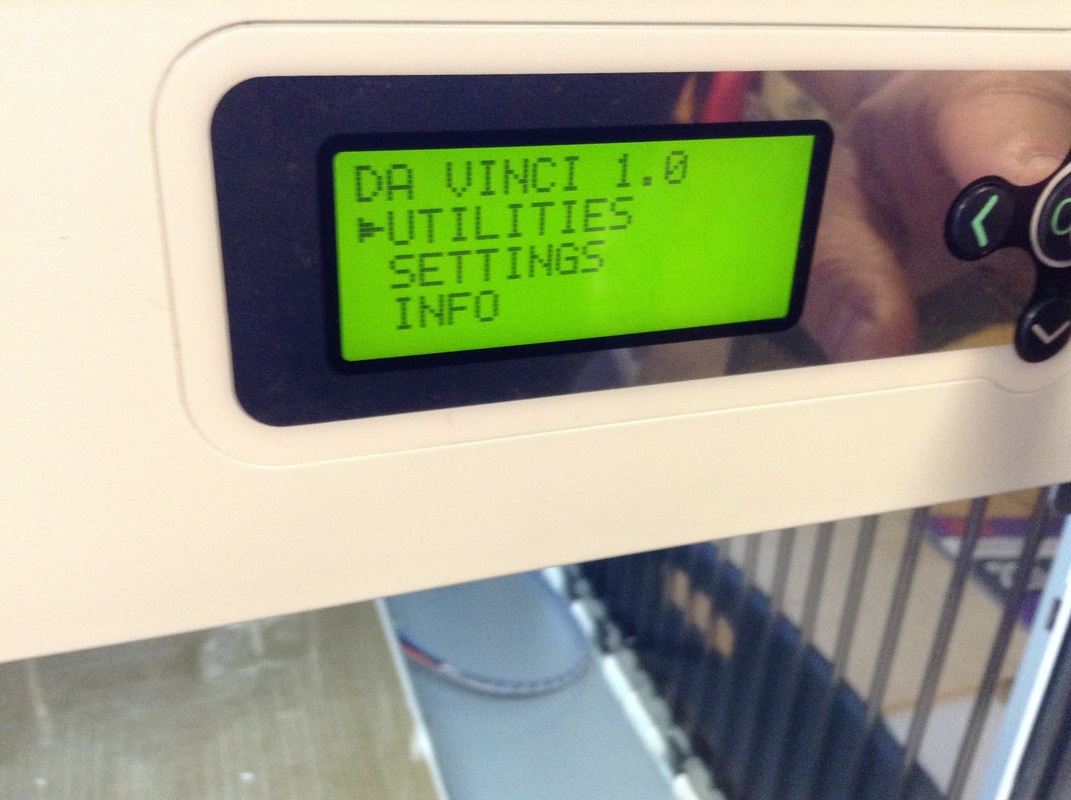
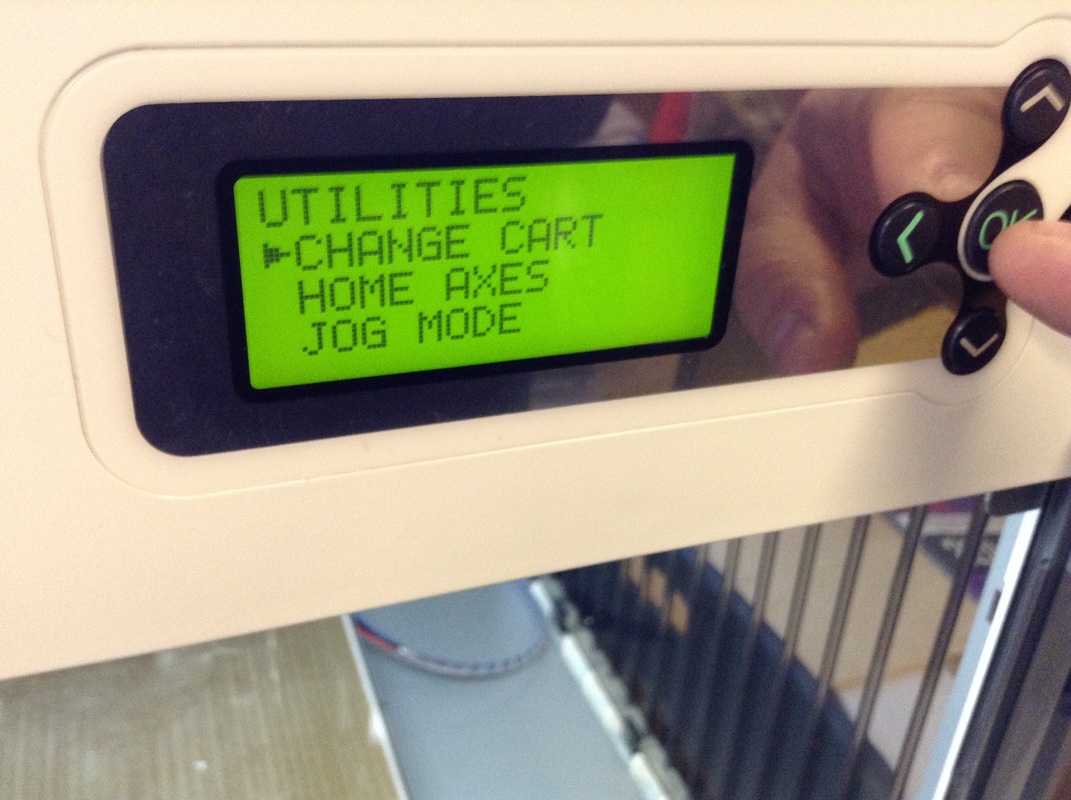
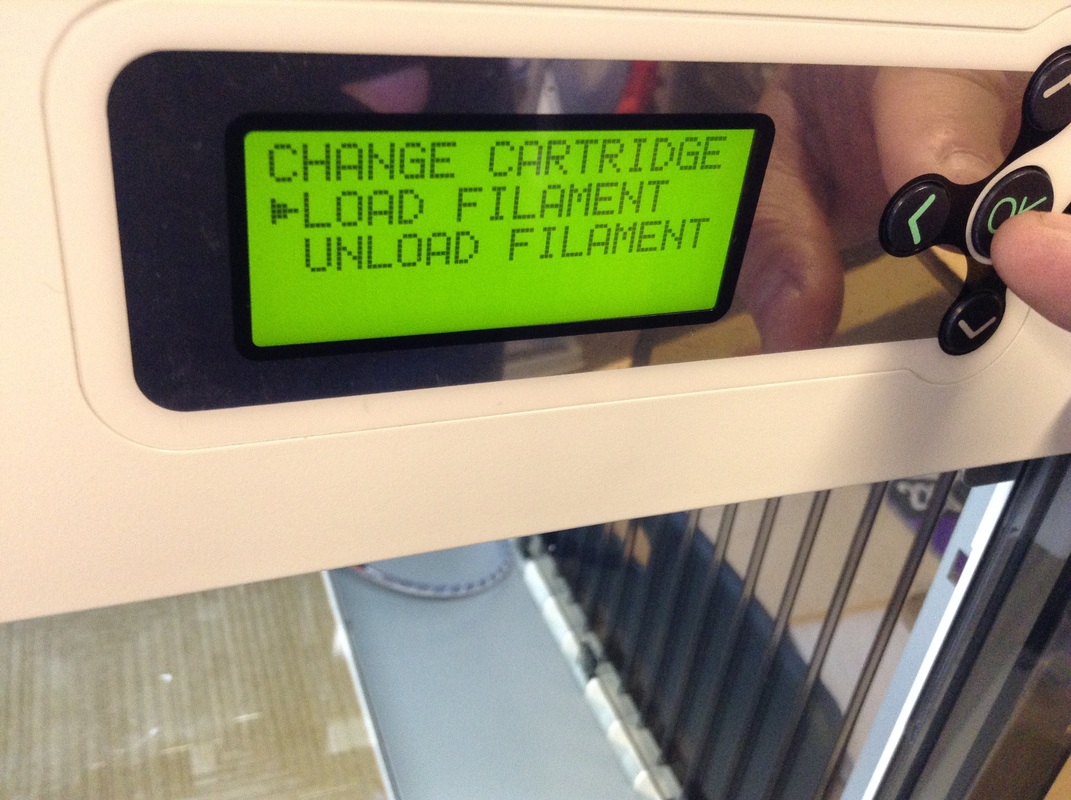
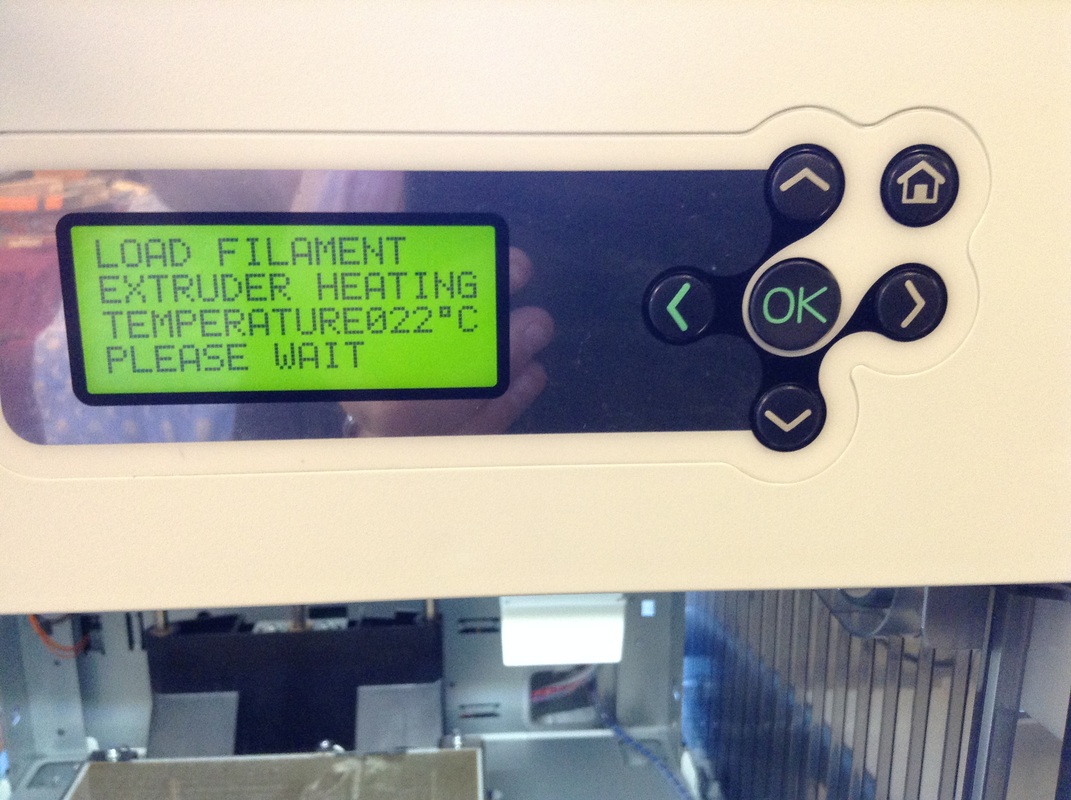
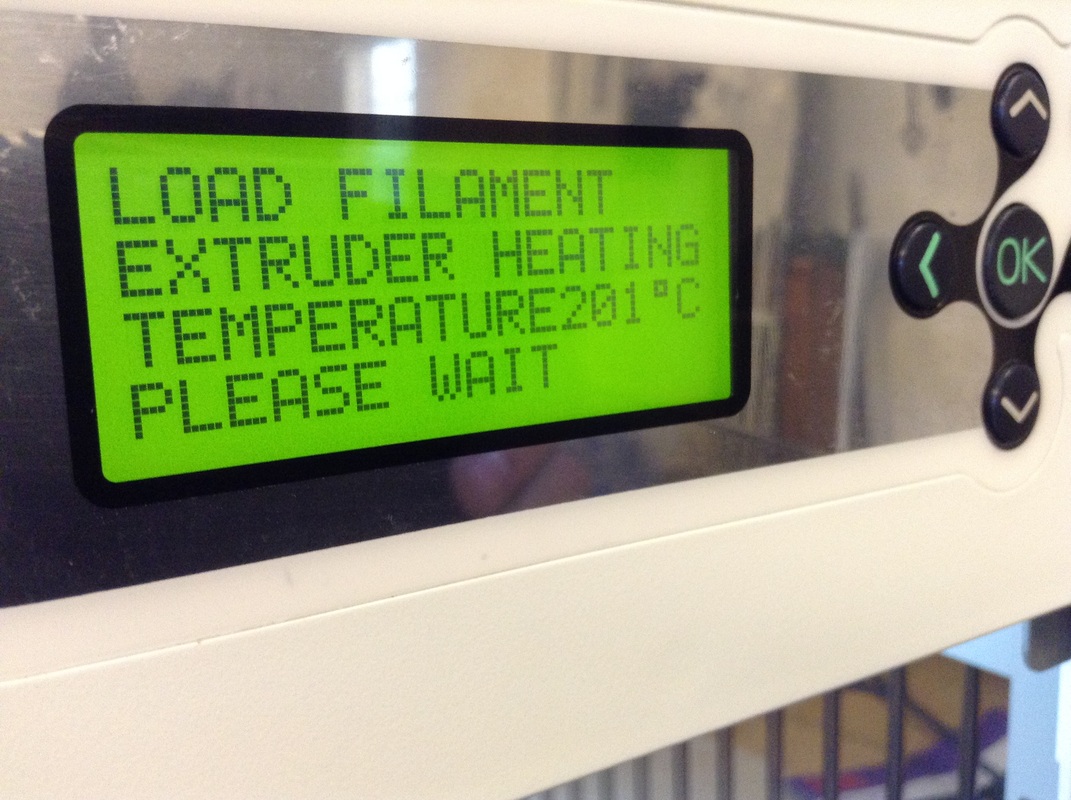
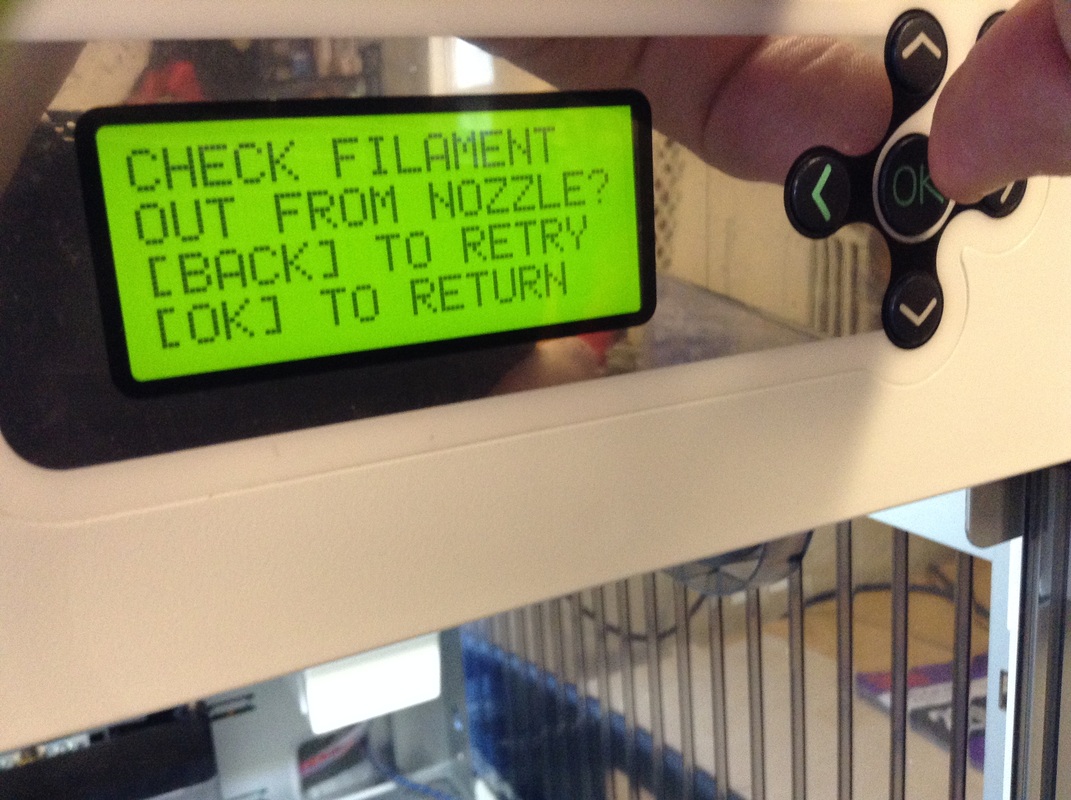
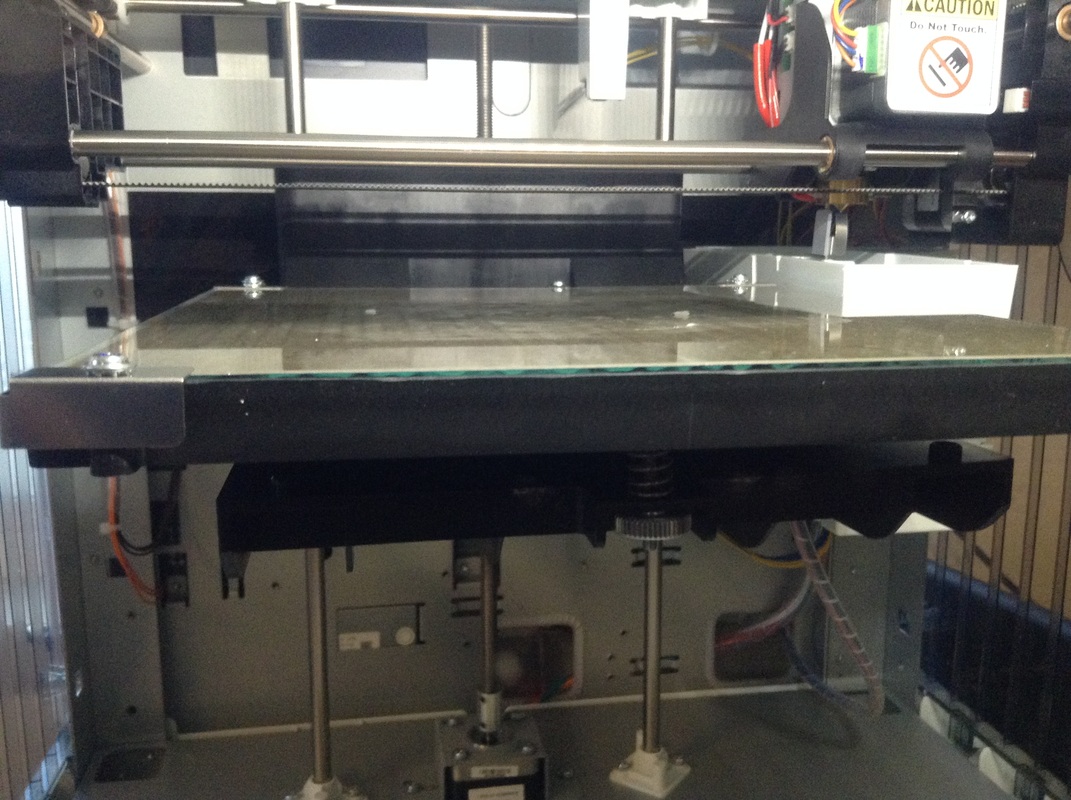
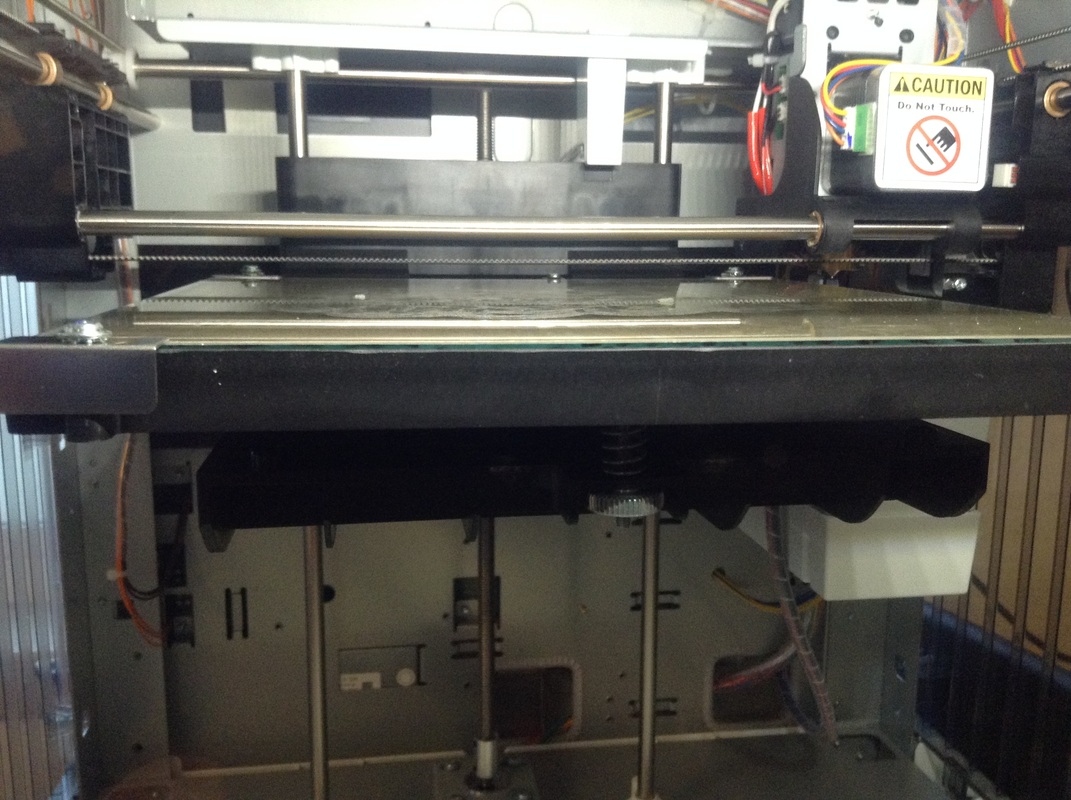
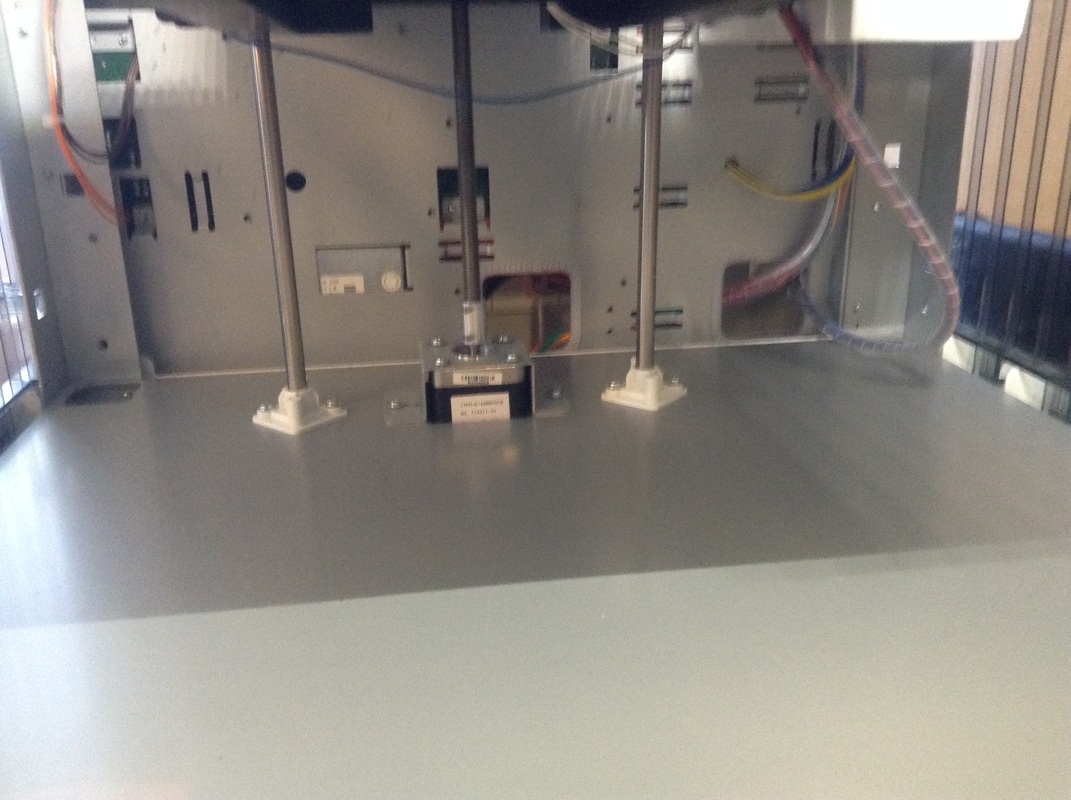
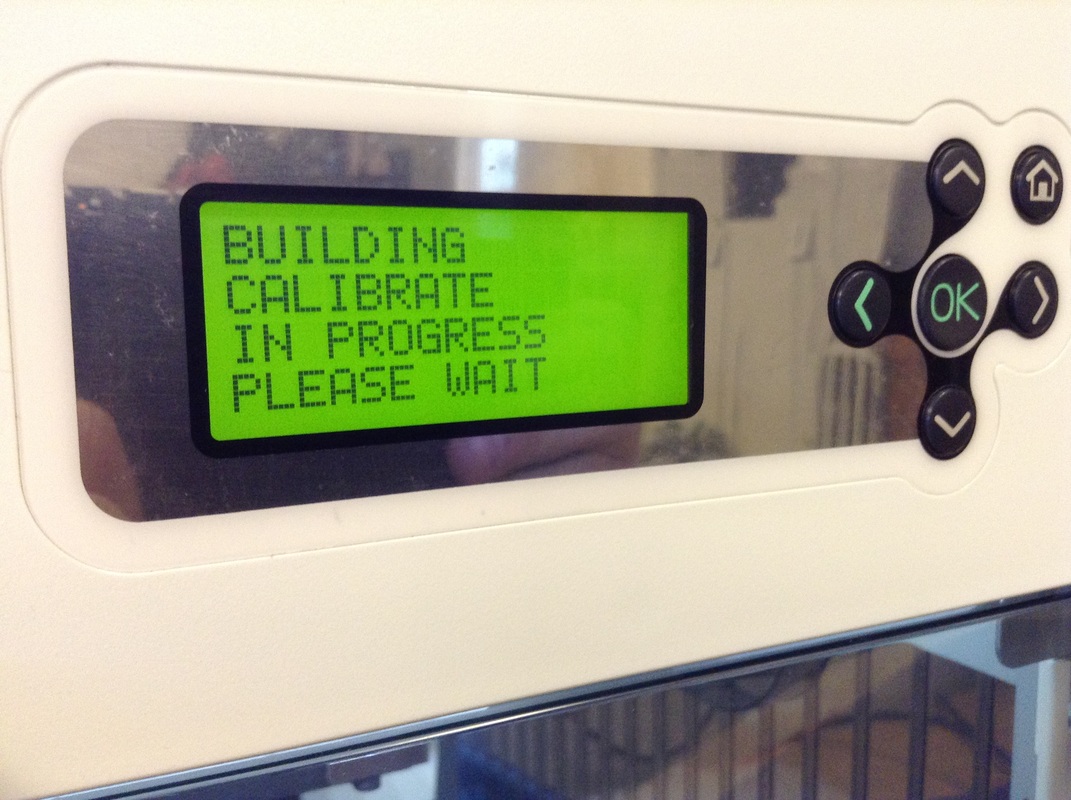
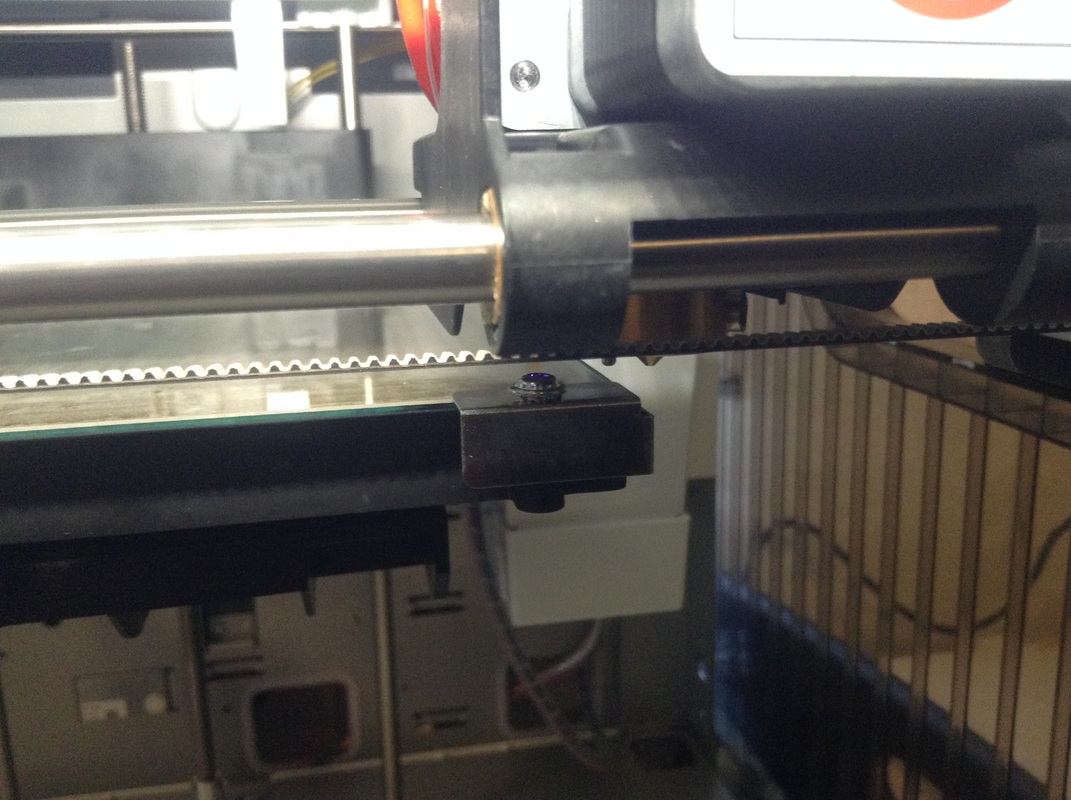
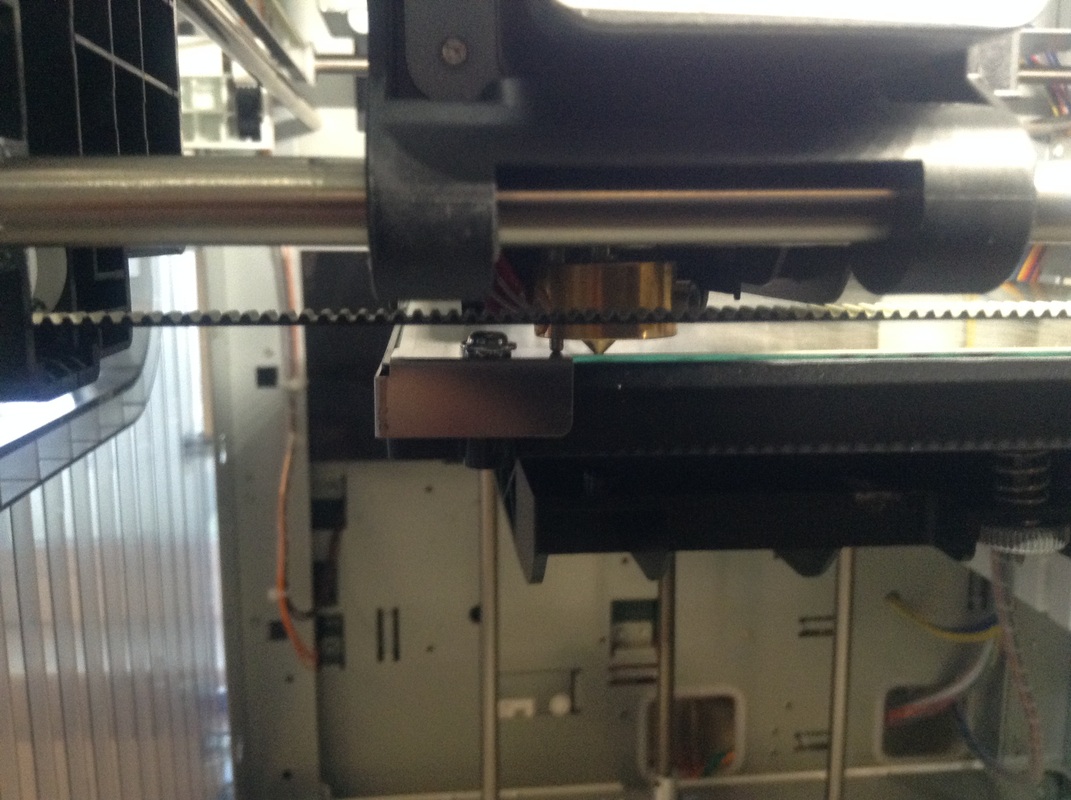
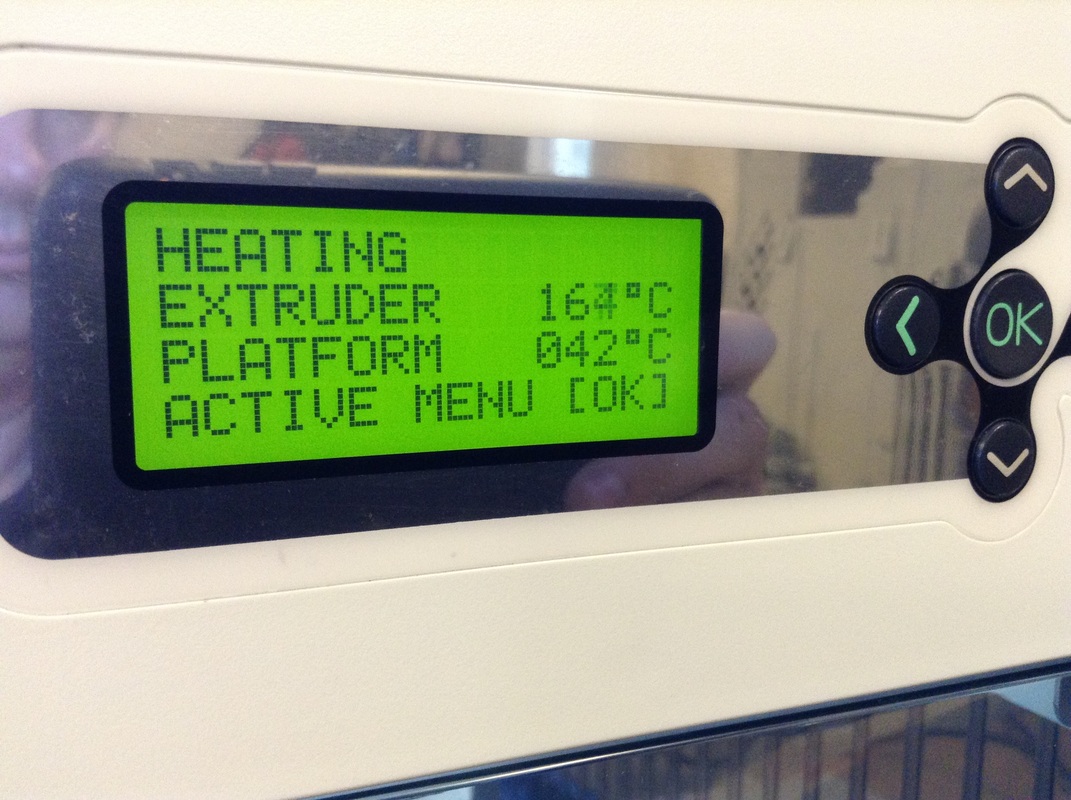
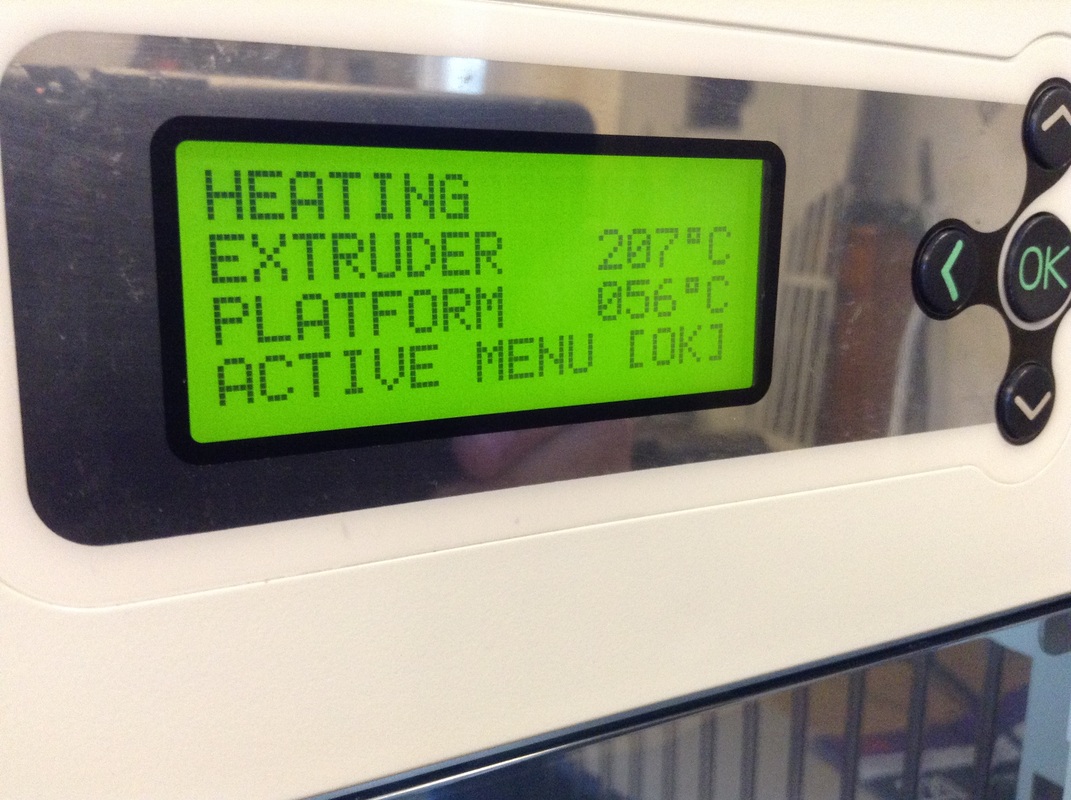
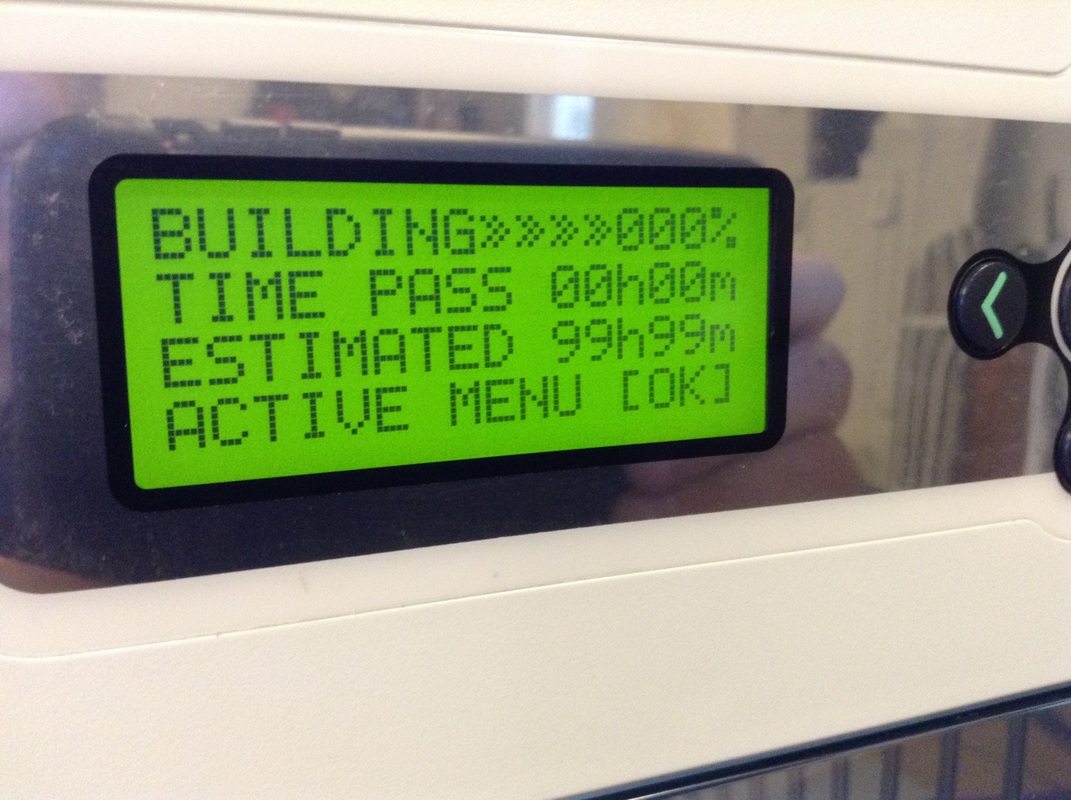
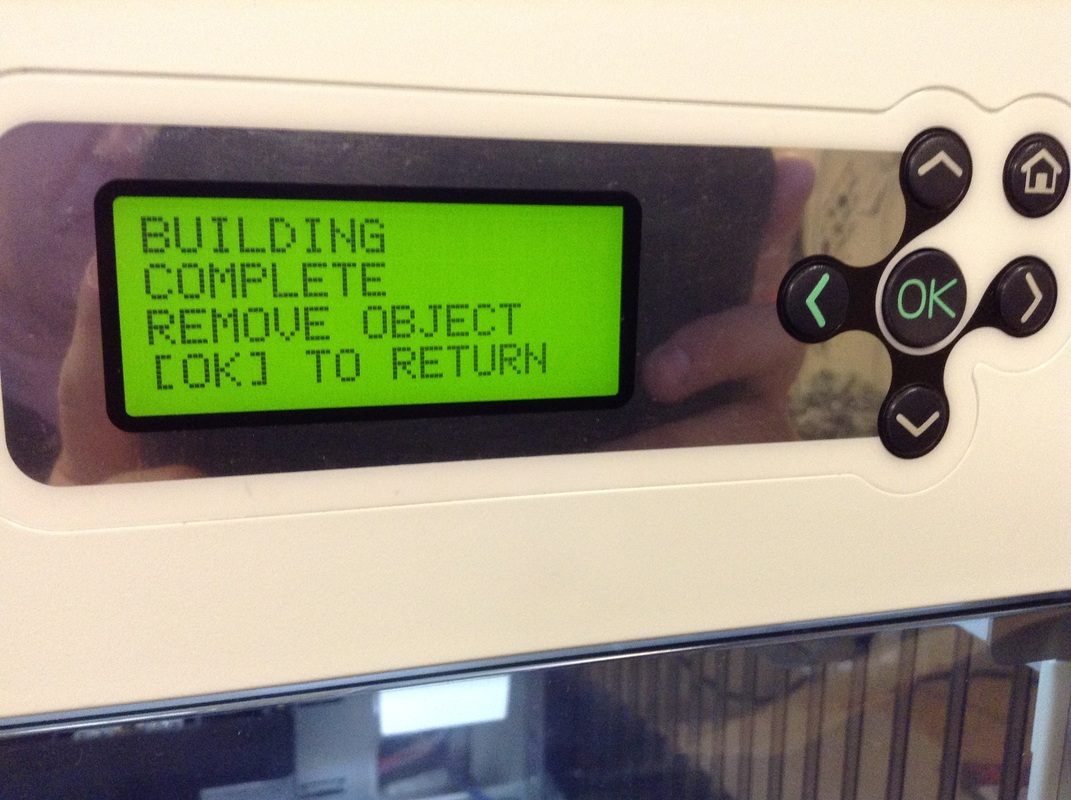
I'll step you through the un-boxing in the picture gallery below. Just hover over the picture to see my comments for each stage of the build (if you are on a iPad then you have to click on each picture to see the comments). I went from strapped box to printed XYZ Keychain in about 1 1/2 hours total. I am very impressed with the printer. Now to see what else it can do and see if it can print thingiverse.com files and then eventually my own design.