|
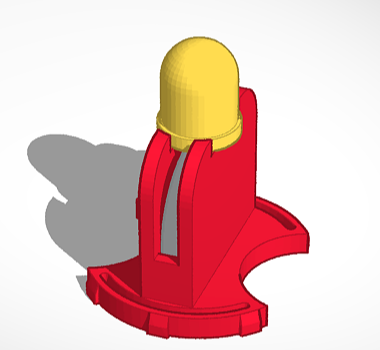
In my October 20th Filament Friday show at my YouTube Channel I showed how to modify a 3D print pumpkin design in Tinkercad to include LED lighting. The LED insert is a relatively new feature in Tinkercad. Its one the of the Circuit Assemblies that offer now.
The design is quite simple but still well done. The base is designed to have a spring loaded snap in capability. The center holds a CR2032 3V Coin Cell Battery and the LED is just pinched over the battery to make connection.
This led me to explain, in the video, how to wire up an LED and why a resistor is recommended. I also explained how this simple setup of pinching an LED around a coin cell battery works without a resistor.
If you are new to electronics or even 3D printing, this might be a great video to introduce you to these topics. This also is a great project to do with a child to introduce them to 3D printing and electronics. You can watch the video below.
2 Comments
|
Categories
All
Visit previous blog posts in the archives below.
Archives
February 2018
About ChuckChuck has been programming with PIC Microcontrollers since there were only five devices. Now there are over 700 and growing. He also has a lot of fun 3D printing designs using his Davinci 3D printer and TinkerCad software. In this series of blog posts and occasional videos on his YouTube Channel he tries to help you get started with electronics and 3D printing. Disclaimer |
- Books
- Chuck's Blog
- YouTube Channel
- About Chuck
- 3D Printing
- Getting Started with PICs
- Build Your Own PICKit 2
- CHIPINO
- CHIPAXE Breadboard Modules
- Understanding Hex Files
- chipKIT
- Newsletter Archive
- Contact
- Retired Designs
- Downloads
- Kickstarter Projects
- Great Cow Basic Site
- Buy Hardware
- Links I Recommend


 RSS Feed
