It's been amazing to watch the growth of home electronics hobbyists/makers/inventors/etc. over the last 30+ years. I learned about microcontrollers back in high school; programming my first one on a healthkit trainer. I was writing machine language (1's and 0's) back then entering hex code not assembly code. Assembly code was a higher level language.
|
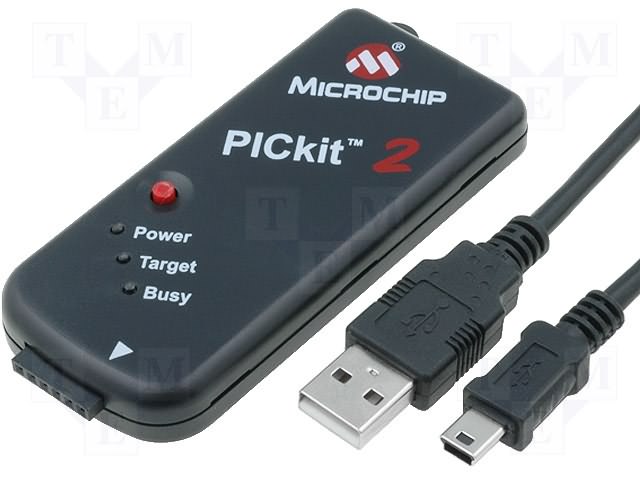
When you factor in all the clones and how long its been released, I believe there are more PICkit 2's in the world than there are Arduino's. Unfortunately I don't have the numbers to back it up. But who really cares, the fact there are so many of both of these hobbyist tools being used everyday is awesome. It's been amazing to watch the growth of home electronics hobbyists/makers/inventors/etc. over the last 30+ years. I learned about microcontrollers back in high school; programming my first one on a healthkit trainer. I was writing machine language (1's and 0's) back then entering hex code not assembly code. Assembly code was a higher level language. When I graduated college I had learned 8080 and Z80
2 Comments
I launched this information type site about one year ago under the elproducts.org domain name while I maintained a commercial site for my books at elproducts.com. But then the opportunity presented itself to partner up with my brother and take over Howtronics.com. I jumped at it and then found elproducts.com wasn't needed anymore so this site is now the home of the elproducts.com domain. Howtronics.com (How-To-Electronics) actually started out as
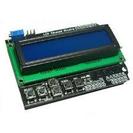
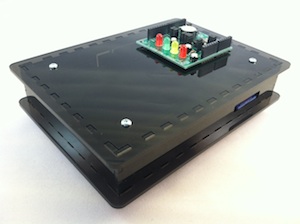
I recently updated the SimpleC library I created in my Beginner's Guide to Embedded C Programming - Vol 3 to include an LCD routine to drive the popular DFRobot LCD shield. It took a little bit of manipulation but I think it will become the new LCD drive routine for any future projects.  The LCD shield is CHIPINO, Arduino and chipKIT compatible but the CHIPINO pinout made the previous LCD routines impossible to use. They relied on the four data connections to the LCD to be in order (i.e. B0-B3 or B4-B7). The DFRobot shield connects to the Digital 4-7 pins on the Arduino which are PORTC pins C3-C0 on the CHIPINO. So they were in order but all data sent would be backward. The Maximite computer that I use needed a nice box so I spent some time with MakerCase.com and then additional time modifying the files in Inkscape to produce the box seen here. The box houses the Colormax Maximite board which has Arduino headers so I included an access to those for easy shield plug-in capability. The back has all the connectors for Keyboard, VGA monitor, USB, Power and Expansion header. The front has a slot for the SD card.
|
Categories
All
Visit previous blog posts in the archives below.
Archives
February 2018
About ChuckChuck has been programming with PIC Microcontrollers since there were only five devices. Now there are over 700 and growing. He also has a lot of fun 3D printing designs using his Davinci 3D printer and TinkerCad software. In this series of blog posts and occasional videos on his YouTube Channel he tries to help you get started with electronics and 3D printing. Disclaimer |


 RSS Feed
