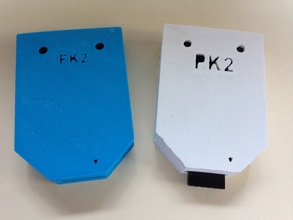
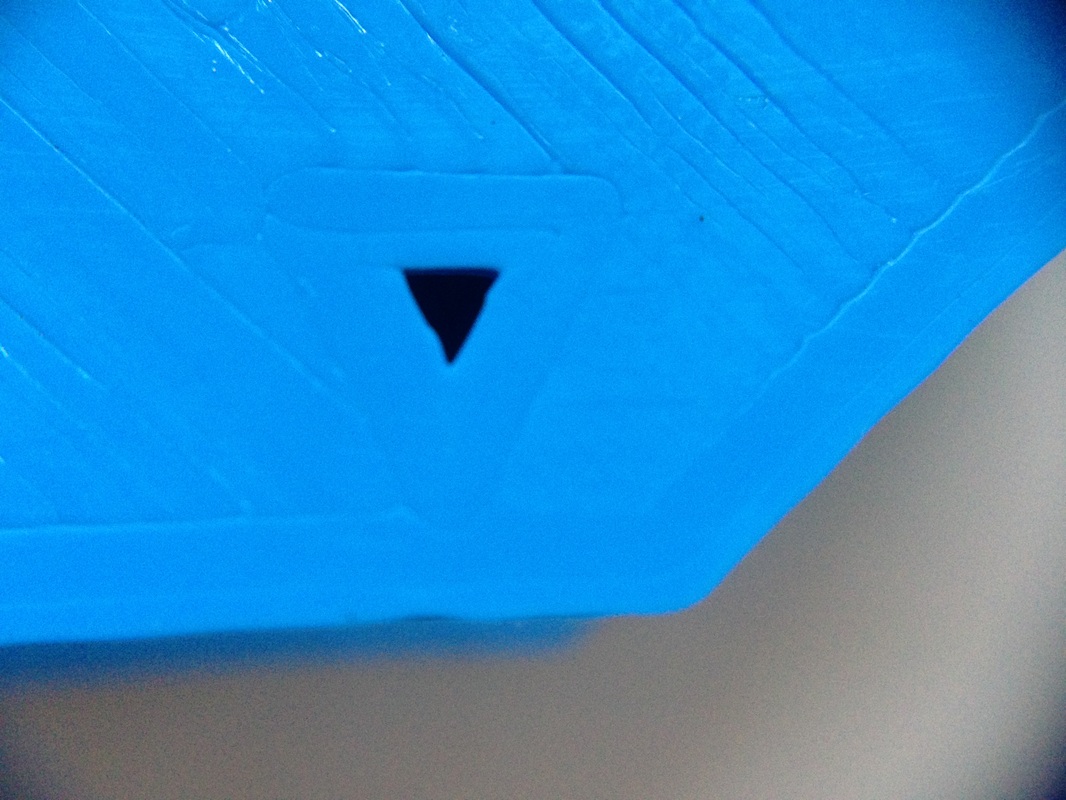
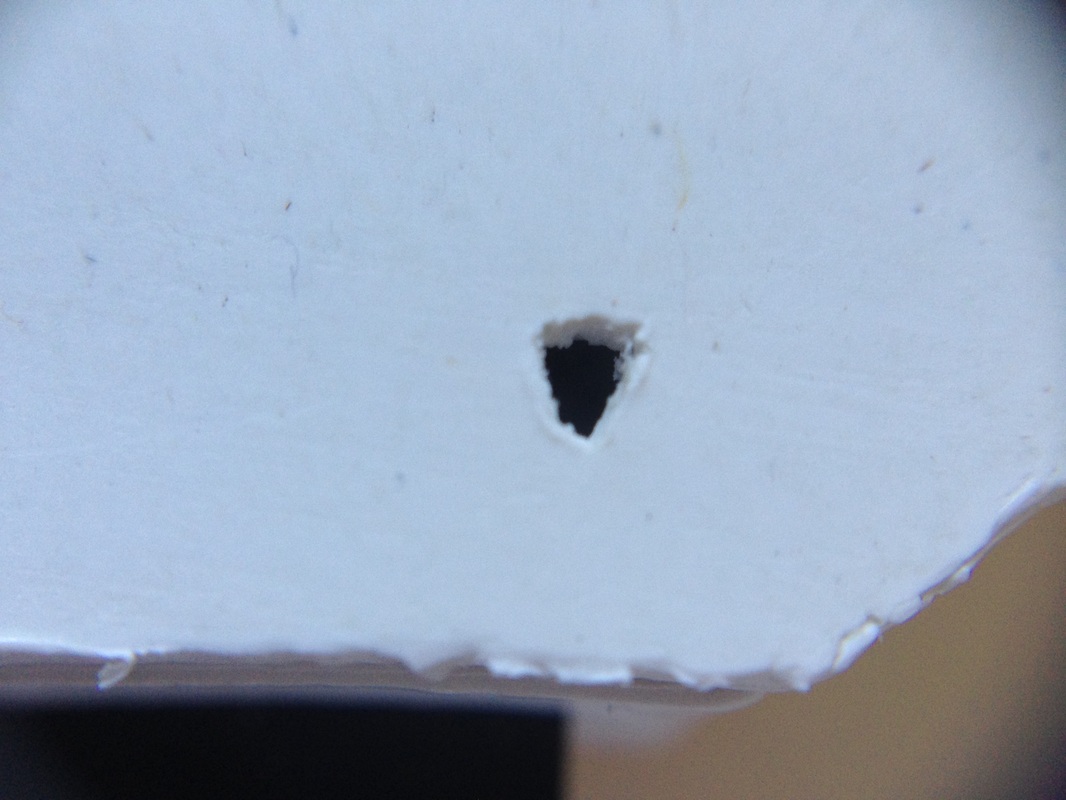
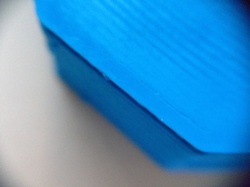
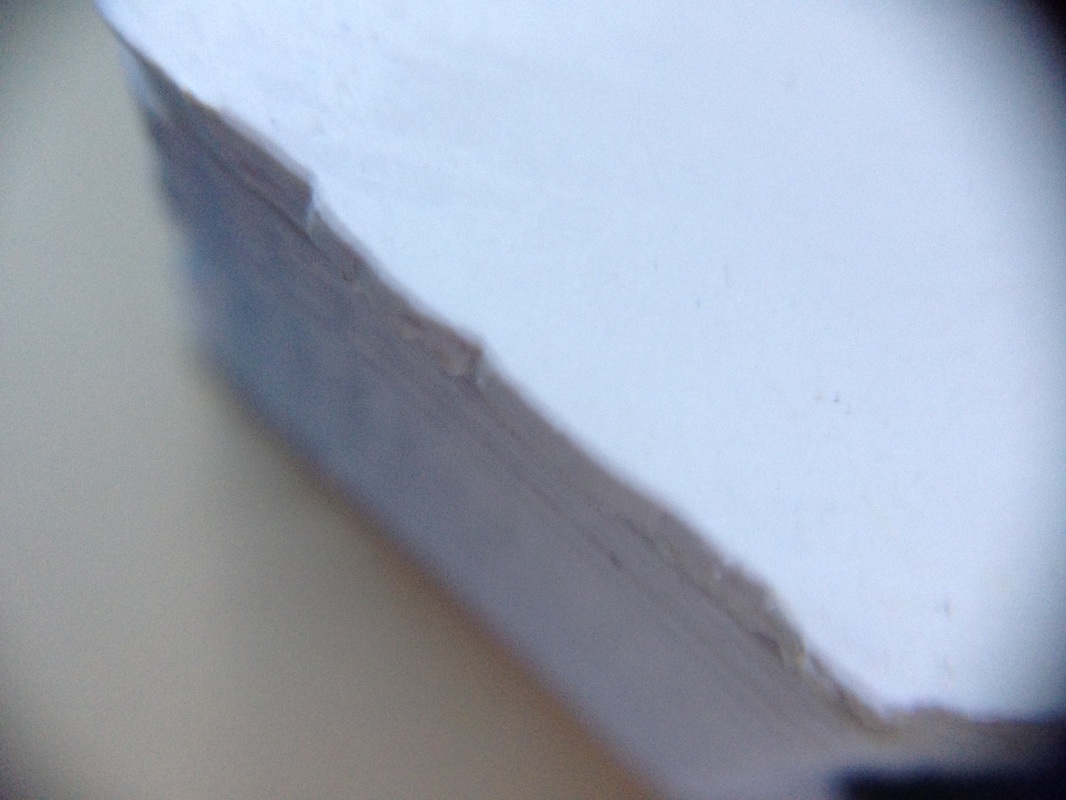
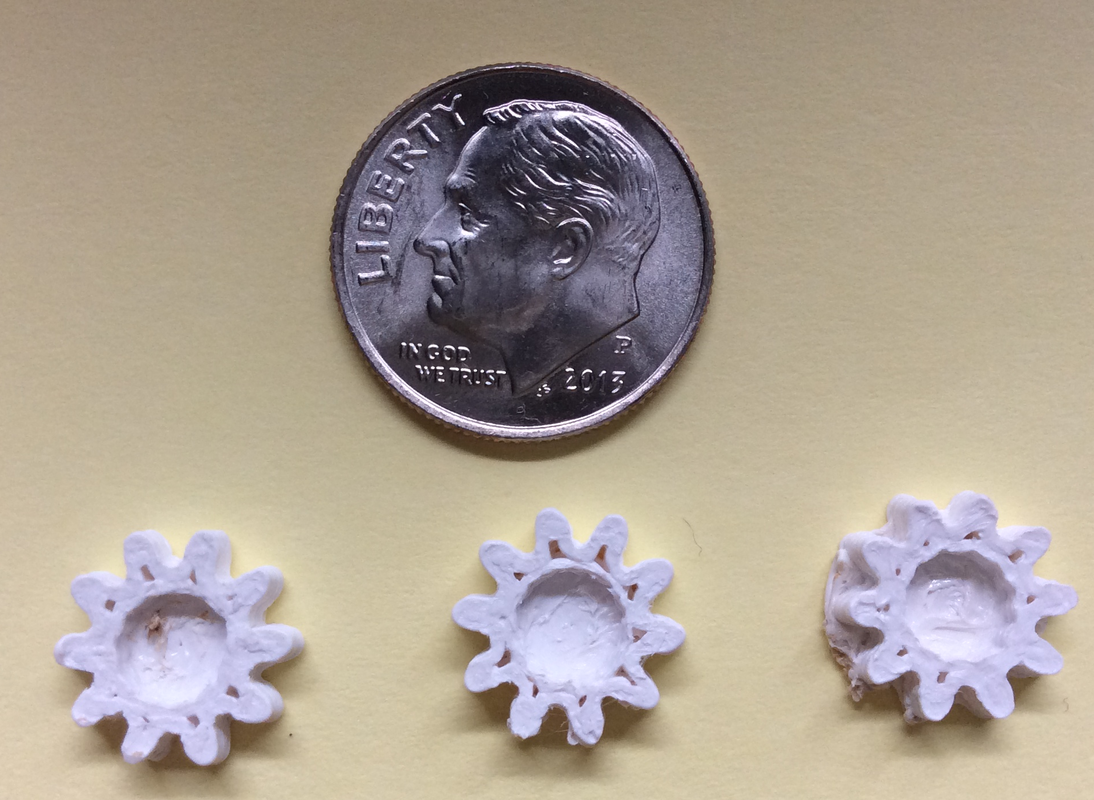
After the adjustment, the results improved. The Arrow showing pin 1 came out much better. The edges were straighter as well. And this is 0.1, 90% on white case vs 0.2, 50% on blue case. So a level platform is very important based on my limited results.
|
I had a reader ask about the connections from the PK2 to the PIC device and realized I didn't have that on my PICkit 2 page. I also realized I should put the PICkit 2 User Guides and a summary of the different software files I list on the page. So I updated the page to include all that and also pictures of the 3D printed case for the PK2. I also changed the filament in my Davinci 3D printer to blue and printed a new case in blue. In the process, I discovered the heated platform was not level on the 3D printer. I ran the automatic calibration 5 times and couldn't get it to level when following the recommended adjustments. So I did it manually and then ran the automatic one more time to verify and it passed. I'll be adding that procedure to my 3D printing page to help anybody needing to do the same. After the adjustment, the results improved. The Arrow showing pin 1 came out much better. The edges were straighter as well. And this is 0.1, 90% on white case vs 0.2, 50% on blue case. So a level platform is very important based on my limited results. Keep the questions coming. It helps me know what you want to read here on this blog. I have a lot of information from over 20 years programming PICs so sometimes I take for granted what people know. Getting your feedback helps me build a better website to share this info stuck in my head.
0 Comments
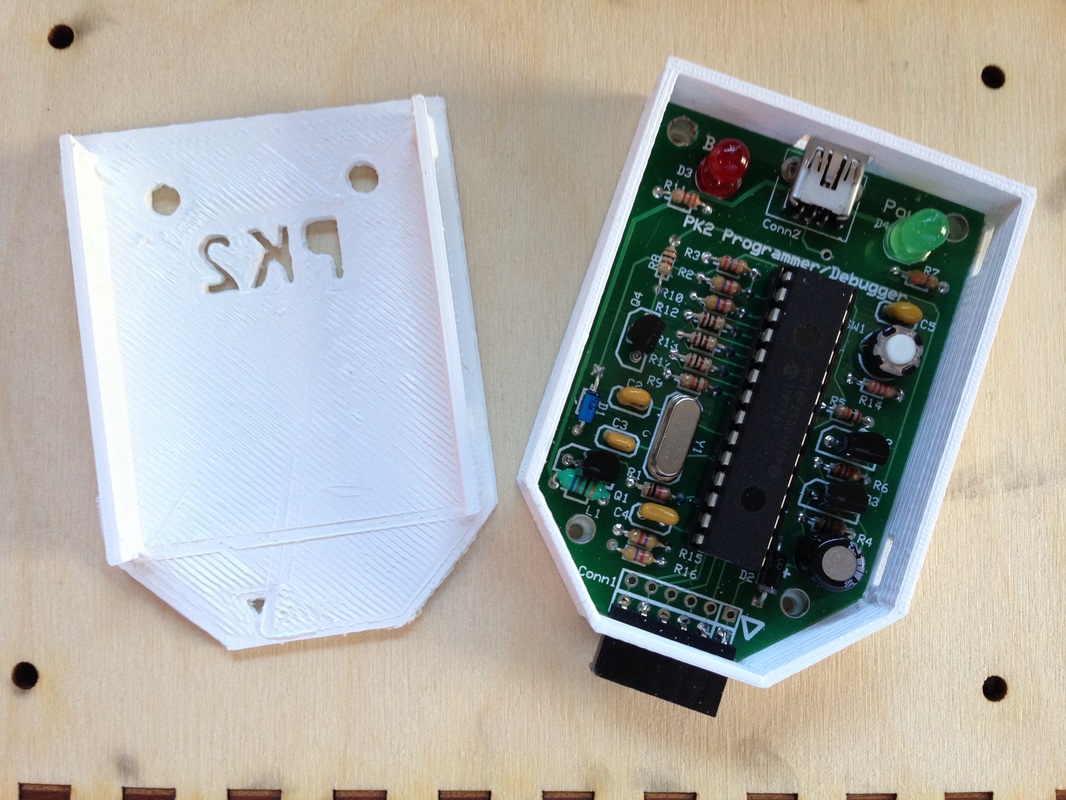
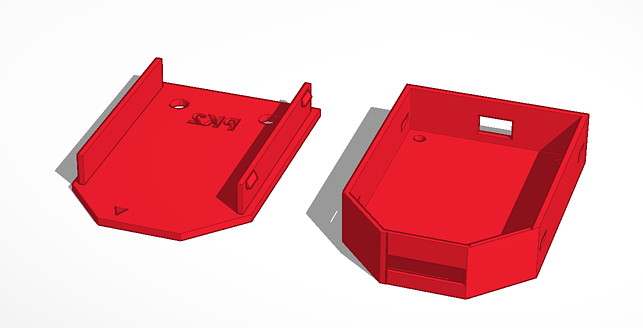
The final print of my PK2 case using my new Davinci 3D printer worked good. I now have a stack of failures in my lab to get to this point but many of them were my own mistakes. I used TinkerCad for the design. I did a final print of the cover at 0.1 height and 90% fill. I didn't have a lot of success with this in previous prints but this time it came out good. I've found that the placement of the design on the heated bed affects the results. Since the top of the box is the bottom of the print, the heated bed had a huge affect. The side snaps needed a little trimming with an Exacto knife to get rid of the extra plastic, but that was expected as I didn't design in any support for the over-hanging wedge on the top walls. The plastic sags without support and then cools off in that sag position. A simple slice with the Exacto cleaned it up. I gave up on putting the elproducts.com name on the case top because it was unreadable. I even tried it as a cutout like the PK2 but it needed to be too big for the Davinci to print it readable. The case makes a nice package if you don't want to use a bare board design. I'm going to add the .stl files to my PICkit 2 page so anybody can print them. This makes a nice project for an electronics class. Build the board and then print the case. In the end you have a useful project. Use it with the free Great Cow Basic compiler and you can be programing PICs in no time.
Note: The Davinci 3D printer went is now $529 vs the original $499 at Amazon.com. Demand drove it up apparently. And they are out of stock again. I'm told that MicroCenter will carry them so if you have one of those stores near you check it out. If you buy one through the link in the upper right on this blog, I get a small royalty so if you like what I write consider clicking there first. While I wait for the servo motors to arrive for my robot arm, I decided to try and make a 3D project and print it on the Davinci 3D printer. I decided to make a case for my PK2 - PICkit 2 Clone programmer. I had played around with a 3D software called TinkerCad a year or so ago but never had a printer to test anything on, so I never got into it too deep. I fired it up again and tried to make the case. It requires google chrome to use it and its a free online program. Its a bit clunky but I was able to figure out the basics. They have some step by step tutorials which do help but after a few of those I knew I just had to dive in and learn. The case started with just a base and holes for the board. I thought about making standoffs but then decided to build walls around the base. That led to even taller walls and eventually a removable top. I even cut some holes in the ends to only allow the connectors to poke through. The cover has holes for the LEDs and I added letter cutouts to form the PK2 name. The last part was the toughest challenge. I wanted the cover to snap-in and lock itself in place. So I made little wedges on the walls of the top and holes in the sides of the bottom case that lined up. It took a couple tries but I finally got it to work. The final step was to recess my website into the top but not all the way through. Because it will be on the bottom of the print its not visible in the picture above and gravity will fight it when the printer tries to put that on the face of the cover. It's printing now as I write this so I'll see how it turns out. I'll show the final version in a future post. I'll open source the files so anyone can print the case as well.
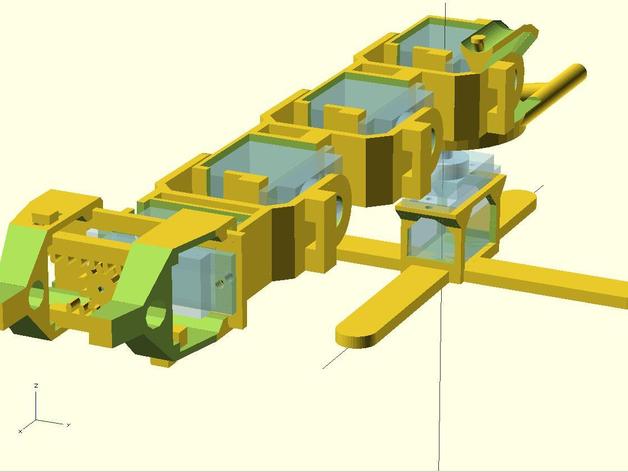
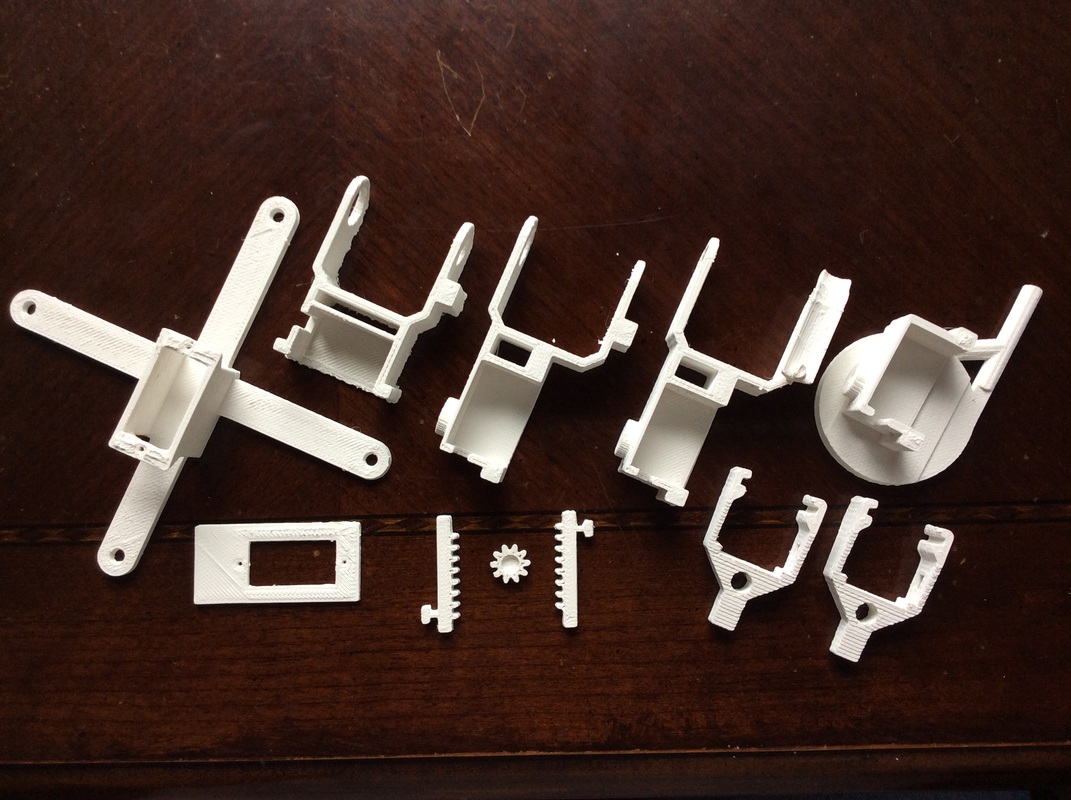
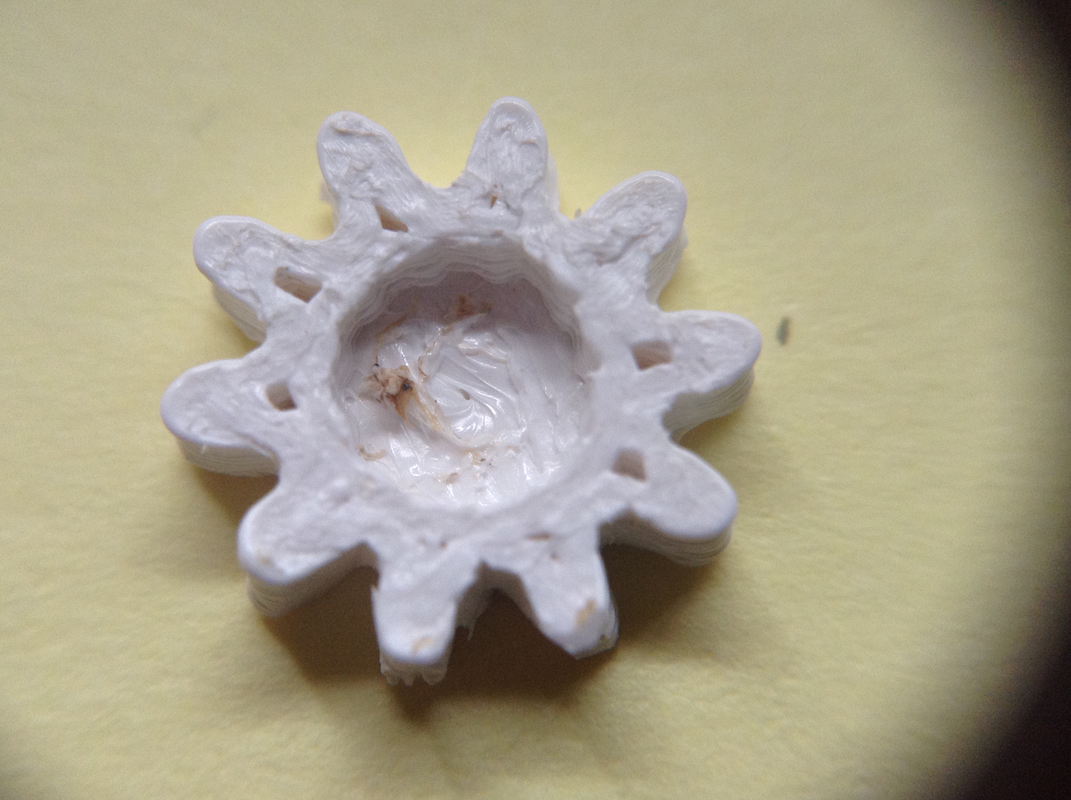
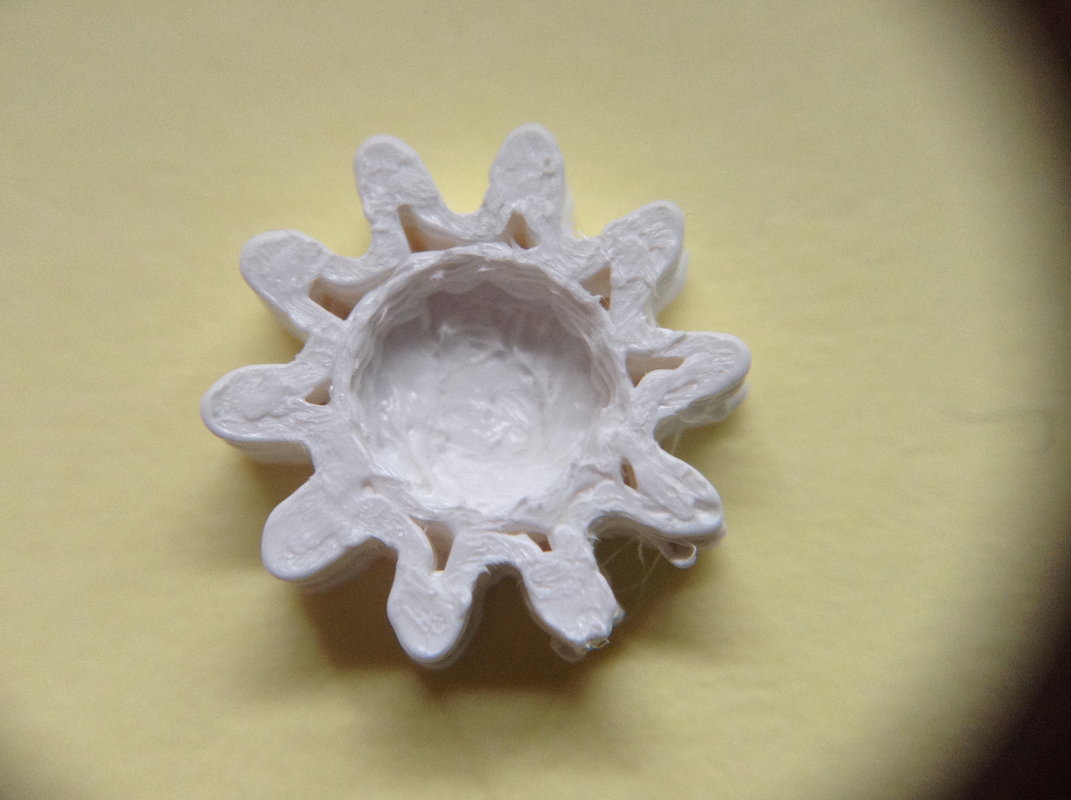
I'm still having a lot of fun with this Davinci 3D printer. I was searching thingiverse and found a interesting micro robot arm from user Holgero. It uses 9G micro servos so its not real strong but I've been looking for a simple robot arm to control with CHIPINO or Maximite and this looked like a great option. So I printed the components one by one as you can see in the picture to the lower right. I ordered a set of servos from EBAY and as soon as they arrive I can assemble the arm. In the process of 3D printing these pieces on the Davinci 3D printer, I found that the "Excellent" setting worked the best. It uses a 0.2 level and 30% fill. A 50% fill is sometimes helpful but that is an advanced setting. The test of this came when I tried to print out the very small gear that drives the arm's gripper. I tried 0.2, 30% (Excellent), 0.2, 50% and 0.1, 50%. They are shown below. 0.2, 50% is on the left. 0.2, 30% is in the middle and 0.1, 50% is on the right. The 1% still needs to be trimmed but it had more stuff to trim than the other two. The 0.2, 30% in the middle should work fine but the 0.2, 50% has a better hole size to fit the servo shaft. There was a hole designed into the center for the servo screw but none of them printed it. Below are close-ups of the 0.2, 30% on the left and 0.2, 50% on the right. The 0.1 just wasn't worth the extra time or material. I frankly am convinced that the Excellent setting is the way to go for most prints. I'm still running off the original cartridge that came with the printer. I've printed a lot of small stuff but I'm still amazed how long it has lasted. It originally said I have 120 m of 120 m max material so that doesn't make much sense since I started with 300 grams of material. But I've printed the whole robot arm and it still says 120 m so I'm not sure its accurate. I'll keep printing until it runs out. I ordered more colors and they arrived yesterday so I'm all set for plastic. Each color is 600 grams so twice as much as I've started with. I may try printing in two color by pausing the print, swapping cartridges and then finish with the second color. I'll see if that will work. I'm also looking at design software. Sketchup is popular but I've played with tinkercad in the past as well so I may try that now that I can actually print the result.
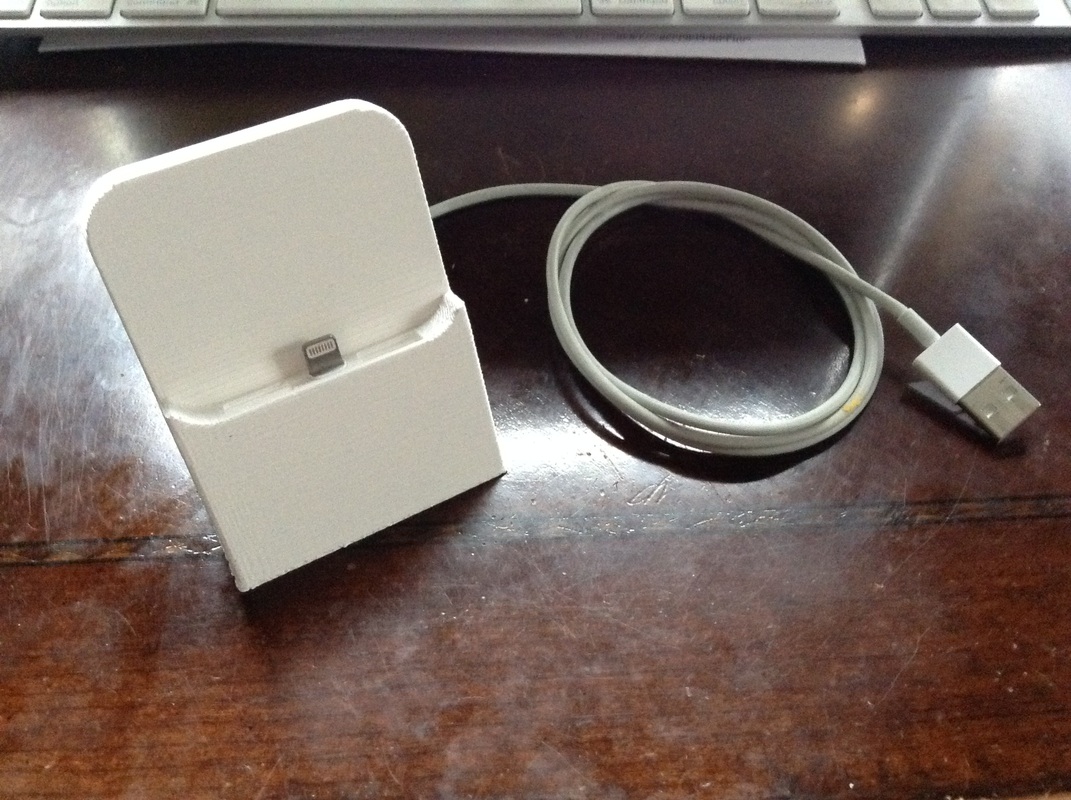
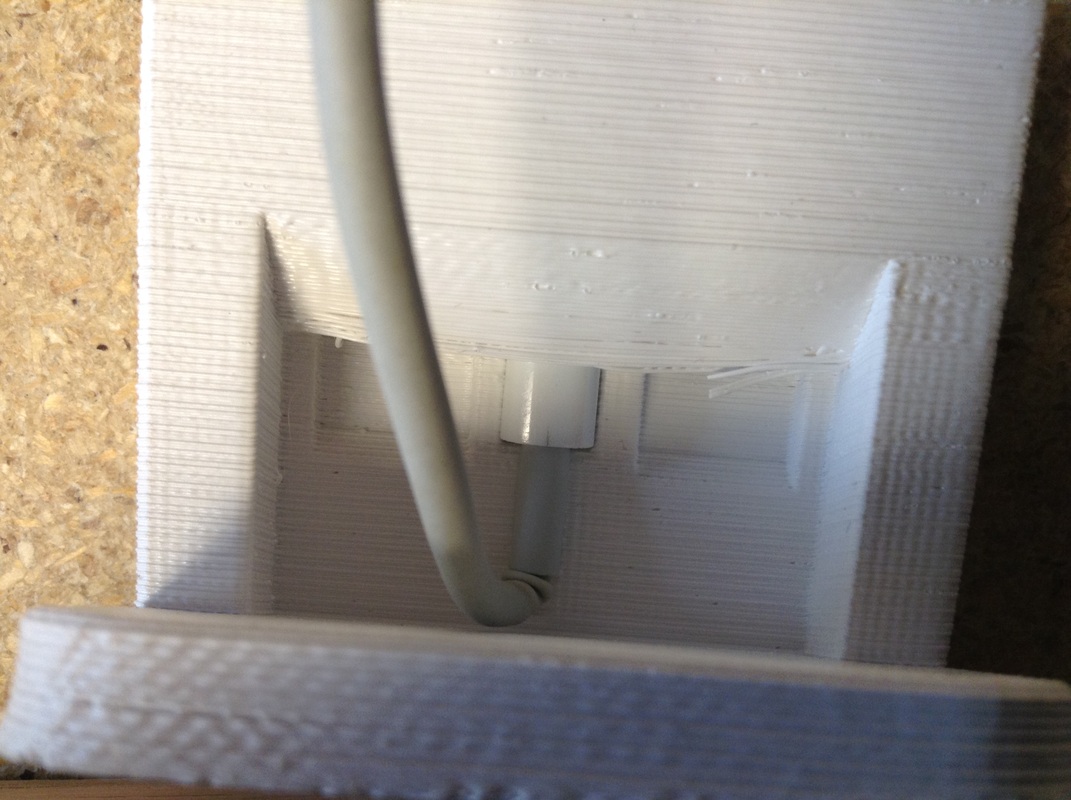
In the near future I want to 3D print a case for my PK2 programmer. That's for another post on another day. I searched Thingiverse for a product I would use and also so I could test the print quality. I decided on a docking station for my iPhone 5. There were many to choose from but I settled on the one from user Shrotti. It looked like it had an access hole for the charge cable which many didn't so I downloaded it and printed it in Excellent mode 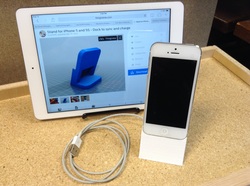 which is 0.2 layer and 30% fill. The results were amazing. The print took a couple hours but I didn't care. I loaded it up and walked away. The Davinci did the rest while I ate dinner and watched TV. The result is shown to the left. The cable did fit and it was tight. The design was well done. The dimensions of the cable hole were spot on. A little wiggling of the cable and it slipped into place. There were guides designed in to support it on the sides. My phone had a case but this one was designed for a non-case iPhone 5 or 5S. My son has a very thin case on his 5S and it fit on the dock fine. I charged my phone on it overnight and its already a useful print. The quality at this level was very good. I tried to print a few things at the 0.1 level but so far its been more troublesome. The 0.2 seems to work fine. I'm having more fun than a kid at christmas with their new toys. I can actually see people buying two of these at the $499 price and printing in parallel. I'm currently printing two items side by side as I write this to see if that works as well. Some forum post stated that you could load two files at the same time and print them together so I'm testing that out.
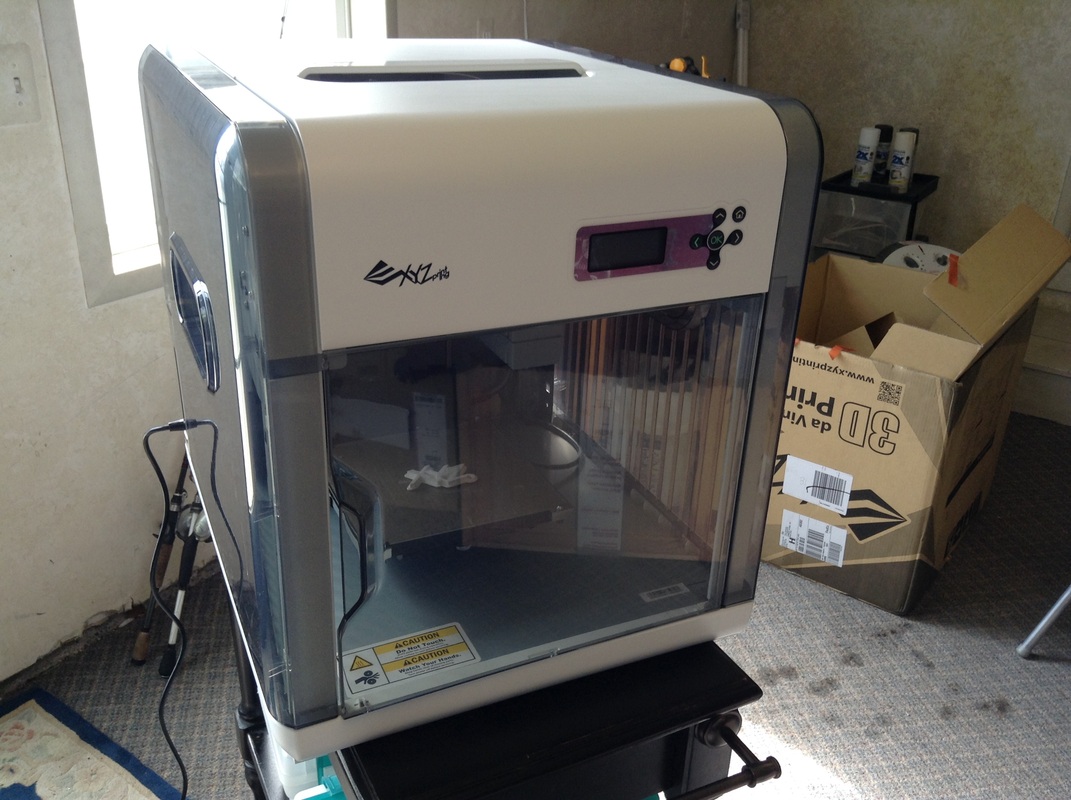
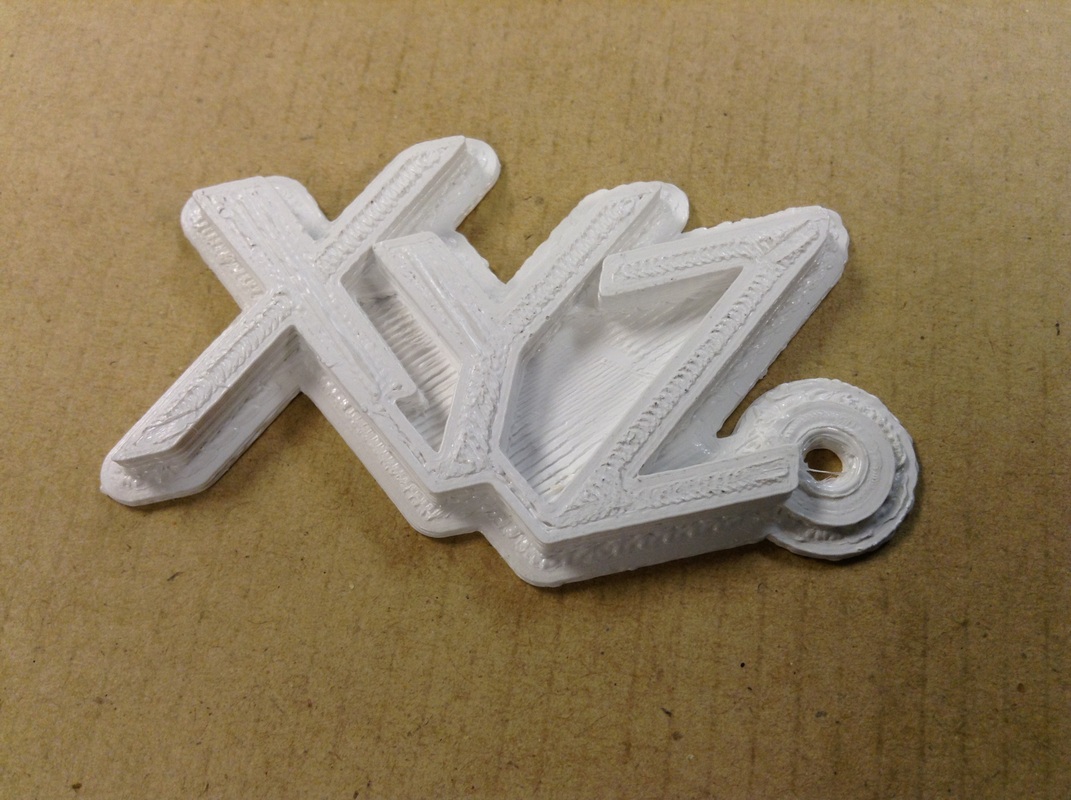
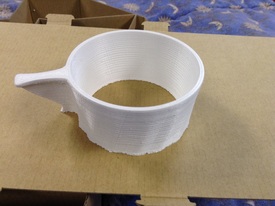
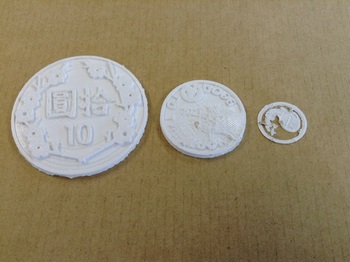
I'm sure anybody who has a 3D printer is laughing at me over something they've known for a while that these things are not only useful but fun. But I figure I'm just helping out those that are still thinking about getting into this. I cannot recommend the Davinci enough. I did email them about the door not closing but still no answer back. I'm glad I didn't have any serious issues or I'd be getting a bit frustrated with no answer. The Davinci 3D printer from XYZ Printing arrived and in less than 1 1/2 hours I had it setup and printed my first sample. To put it simply, this printer is awesome. I can see that the resolution of the print needs to be adjusted and this will take some time to learn the limits of this printer but the quality of the unit is really good and the setup was easy. I didn't even need to load any software to get the first print to run. I created a new 3D printer page and added a step by step picture gallery of the setup. The instructions included were complete and everything went as expected. The one step it said to do was to connect the USB cable to the PC but I didn't see the need since I was going to print one of the samples that was already on the SD card built into the printer. After printing the key chain I then tried another sample which had the name "Sample" so we had no idea what it was. And after printing it we still have no idea what it is. Maybe a holder for a Starbucks cup of coffee? The next step was to get the software installed on my PC. I am a Mac user but most of my Macs are still running Snow Leopard (10.6.8) but the software needs 64 bit and v10.8. I only have one that meets that need and its being used by my daughter. The requirements for Windows is more forgiving so I tried to use my netbook that I use for programming with Great Cow Basic. It's an Atom machine running XP. I downloaded the software since it doesn't have a CD slot. Then the fun began. The download didn't like Internet Explorer. So I installed Chrome. With Chrome the XYZ software installed fine. I opened the software and a message stated I needed to update my graphic driver to run OPEN GL 2.1. Mine was apparently only running 1.1. It also looked very funky so it was clear the software wasn't going to work. After a lot of searching I found the Intel site with the driver I needed. It would not install from Chrome so I switched to Internet Explorer and that seemed to work. Then after it installed, I ran the XYZ software again and it said I was now running Open GL 1.4 not the 2.1 I needed. I noticed that the screen looked normal though so I clicked the X to bypass the message and the software seemed to load files fine. So I loaded a small coin file from Thingiverse and it showed up on the screen but looked flat. I decided the flat look might be my 1.4 vs 2.1 problem so I printed it. And flat is what it printed. I then decided to print a file from the XYZ gallery at their site and found a bigger coin. It printed fine. So I went back to thingaverse and found a new coin and it printed much better but still not the resolution I got from the XYZ files. So that is where I leave it. I'll be playing with files to see what I need to do to get them to work before I design my own.
I've been shopping for a 3D printer for some time but just haven't found what I wanted until now. I didn't want to spend a lot cause I don't think I'll use it a lot but on occasion its nice to have that kind of tool to produce a prototype part or case for my electronic projects. The Makerbot was just too expensive for me and the numerous kits out there just looked like a headache to assemble. The printrbot or solidoodle were the two I was watching the most but both were down in the $499 range and had good reviews but both had some issues for me. Printrbot started out as a kickstarter project with a low cost kit and then kept innovating to make more low cost versions. But in the process the price kept going up. The $499 version became $599 then $699 while a new low cost version was released. And I wasn't convinced they were getting better by using fishing line instead of gearing or cogged belts despite the positive reviews a model would get. And then only to see the price rise on that model in short time. So I stood by and watched.
Solidoodle looked quite interesting at $499 and it came in a nice metal frame so it seemed sturdy. But the extras quickly put it up to $699 so I had to decide what I really needed and what I didn't. Then they came out with a 2nd generation and then a 3rd and 4th. Each more expensive than the next. So what was wrong with the 2nd that the 3rd and 4th offered? And it never seemed complete with accessories available for extra cost. Makibox was another that looked interesting at $200 but it was a kit and shipping was high plus it has a 6-10 week lead time plus shipping time. And then my time to put it together. I just couldn't decide. Then I started seeing printers with LCD screens and SD card and cartridge filament and I decided I just had to start somewhere. So I was ready to start with the printrbot simple but when I went to the site the price had been raised $50. That was it. I was done with that option. So I went back to the solidoodle and somehow in the process of reviewing it I found the Davinci 3D printer from XYZ Systems. Davinci has a large build area, 7.8"x7.8"x7.8" for $499 which is much bigger than units in the same price range. I could also get free shipping with my Amazon Prime. It included a completely sealed plastic case which cost extra on other competitors. Includes an LCD display. Includes an SD card storage of the build file so I can disconnect my computer while it builds. It had a lot of nice features for only $499. A similar unit from the other two was close to $1000 (as seen in the Amazon ads above). Reviews for it seem to be pretty good. So I decided to purchase one and do my own review while I learn 3D printing. It just fit what I was looking for. I haven't received it yet but I'll keep you up to date in future blog posts.
|
Categories
All
Visit previous blog posts in the archives below.
Archives
February 2018
About ChuckChuck has been programming with PIC Microcontrollers since there were only five devices. Now there are over 700 and growing. He also has a lot of fun 3D printing designs using his Davinci 3D printer and TinkerCad software. In this series of blog posts and occasional videos on his YouTube Channel he tries to help you get started with electronics and 3D printing. Disclaimer |

 RSS Feed
