|
I found a really interesting 3D print file of a single-print hinged box. Not two pieces snapped together, but rather a single print. The design was created by a user name anewsome on thingiverse. The design prints both halves of the hinge together so the 3D printer needs to be able to print very tight tolerances. The question was, would my Davinci 1.0 3D printer be up to the challenge. I've fixed a few flaws on my printer such as a broken bearing and a wobbly base. With that my 3D prints were coming out excellent. So my guess was the Davinci could deliver and it did. The video above from my YouTube Channel shows the steps to create the hinged box. This just shows that a low cost 3D printer can deliver as well as the higher priced units. It also shows you don't need to hack the hardware or software to get great results.
1 Comment
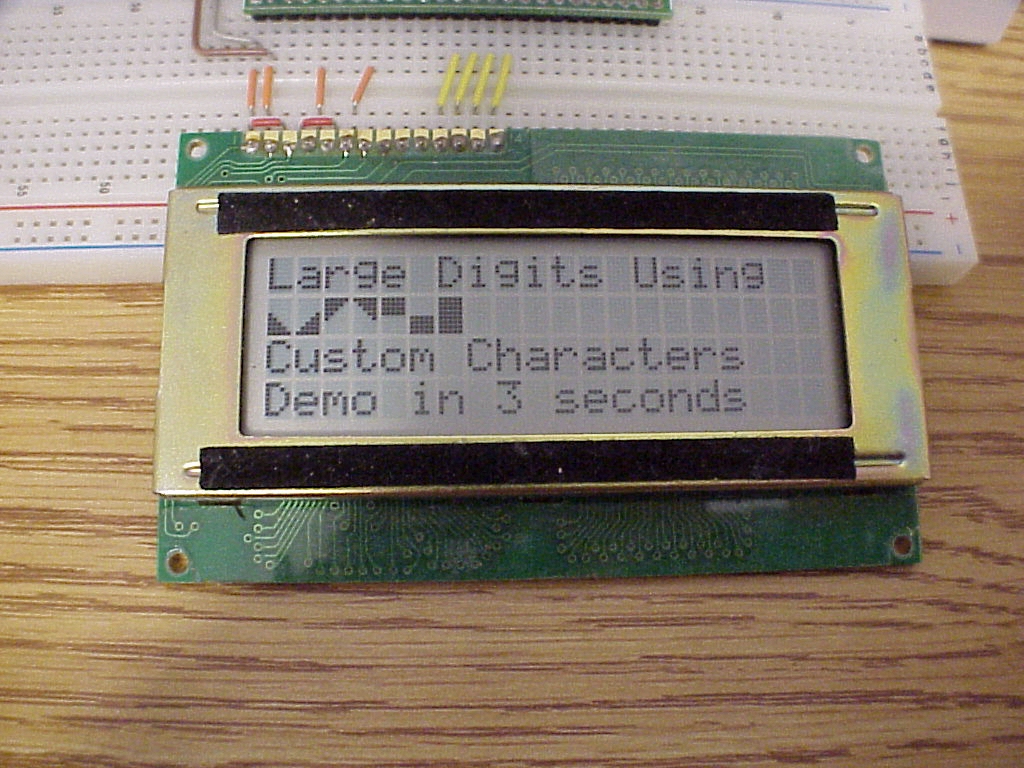
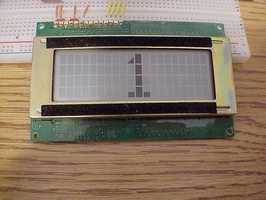
In my book Programming the BASIC Atom Microcontroller and also in my book Getting Started with PIC's - Volume 2, I wrote about creating large characters on a 4x20 LCD. It was also printed in the 2007 September issue of Nuts & Volts Magazine for my column Getting Started with PICs that ran from 2006 thru 2009. I used the trick of creating custom characters on the first 8 locations of the Character RAM in the LCD HD44780 driver chip to build the large digits. The topic of creating custom characters came up recently on the Great Cow Basic forum so I thought I would repost the article here on my website under the download page. It was written to run on the Basic Atom microcontroller but the concepts and description in the article explain how to create the effect, so it should be easy to adapt it to any microcontroller. I know I've done it with PICBASIC but I could not find any sample code in the ever expanding list of code samples on my computer. Hopefully this repost of the article will be helpful to somebody out there in my audience. I may repost all the Getting Started with PIC's articles over time as a bonus to my readers. They are a bit dated, but not out of date. So they may be helpful. If you are interested in that, please comment below.
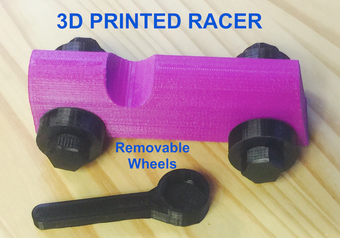
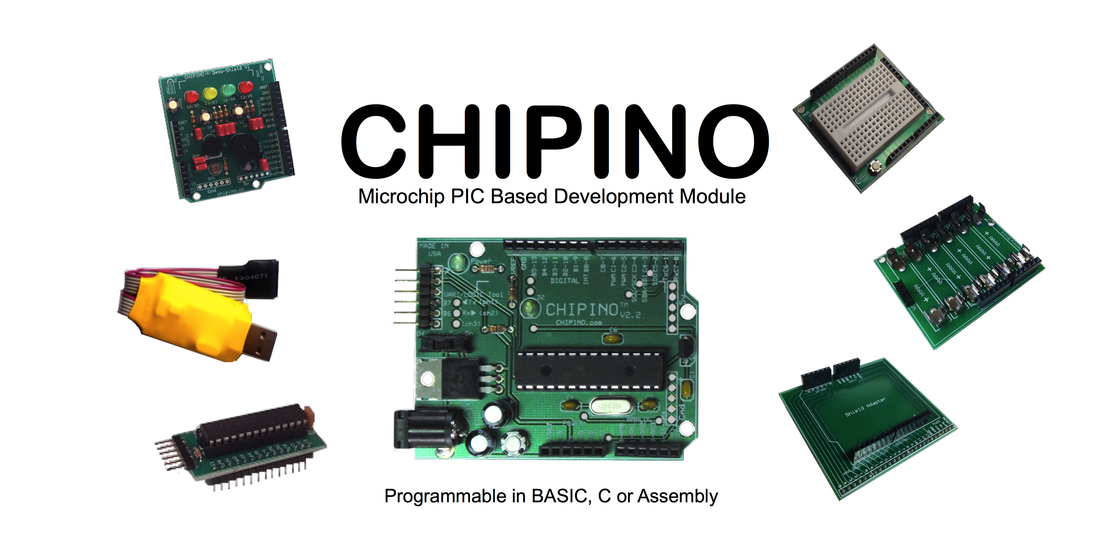
My father was a mechanic and later an auto body repairman who performed miracles to bring back vehicles that were smashed in traffic accidents. So I guess the fact I grew up around cars and the fact I live in the MotorCity was a natural path to get an electrical engineering degree and work for Ford. I spent a good part of my younger years working on, and racing stock cars. But somewhere along the way my electronics hobby, and profession, took over and I spent more time build circuits and writing code than I did modifying engines and fixing sheet metal. So the fact I've been spending more time with my 3D printers may not be what you come to this blog for but they will come together more as time goes on. But for now I'm just having fun learning everything I can about this interesting tool. My YouTube Channel seems to get a lot of people who build 3D projects for kids. And since as a kid I loved playing with race cars, I decided to build one for the kids out there. I used Tinkercad once again to create a Bugatti style racer but with a twist. I made it with plastic bolts that screw into the chassis. This allows the child to replace a tire the same way they change tires in a NASCAR race. And since the source files are all available on Tinkercad and also the .stl files on Thingiverse, anybody can easily recreate this. That is one of features of 3D printing that I really like. You can easily share the complete design and also easily edit it and share back. Software isn't even quite this easy. I spent the weekend creating a YouTube video showing how I made the project so hopefully it helps others learn a few tricks. I know I learn a lot from looking at others designs. I've been studying some very creative plastic cases for Arduino/chipKIT/CHIPINO style boards that people have shared on Tinkercad. From there I can easily modify them to fit my needs. So in the end, this column and my YouTube Channel will evolve to merge the 3D printing with electronics on future projects. That's when the fun will really begin. I recently donated some of my shield files to the CHIPINO.com website. They are just files from my kickstarter projects that I was sharing anyway but this way the CHIPINO team or anybody looking for CHIPINO support shields can get them at one location. I helped create the CHIPINO with a group of friends because I wanted to see a Microchip PIC based option to easily use the various Arduino shields. From there CHIPINO has grown on its own. The desire to make CHIPINO completely open source and not just the current non-commercial version is still something I'm pushing for. It worked out great for Arduino though maybe not the Arduino creators. The Arduino kind of took on a life of it's own and the originators kind of lost control. That is the scary part for some of the CHIPINO team. Because CHIPINO was designed to work with a Programmer, and not a bootloader, it allows CHIPINO to use any 28 pin PIC16F or 18F device that operates at 5v. That offers a lot of options. This also made the CHIPINO automatically grow with all the advancements in the Microchip PIC world. Programming a CHIPINO from a PICkit 2 or PICkit 3 with MPLAB or MPLAB X or any third party IDE and any compiler that produces a .hex file for PICs is possible with the current setup and thus makes it universal for developers of all types. From hobbyist to professional. It's one of the advantages I see to the CHIPINO has over Arduino which locks you into a crude IDE and only a couple chip options. But its clear that Arduino has taken over the electronics world so I'm clearly in the minority. But that is why I'd like to see the complete open source so others can take CHIPINO further. Time will tell. I'm also looking at changing my shield designs to completely open source as well (remove the non-commercial portion) as soon as the agreement I have with Howtronics.com expires.
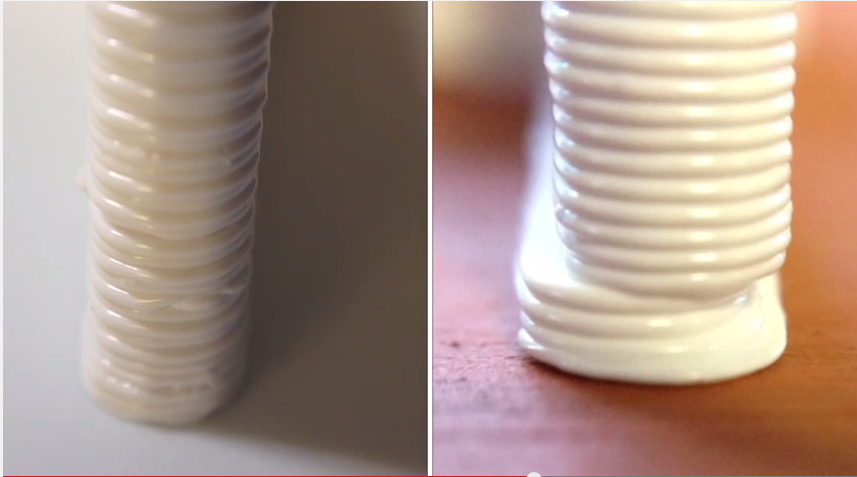
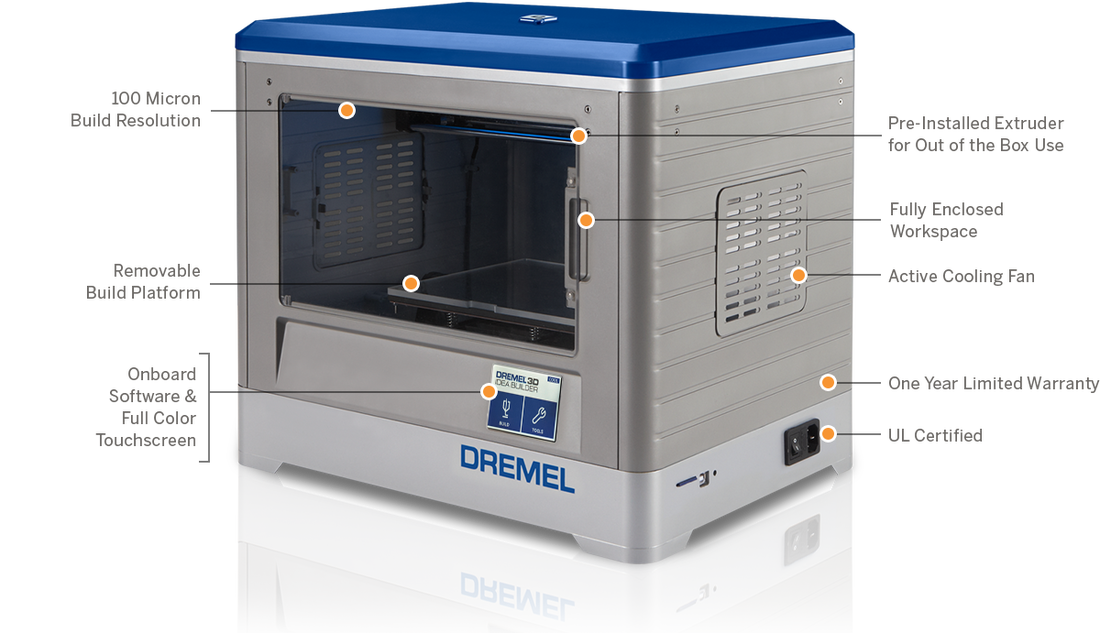
I have other designs to clear out of my lab which I'll be releasing open source over time. Each will probably be a project on my YouTube Channel. I have just so many designs I've worked on over the years and its time I just let them go for others to fully enjoy and possibly take them further than I ever could. My 2nd Davinci 3D printer had an issue that I didn't see on my first one. It was shifting the prints during the build. At first I thought maybe it was the software file, but the same file built fine on my original machine. Everything pointed to a defective machine and we considered taking it back. But a little bit of investigation into the issue led to a discovery that the print bed was loose. As the video above shows, the glass on top of the heated bed was loose and could move around in its frame. This allows the print to shift as the extruder moved around. When the plastic is extruded, it sticks to the previous layer and as it moves, it would pull the print along and the loose base would move with it. This made for some really ugly prints. The bearing on the lower part of the base frame was also loose in its socket. All this caused a shifting print bed and the prints showed the crappy results. I made a few crude fixes to test out the theory that the loose bed was the culprit. To start I jammed an Exacto blade between the loose bearing and its mount. The to secure the glass top over the heated bed, I squeezed folded sandpaper between the edge of the glass and its frame. As amazingly crude as the fix was, it worked excellent. In fact the sandpaper is still in place and running well. I used epoxy to hold a broken piece of the exacto blade in place as a more permanent bearing brace. Watch the video to see more detail on this issue. Maybe it will help others who are having this issue with their Davinci. Dremel, the company that makes the famous universal hobbyist tools, recently announced their own 3D printer. This was a surprise to me as I had not heard much about it before. It's not officially released until November but they have a lot of info on their website already. After reading the specs though I was a little disappointed in the release. It only prints PLA (there are plans to make it work with ABS, but since it doesn't have a heated bed that is unlikely). Dremel tends to make nice products but this one seems about a year behind the market and a bit overpriced at $999.00. Many of the features are already incorporated in units you can buy now for far less money. It has a nice enclosure and uses what looks like standard spools of filament which would please the "I don't want to buy cartridges crowd". The bed is removable which is unique. Not sure if that is a good thing or bad. It snaps in place which is important. A loose platform, like the glass platform on the Davinci 3D printers can cause shifting in the print if it's loose (more on that in a future blog post / YouTube video). The price is just too high for me though based on what you get. You can preorder at Amazon or even Home Depot but don't expect any expertise there. (Why didn't Radio Shack get more involved in 3D printing, they clearly need better management).
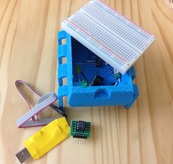
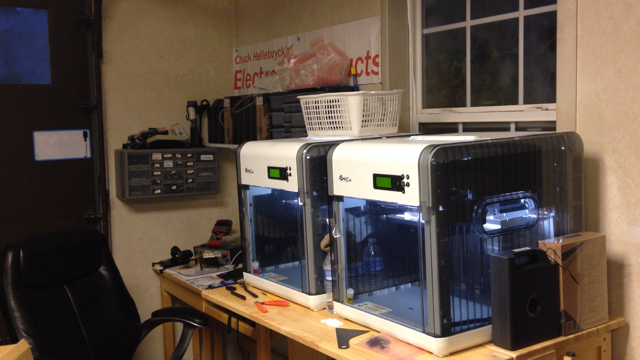
A year ago $1000 for a PLA printer fully assembled in a nice case with SD card slot would have been a nice option. But now I can get a dual color Davinci Duo 2.0 for $649.95 or single color for $499 with a heated build platform and soon, cartridges to print in both PLA along side the currently released ABS. The Solidoodle will do both PLA and ABS with a heated bed in an enclosed case for $699 and both the Davinci (7.8" x 7.8" x 7.8") and Solidoodle (8" x 8" x 8") have a bigger build platform than the Dremel at 9" x 5.9" x 5.5". Printrbot Simple will do PLA printing for $349 in kit form or $599 assembled though not in a nice case and a slightly smaller platform (6" x 6" x 6"). So Dremel didn't shoot for the moon on their first printer but it appears to have a few nice features. Easily removable SD card and touch screen. The extruder looks easy to load which can be a bit of pain on some machines that don't line up the input with the extruder well. The video's on their website show tape for the platform that looks like they are pre-cut to fit the removable bed. I'd rather have a heated bed. Overall, I don't think it will be a big seller but who knows, maybe it will. I think it should have been no more than $750 and since it PLA only, really $699 would have been my max (have to give them something for the dremel name). One thing is clear, 3D printing is hitting main street in a big way. It's like watching the PC industry all over again as the IBM PC joined the Apple II and Commodore 64. Soon we will all have one at home. I've been planning a series of videos for my various books and I decided to start with my Programming PICs in BASIC book. This book has been very popular but I do get a lot of questions from beginners. So today I launched the first in a series of videos based on this book. In this one I show you how to setup the software and hardware to get that first project running. The typical blink LED is used as the test project, but when this works that means you have the compiler working, the programmer working and the hardware circuit built properly. That is actually a lot to cover and can be the biggest hurdle for a beginner. Sometimes it helps just to see the steps rather than rely on the description in a book so I put this video together. I used the Large IC breadboard box 3D print to hold the circuit which was a previous video on my channel. The intent is to show how to get started and then I'll follow this up with a video for each chapter in the book in the future. Then I'll tackle my Beginner's Guide to Embedded C series of books after that. I hope you enjoy this one. I run a lot of my 3D prints in the early morning before my day job or in the evening after my day job. And there is always a back-up for time on the printer. Between family and friends asking for prints, I found I was really running short of 3D printer capacity. So I decided it was time to look at purchasing a second printer so I can print in stereo. It helped that my son has been doing more printing for projects at his business so we came to an agreement to share the costs. At the $499 price it makes it so much easier to get two and still be less than the cost of a Makerbot or Ultimaker and since we have been having great success with the Davinci, we decided to get another one of the same model. We briefly considered the new DUO 2.0 with dual print heads but we couldn't justify the need for two colors for the extra $250 it would cost. It arrived late last Friday and then I spent all day Saturday unboxing it and setting up and then running a bunch of prints for him. I created a brief video of the unboxing and setup process for my YouTube Channel shown in fast motion. I'm still amazed at how much I'm using this printer (or now printers). I checked the new one for any cracked bearings and I don't see any so this looks good. Based on the serial number the new one is an earlier serial number than my original. I'm wondering if that means the newer one is actually older than my original? I can't find a date code. Anyway, I feel really spoiled now with two printers to print from. |
Categories
All
Visit previous blog posts in the archives below.
Archives
February 2018
About ChuckChuck has been programming with PIC Microcontrollers since there were only five devices. Now there are over 700 and growing. He also has a lot of fun 3D printing designs using his Davinci 3D printer and TinkerCad software. In this series of blog posts and occasional videos on his YouTube Channel he tries to help you get started with electronics and 3D printing. Disclaimer |
- Books
- Chuck's Blog
- YouTube Channel
- About Chuck
- 3D Printing
- Getting Started with PICs
- Build Your Own PICKit 2
- CHIPINO
- CHIPAXE Breadboard Modules
- Understanding Hex Files
- chipKIT
- Newsletter Archive
- Contact
- Retired Designs
- Downloads
- Kickstarter Projects
- Great Cow Basic Site
- Buy Hardware
- Links I Recommend

 RSS Feed
