I printed this in Good mode not Excellent mode so its rough. Its a 10% fill as well so that affected my posts and the quality of the print. I wanted to get quicker results so I chose the lower quality. This proves once again that printing in Excellent mode setting which defaults to 30% fill is the recommend starting point. 50% fill does a great job for those designs that need that extra fill. This was printed at 0.2 mm height as well.
|
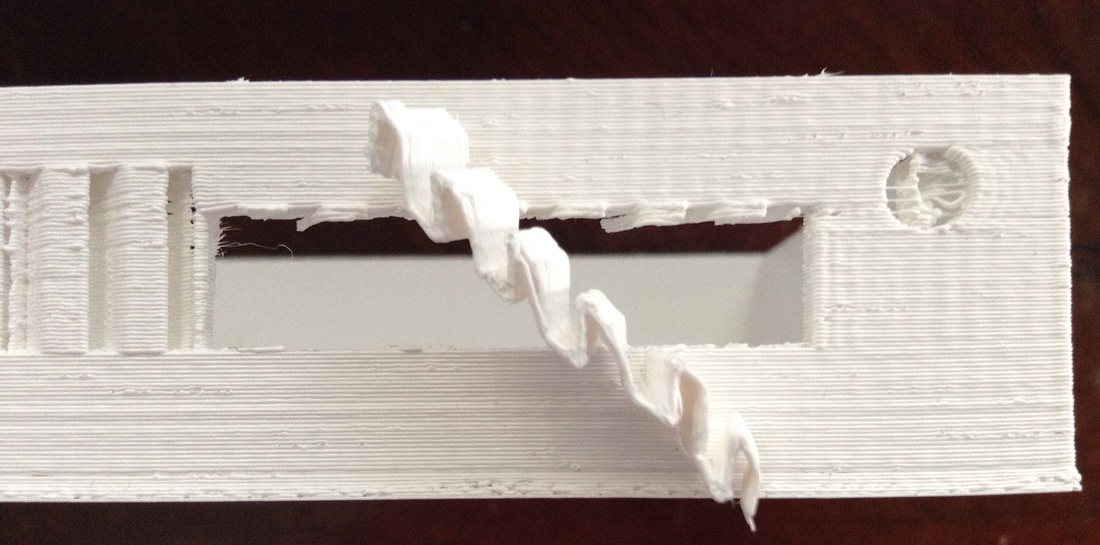
I printed a case design for the Maximite Computer board and it has some long rectangular holes that needed support on the Davinci 3D printer. The software included with the printer has an option you can select for automatically printing supports to hold up the plastic. Without the supports the plastic sags and the results are not pretty. I learned that the hard way as seen in the picture of the blue box. The automatic support prints a zig-zag wall that is very thin and quite easy to remove. As you can see in the pictures above, the strip pulled out as one piece. What I found though is the walls I designed to stay in place were a bit too thin and two of them broke loose when removing the supports. There should be a post between the VGA connector and the Keyboard connector and then another between the keyboard connector and the black 26 pin. I'll have to re-design that section to make them a little stronger. Rounded corners should help. And since I've learned how to make thin walls that remove easily (even if by accident) I may just design my own supports rather than use the automatic zig zag supports. I printed this in Good mode not Excellent mode so its rough. Its a 10% fill as well so that affected my posts and the quality of the print. I wanted to get quicker results so I chose the lower quality. This proves once again that printing in Excellent mode setting which defaults to 30% fill is the recommend starting point. 50% fill does a great job for those designs that need that extra fill. This was printed at 0.2 mm height as well. At least now I have a better understanding of the automatic support feature built into the Davinci 3D software (and you do too). I'm sure it will work great for large over hangs like when making a head statue but for this small area I'll design my own little support posts.
0 Comments
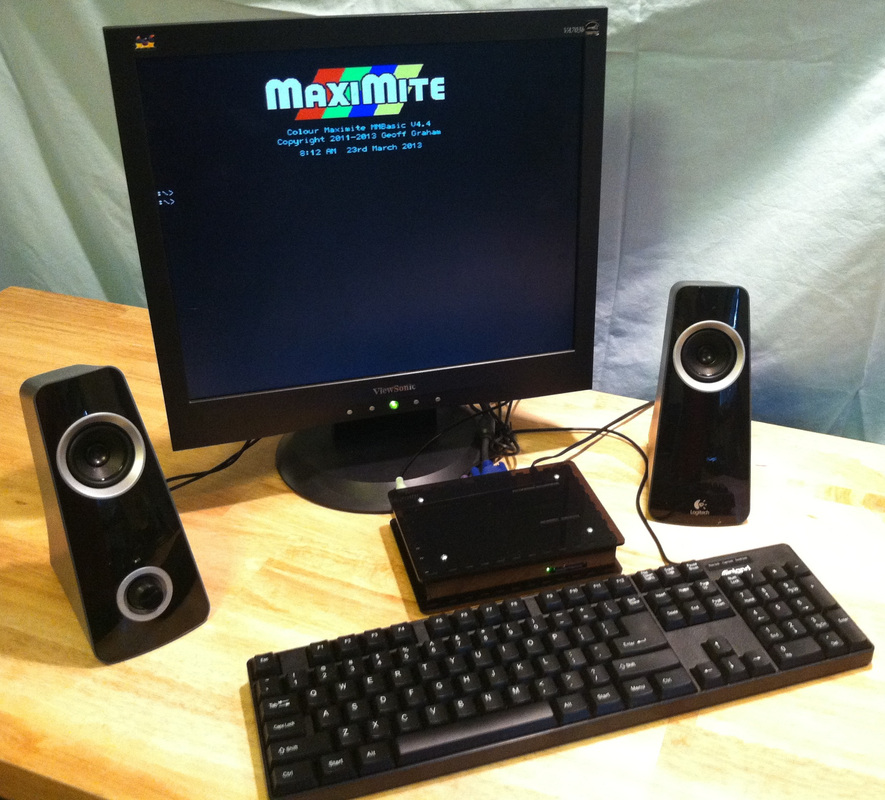
Another one of my Kickstarter campaigns, this time the Maximite BBX BASIC Language Computer, recently completed and was successful. I knew this would be a tough one so I ran it for 60 days instead of the normal 30. The project is based on the open source Maximite Computer design by Geoff Graham. My main goal was to create a beginner's book on programming in the old fashion BASIC language that I learned programming with and see if there was enough interest in the idea. I needed 100 backers to basically break-even on the project and 100 is what I got. The Maximite is a great platform for the book and no computer is needed if you have the Maximite. It is the computer. There are existing Maximite boards and kits available but I wanted a complete package with a plastic or wood case to protect the electronics from young hands but also allow access to the Arduino headers and Electrical ports for expansion. These I/O features allow me the chance to introduce embedded style programming as well. Thankfully the project was successful and now I'm working with some of the suppliers to deliver the rewards and the biggest task is finishing the book/manual. In it I introduce programming at the entry level and then expand it out with a several key projects. If this goes over well then I can follow-up with more project style books. I'm looking at open sourcing a lot of the info so others can share in the fun. Some may say this is a waste of time because there is Arduino and Raspberry PI that can do a lot more. But typically "Lot More" also means "Lot More" complicated. And since I'm all about the beginner, I feel starting with the BASIC language is still one of the best paths to success. There are also a lot of people trying to recreate this BASIC style programming on the Raspberry PI so why not have a dedicated option.
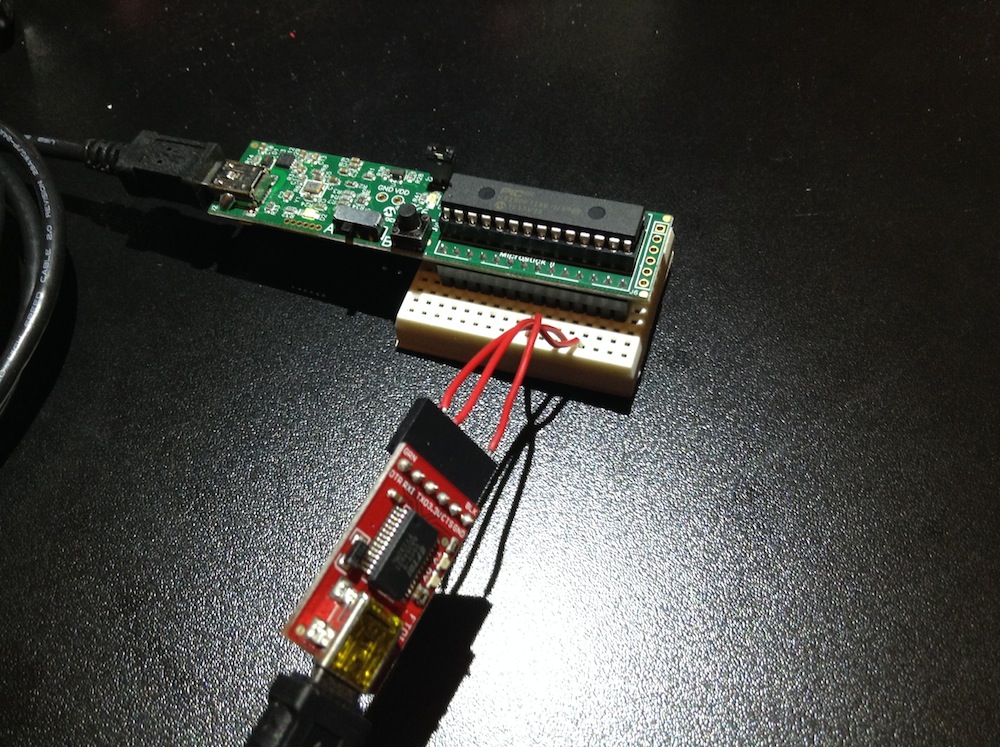
I also know there are a lot of "old timers" like me who still appreciate the old style BASIC programming and the Maximite BBX brings that back with a modern twist. I already have a separate website setup for the Maximite BBX which I plan to link in to this site's menu and then expand it for the future. Stay tuned for more info about the BBX in the future. Geoff Graham, the brilliant creator of the Maximite Computer, recently announced a beta release of a Maximite on a chip called MicroMite. He stripped down the MMBASIC interpreter he wrote for the Maximite Computer and fit it on a 28 pin DIP PIC32MX1/2 micro. And you program it with a simple terminal program running on a PC. He released the .hex file and documentation to those willing to beta test it and I signed up. He suggested a PICkit 3 to load the .hex file into a blank PIC32MX part but I decided to use a Microstick II module. It has a PICkit 3 programmer built in (called the PKOB or PICKIT On Board). It also comes with a PIC32MX250 and USB cable for $34.95. I loaded the .hex file, that Geoff supplied, into MPLAB X and
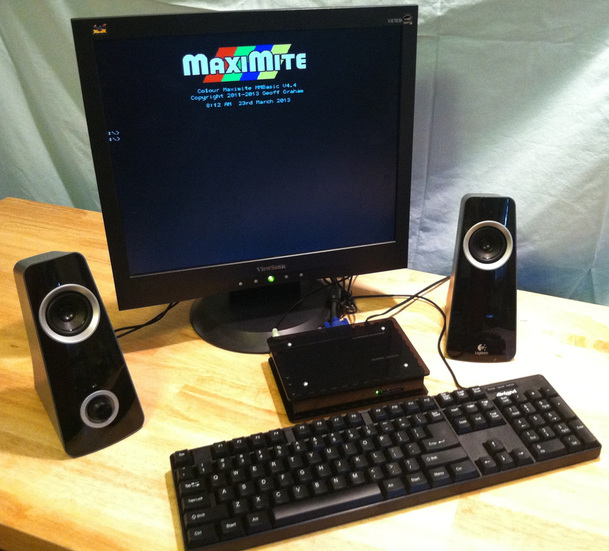
I've been testing out the Maximite Computer I put together and learning more about the power of the Maximite BASIC (or MMBASIC) used to program the Maximite. Its the same format at the old fashioned VIC20, C64, TRS80, AppleII style BASIC and I'm having a lot of fun. I first learned programming by using a teletype machine that was connected to a mainframe through a phone modem and programmed in this same form of BASIC. My first home computer was a VIC20 so I'm bringing back a lot of memories. One thing that I found interesting in an old QBasic book I'm using for examples is a statement from the author that recommends that you write programs that are easier to understand and modify rather than "relying on shortcuts and quick and dirty routines" to make it quicker to write. He says this makes it harder to maintain in the future.........Wonder what he'd think of today's modern C programming code?
I find most professional programmers seem to find every shortcut they can. It does make it harder to read and maintain and thus adds job security to the programmer (though its rarely admitted) because it's actually due the fact that they are always under pressure to get 10 days of coding done in 5. I often have so many little projects I'm working on that I get confused on what I should write about, what I already wrote about and what anybody may care about. I hope I'm getting the last one right more than once in a while.
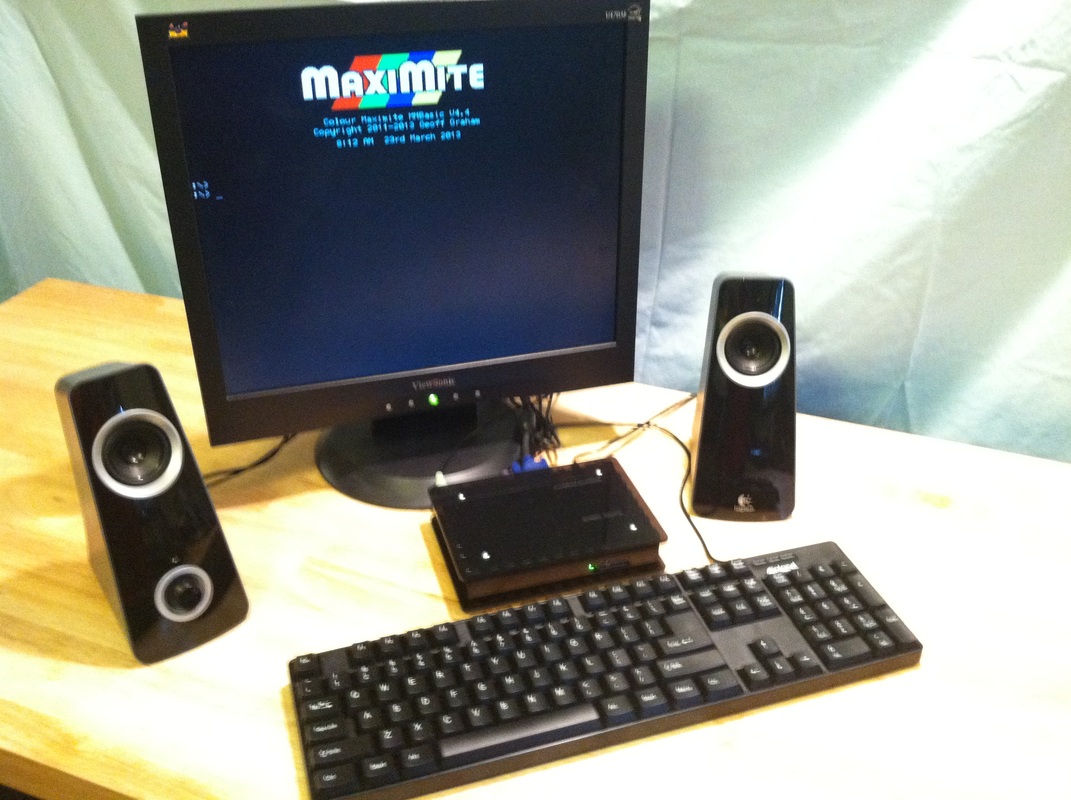
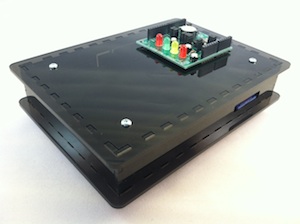
The Maximite computer that I use needed a nice box so I spent some time with MakerCase.com and then additional time modifying the files in Inkscape to produce the box seen here. The box houses the Colormax Maximite board which has Arduino headers so I included an access to those for easy shield plug-in capability. The back has all the connectors for Keyboard, VGA monitor, USB, Power and Expansion header. The front has a slot for the SD card.
|
Categories
All
Visit previous blog posts in the archives below.
Archives
February 2018
About ChuckChuck has been programming with PIC Microcontrollers since there were only five devices. Now there are over 700 and growing. He also has a lot of fun 3D printing designs using his Davinci 3D printer and TinkerCad software. In this series of blog posts and occasional videos on his YouTube Channel he tries to help you get started with electronics and 3D printing. Disclaimer |


 RSS Feed
