
I'm always on the lookout for new 3D printed box designs. I like to learn from others concepts and figure out which designs work the best to hold a circuit board, switches and any type of display or LED panel. On the Adafruit YouTube channel I found the Mini OONTZ Midi Controller. I have absolutly no interest in a Midi controller but I thought the box design was very well done so I downloaded it from the thingiverse site and printed it on my Davinci 3D printer.
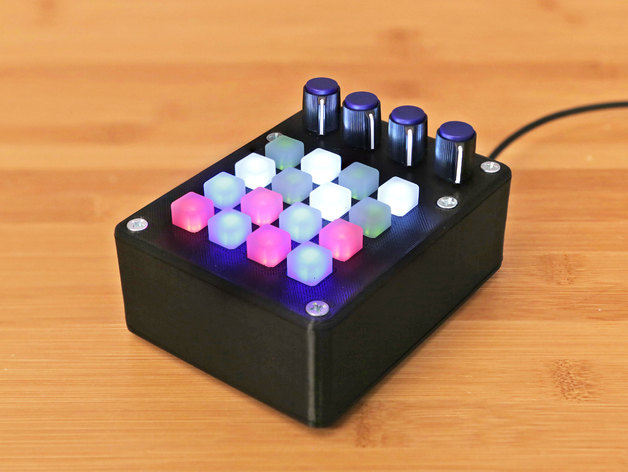
Mini OONTZ Midi Controller
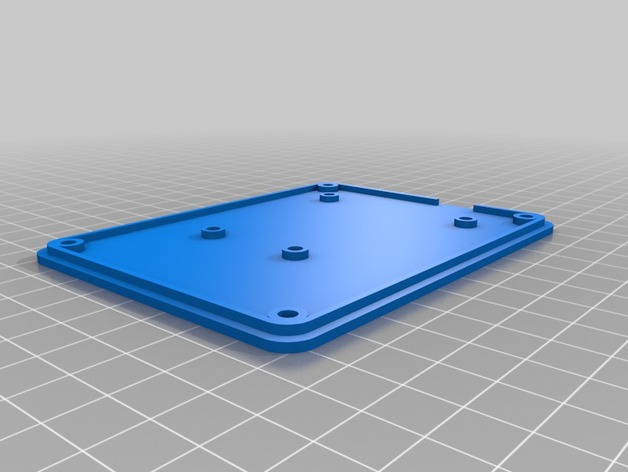 Bottom | 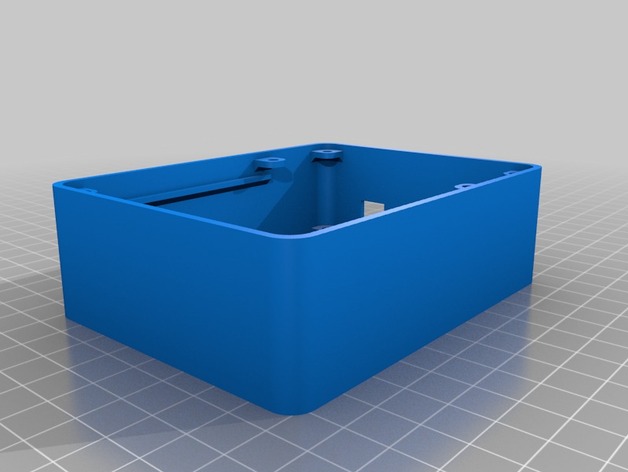 Center Box Section | 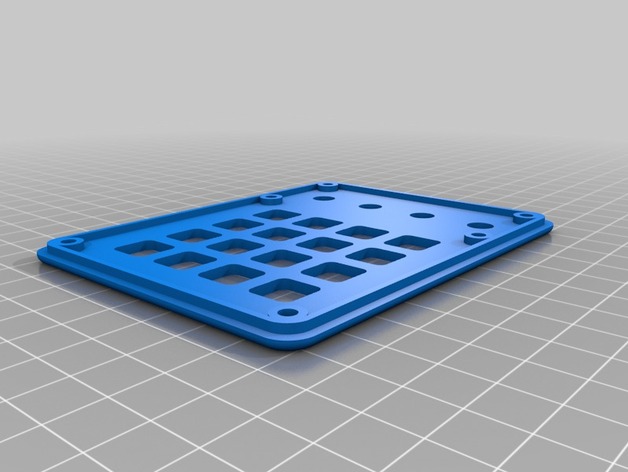 Top |
I printed the top and bottom together but the center box just wouldn't quite fit. I should have printed each piece separate because the edges of the heat bed don't seem to have a balanced heat level so the edges warped bit on the top cover because it was too close to the edge of the heated bed.
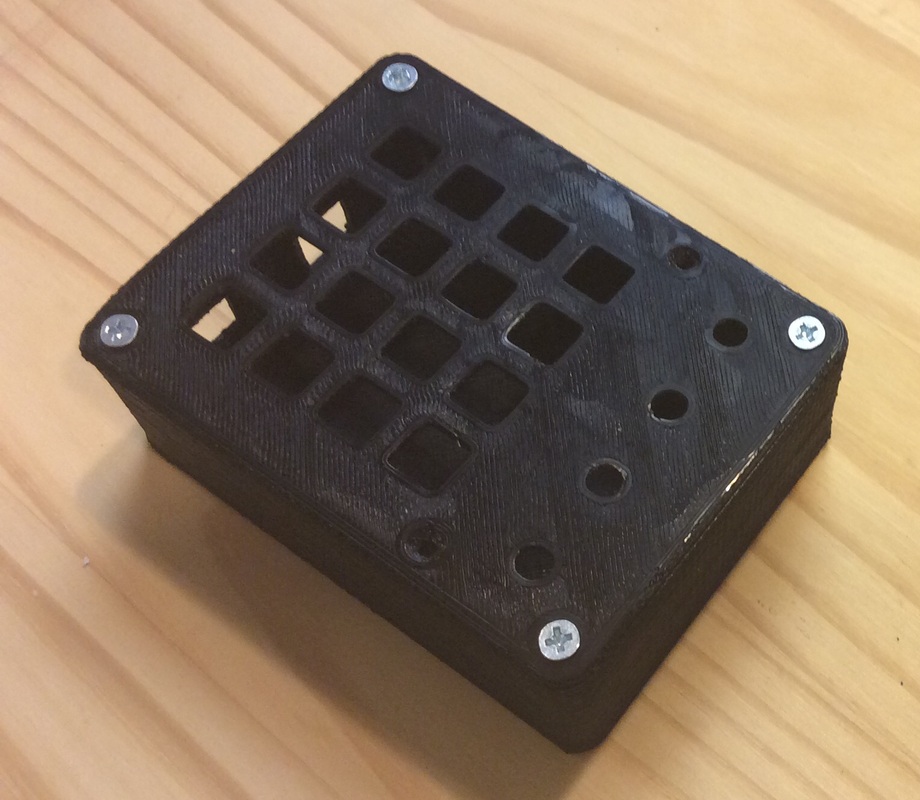
My finished box
The results were quite good though considering the slight warpage of the top. And because the top and bottom were printed a with the exposed side on the heated bed, they each came out smooth.
I printed the center box section with supports so the screw tabs and the holes on the side of the case would print correctly without sagging. A little bit of scraping on the support structure made that an easy removal. I printed all pieces in excellent mode which is 0.2mm at 30% fill.
I printed the center box section with supports so the screw tabs and the holes on the side of the case would print correctly without sagging. A little bit of scraping on the support structure made that an easy removal. I printed all pieces in excellent mode which is 0.2mm at 30% fill.
The box is held together with self taping machine screws with an angled counter sunk head. The box has counter sunk holes to allow the screws to fit flush to the top and bottom surface. The finished box is above. The rounded corners of the box are a nice feature and the screw design for holding the pieces together is solid. I could have cleaned my print up a little with some sandpaper and acetone but frankly it turned out quite nice the way it was. I plan to use this type of design for future boxes.
 RSS Feed
