
I printed a case design for the Maximite Computer board and it has some long rectangular holes that needed support on the Davinci 3D printer. The software included with the printer has an option you can select for automatically printing supports to hold up the plastic. Without the supports the plastic sags and the results are not pretty. I learned that the hard way as seen in the picture of the blue box.
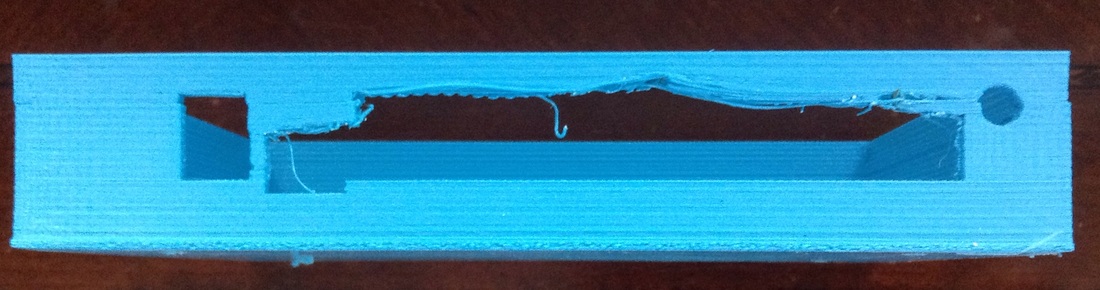
No Supports
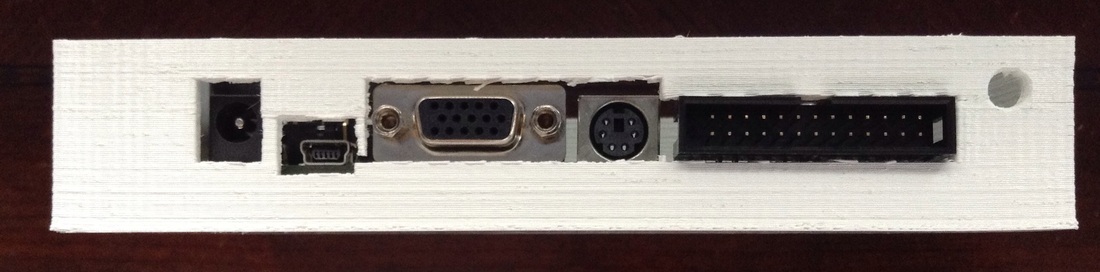
Result from Davinci automatic supports
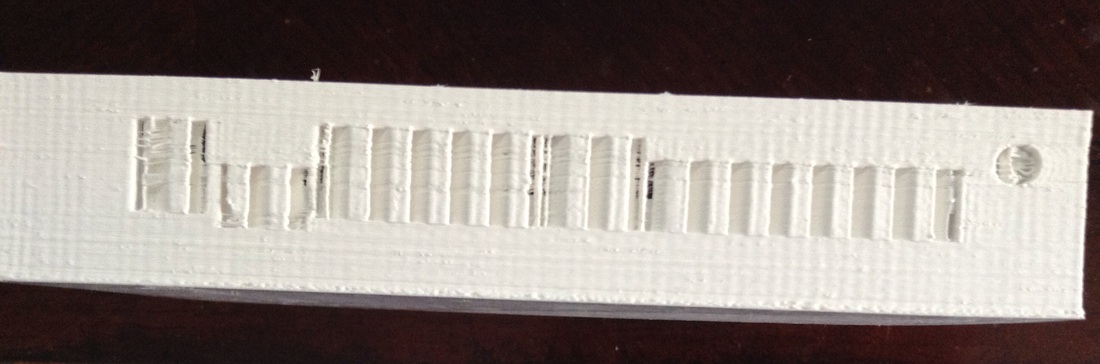 Supports fill the holes | 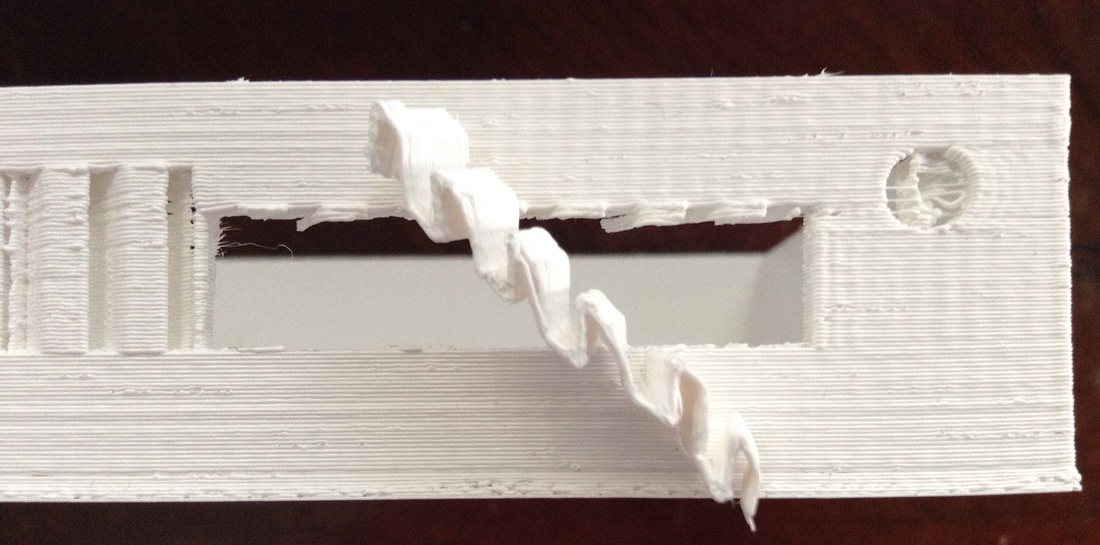 Zig Zag support wall removed |
The automatic support prints a zig-zag wall that is very thin and quite easy to remove. As you can see in the pictures above, the strip pulled out as one piece. What I found though is the walls I designed to stay in place were a bit too thin and two of them broke loose when removing the supports. There should be a post between the VGA connector and the Keyboard connector and then another between the keyboard connector and the black 26 pin. I'll have to re-design that section to make them a little stronger. Rounded corners should help. And since I've learned how to make thin walls that remove easily (even if by accident) I may just design my own supports rather than use the automatic zig zag supports.
I printed this in Good mode not Excellent mode so its rough. Its a 10% fill as well so that affected my posts and the quality of the print. I wanted to get quicker results so I chose the lower quality. This proves once again that printing in Excellent mode setting which defaults to 30% fill is the recommend starting point. 50% fill does a great job for those designs that need that extra fill. This was printed at 0.2 mm height as well.
I printed this in Good mode not Excellent mode so its rough. Its a 10% fill as well so that affected my posts and the quality of the print. I wanted to get quicker results so I chose the lower quality. This proves once again that printing in Excellent mode setting which defaults to 30% fill is the recommend starting point. 50% fill does a great job for those designs that need that extra fill. This was printed at 0.2 mm height as well.
At least now I have a better understanding of the automatic support feature built into the Davinci 3D software (and you do too). I'm sure it will work great for large over hangs like when making a head statue but for this small area I'll design my own little support posts.
 RSS Feed
