Electronic Products
Find us here:
  • Books
    • Embedded C Books >
      • cbookfiles
      • cbook2files
      • cbook3files
    • BASIC Books >
      • Programming PICs in BASIC_vol1
      • PICBasic Book Support
      • Basic Atom Book Support
    • Other Books >
      • Arduino Book
      • chipkitbookfiles
  • Chuck's Blog
    • Blog Posts Archive
    • Disclaimer
  • YouTube Channel
  • About Chuck
    • About Chuck
    • Stock Car Racing
  • 3D Printing
    • Fabrikator Mini
  • Getting Started with PICs
    • BASIC Programming
    • C Programming >
      • C Compilers
  • Build Your Own PICKit 2
    • PICkit 2 Starter Kit
  • CHIPINO
    • Shields
  • CHIPAXE Breadboard Modules
  • Understanding Hex Files
  • chipKIT
  • Newsletter Archive
  • Contact
  • Retired Designs
    • BasicBoard
    • Ultimate OEM
    • Maximite BasicBox
    • Maximino
  • Downloads
  • Kickstarter Projects
    • Demo-Shield
  • Great Cow Basic Site
  • Buy Hardware
  • Links I Recommend

Magical Acetone for Davinci 3D Prints

7/30/2014

0 Comments

 
I tried to print some plastic clips with the fastest settings using 0.4 mm height and 10% fill. I also ran the head at the highest speed. The prints came out better than I expected and its a great way to get a prototype print out fast but one drawback is the quality (as you would expect when cutting corners).
Picture
Picture
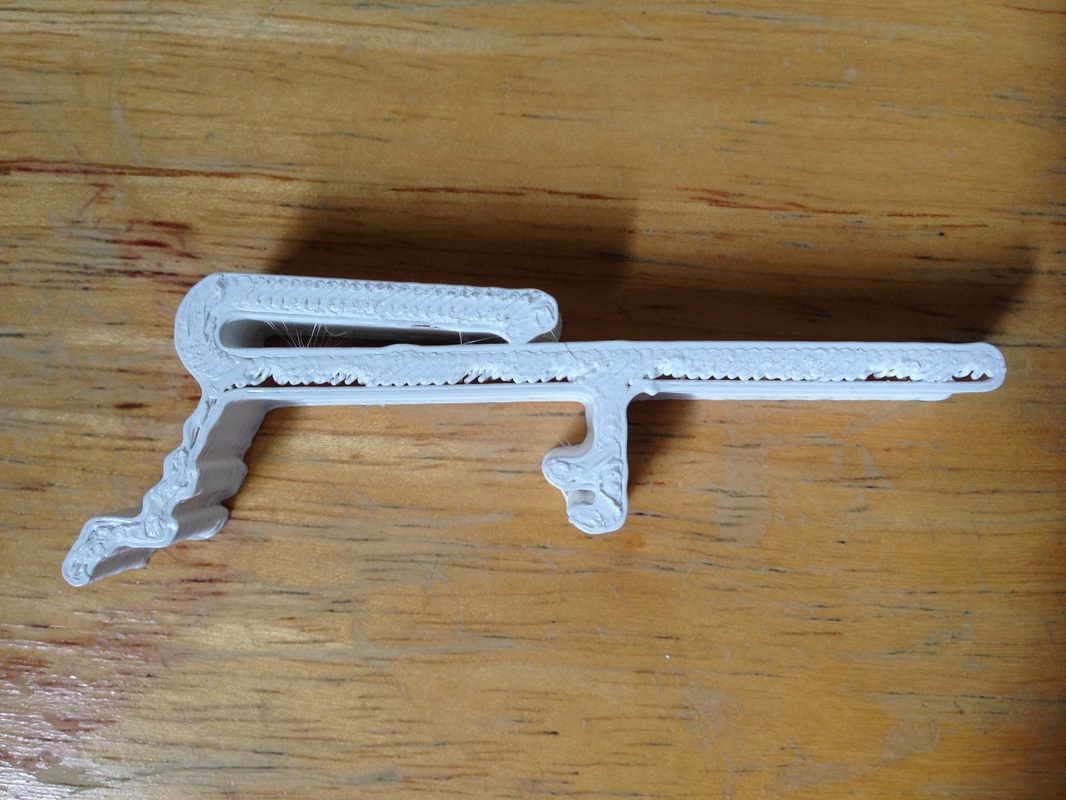
The picture above left shows the results. The clip had all the key dimensions but the top side of the print had gaps between the outer ring and the inner fill. It affected the clip when snapped in place. The bottom side wall and the inner fill would separate slightly and affect the clips ability to snap in place. So rather than pitch them I tried an experiment. 

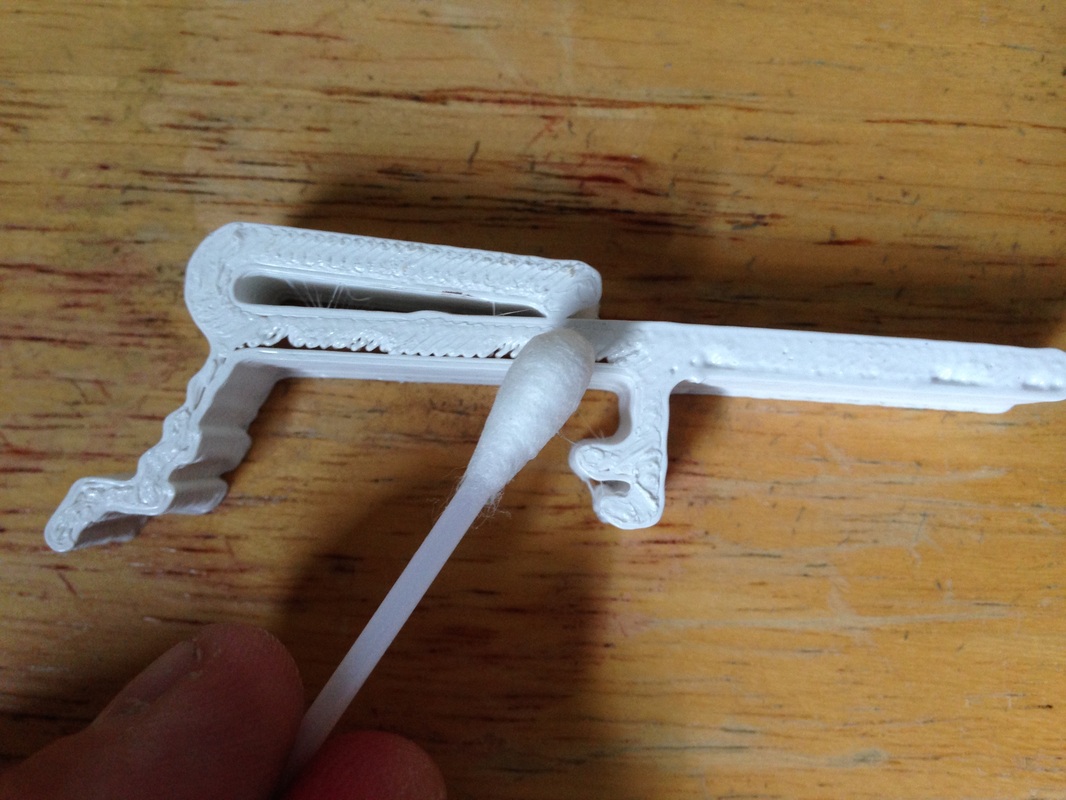
It's known that Acetone (like the stuff sold for nail polish removal) can soften the top layer of a 3D print and help smooth it out but I wondered how well it would melt two plastics together. So I dipped a cue tip into the acetone and started rubbing on the edge while pushing toward the gap. It didn't take long to see the improvement in the look of the clip. The gap started to disappear. 
Picture
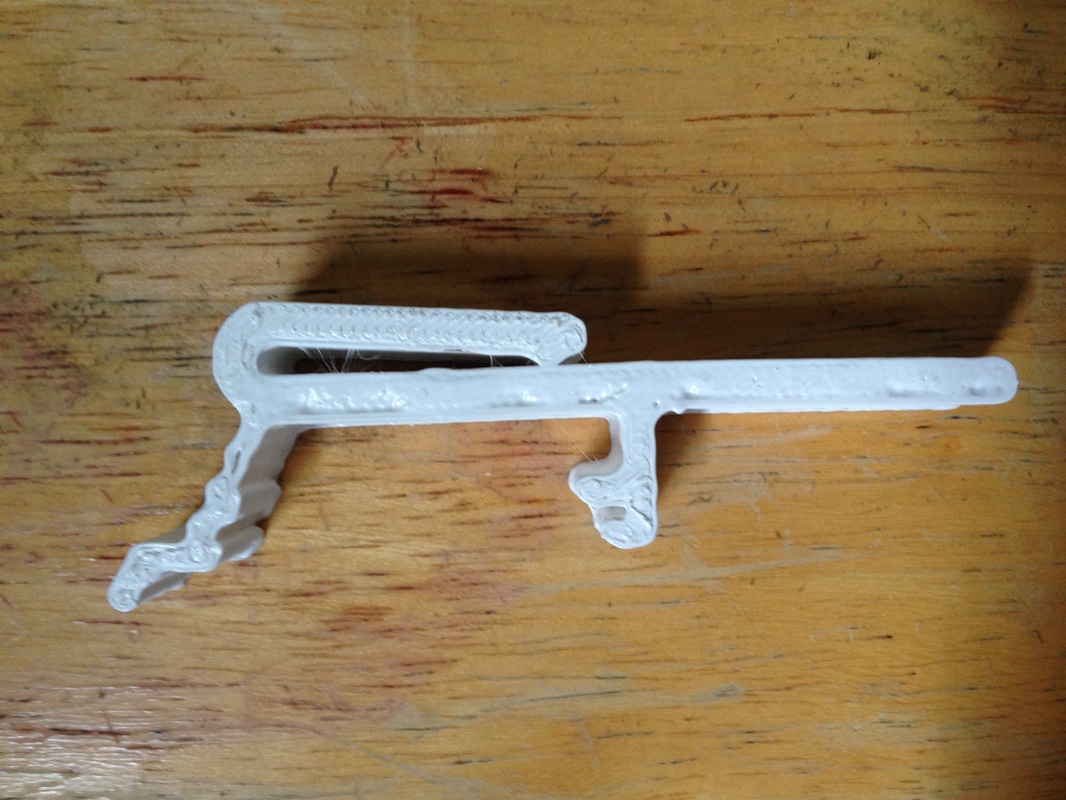
A little more rubbing and the edge began to to look filled. The real test can when flexing the clip, and the Acetone did the trick. The clip was much stronger and flexed as expected when snapped in place. The inner and outer plastic had fused together quite well. The clip was obviously stronger and looked better too. 
I had another print that had split on one of the layers so I applied a little Acetone between the layers and they fused together as if they were never apart. I've heard of people printing pieces of a larger object and then using Acetone to glue them together. Now I understand how well that works. The Davinci 3D printer can print a 7.8" x 7.8" x 7.8" object but now with this Acetone fusing I can print something much bigger.
0 Comments


Leave a Reply.


    Categories

    All
    3D Printer
    Chipaxe
    Chipino
    Chipkit
    CNC
    Copper Connection
    Dot Matrix
    Elproductsnews
    Expresspcb
    Graphic Lcd
    Great Cow Basic
    Kickstarter
    Lcd Shield
    Makefaire
    Makercase
    Maximite
    Microchip Pic
    Pickit 2
    Pickit 3
    Videos

    Visit previous blog posts in the archives below.

    Archives

    February 2018
    October 2017
    September 2017
    July 2017
    November 2016
    August 2016
    July 2016
    May 2016
    March 2016
    January 2016
    November 2015
    September 2015
    August 2015
    July 2015
    June 2015
    April 2015
    March 2015
    February 2015
    January 2015
    December 2014
    November 2014
    October 2014
    September 2014
    August 2014
    July 2014
    June 2014
    May 2014
    April 2014
    March 2014
    February 2014
    January 2014
    December 2013
    November 2013
    October 2013
    September 2013
    August 2013
    July 2013
    June 2013
    May 2013
    April 2013
    March 2013
    October 2012
    October 2011

    RSS Feed


    About Chuck

    Chuck has been programming with PIC Microcontrollers since there were only five devices. Now there are over 700 and growing. He also has a lot of fun 3D printing designs using his Davinci 3D printer and TinkerCad software. In this series of blog posts and occasional videos on his YouTube Channel he tries to help you get started with electronics and 3D printing.

    Disclaimer

Powered by Create your own unique website with customizable templates.