
I just completed my first box with the MakerCase.com online tool for designing laser cut boxes. The software is easy to use and getting better all the time. I decided to create a clear acrylic box for my BasicBoard design that has been sitting around on my bench for a while now.
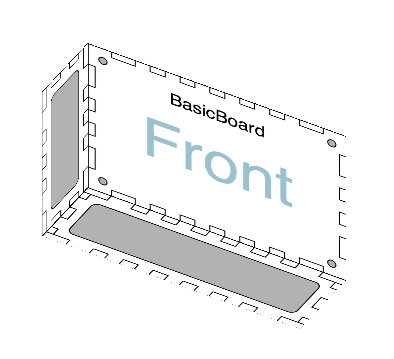
BasicBoard Box as seen in MakerCase
I made a 4.1" x 2.8" x 1.25" box with holes in the top and bottom that line up with holes in the board. Then I added rectangular holes in the sides so I could easily access the switches, expansion ports, programming header and on/off switch.
The edges have interlocking fingers to make the design easier to build and make a stronger box. The idea was to glue the sides together then hold top and bottom together with standoffs that will also hold the BasicBoard inside.
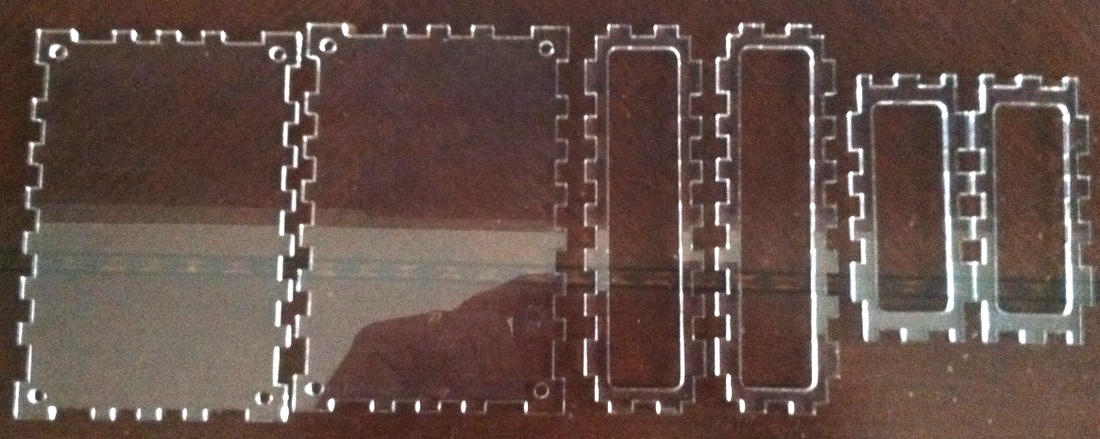
When the design was done, I had MakerCase generate the .svg file. This file was then taken to my local engraver (The Village Engravers in Milford, Michigan) who has an Epilog Laser. He typically just engraves trophies and plaques to pay the bills but he likes to help creators by also cutting out designs. It only took about 10 minutes to get two boxes cut out and give me two sets of the pieces shown below.
The edges have interlocking fingers to make the design easier to build and make a stronger box. The idea was to glue the sides together then hold top and bottom together with standoffs that will also hold the BasicBoard inside.
When the design was done, I had MakerCase generate the .svg file. This file was then taken to my local engraver (The Village Engravers in Milford, Michigan) who has an Epilog Laser. He typically just engraves trophies and plaques to pay the bills but he likes to help creators by also cutting out designs. It only took about 10 minutes to get two boxes cut out and give me two sets of the pieces shown below.
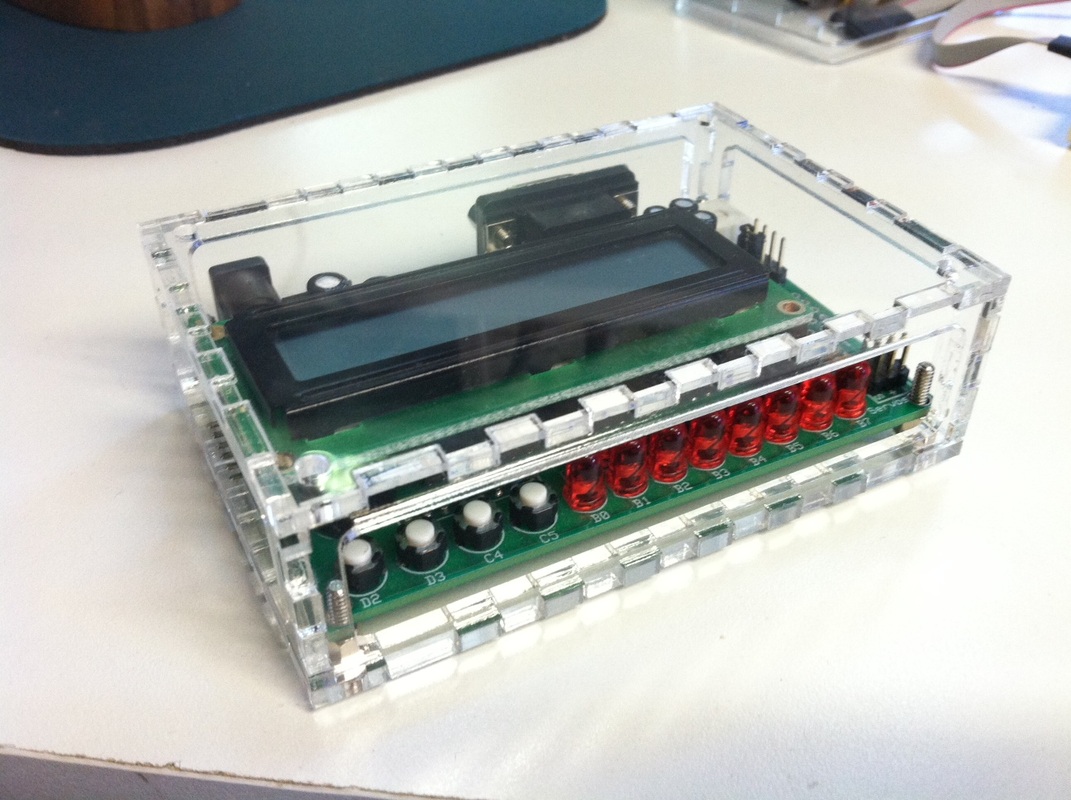
A little dab of superglue on the middle tab of the short sides was all I needed to make the sides bond together. I used some jack screws to mount the BasicBoard and then put all the pieces together as seen below.
 Jack Screw |  Standoff |
I didn't have the correct length standoffs to place on top of the jack screws that will hold the BasicBoard tightly in place and also create the mounting screws for the top so I ordered some from Jameco.com. I hope to have them in a few days.
I also wanted text engraved into the top and bottom and had that in the final design but somehow the file would not load at the engraver. Fortunately I also had the non-engraved text version on the flash drive that loaded just fine so that was laser cut.
My head is spinning with ideas of what I can produce with this design software. And I'm already thinking of ways to get around the rectangular box design. If I put a hole in the center of one of the discarded cutout pieces, they can be sized to become robot wheels. Or make a large square box with large circle cutouts and then the large circle cutouts become the levels of a round robot base. And all this without ever having to learn a CAD/graphics program like inkscape or corel. How great is that?
 RSS Feed
