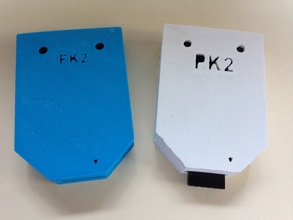
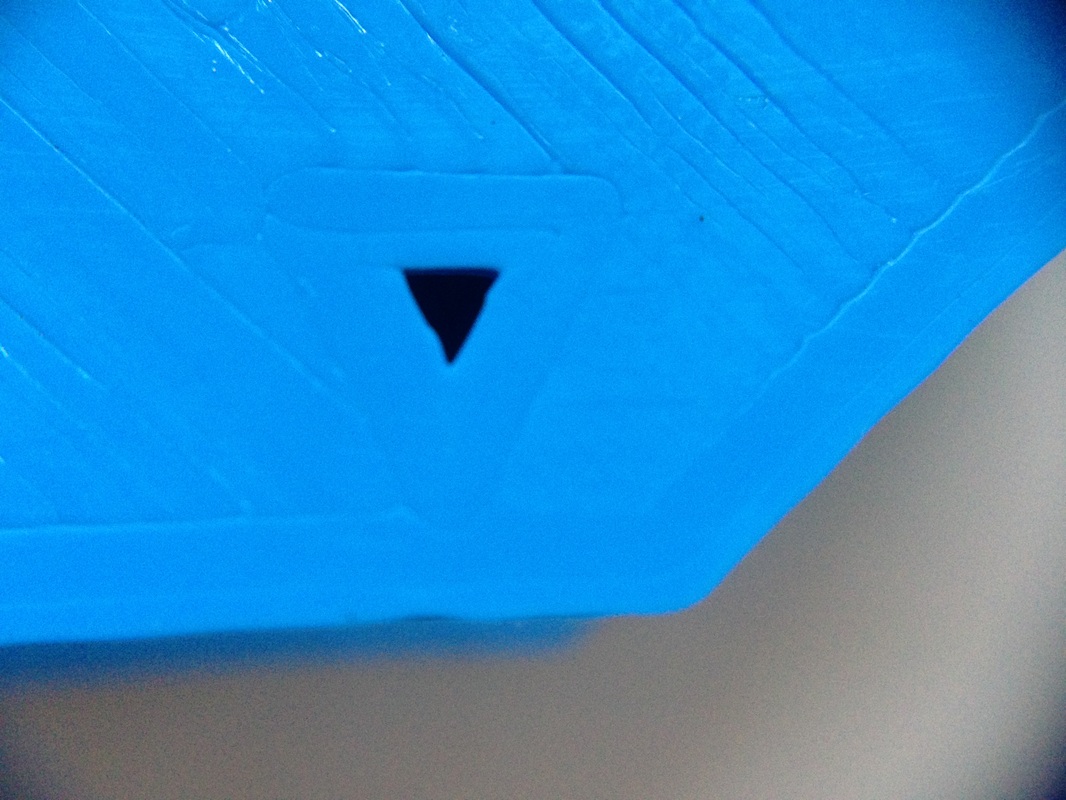
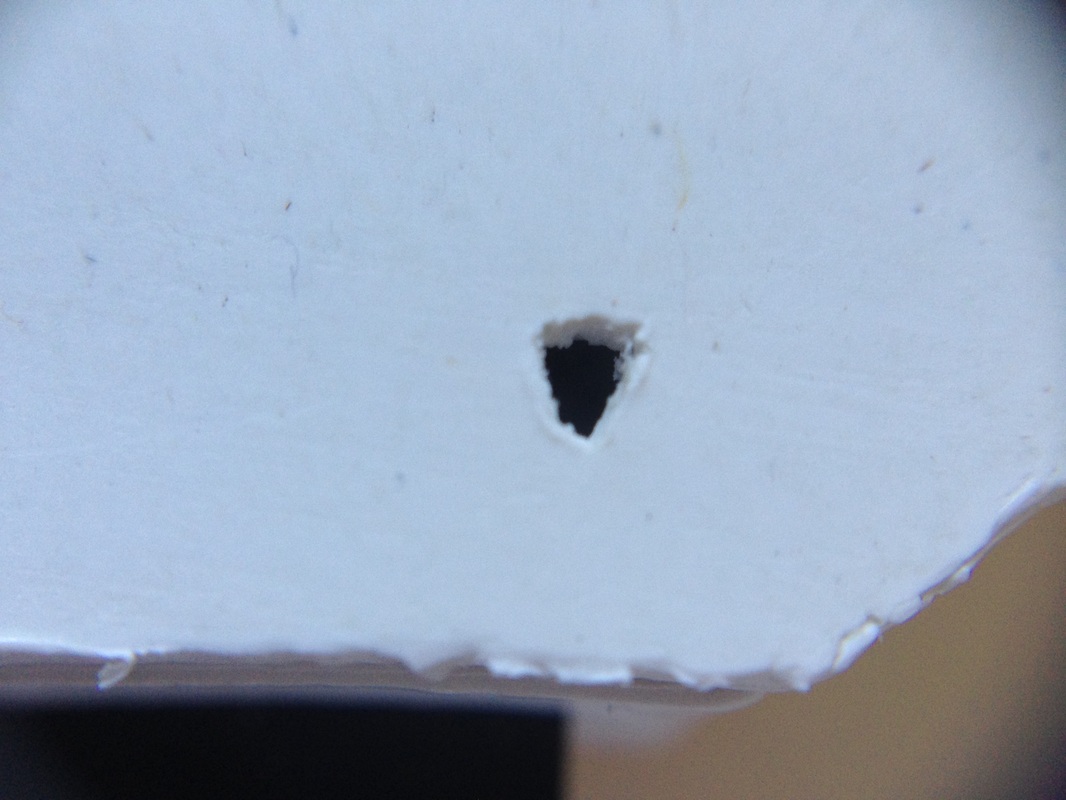
After the adjustment, the results improved. The Arrow showing pin 1 came out much better. The edges were straighter as well. And this is 0.1, 90% on white case vs 0.2, 50% on blue case. So a level platform is very important based on my limited results.
|
I had a reader ask about the connections from the PK2 to the PIC device and realized I didn't have that on my PICkit 2 page. I also realized I should put the PICkit 2 User Guides and a summary of the different software files I list on the page. So I updated the page to include all that and also pictures of the 3D printed case for the PK2. I also changed the filament in my Davinci 3D printer to blue and printed a new case in blue. In the process, I discovered the heated platform was not level on the 3D printer. I ran the automatic calibration 5 times and couldn't get it to level when following the recommended adjustments. So I did it manually and then ran the automatic one more time to verify and it passed. I'll be adding that procedure to my 3D printing page to help anybody needing to do the same. After the adjustment, the results improved. The Arrow showing pin 1 came out much better. The edges were straighter as well. And this is 0.1, 90% on white case vs 0.2, 50% on blue case. So a level platform is very important based on my limited results. Keep the questions coming. It helps me know what you want to read here on this blog. I have a lot of information from over 20 years programming PICs so sometimes I take for granted what people know. Getting your feedback helps me build a better website to share this info stuck in my head.
0 Comments
Leave a Reply. |
Categories
All
Visit previous blog posts in the archives below.
Archives
February 2018
About ChuckChuck has been programming with PIC Microcontrollers since there were only five devices. Now there are over 700 and growing. He also has a lot of fun 3D printing designs using his Davinci 3D printer and TinkerCad software. In this series of blog posts and occasional videos on his YouTube Channel he tries to help you get started with electronics and 3D printing. Disclaimer |

 RSS Feed
