
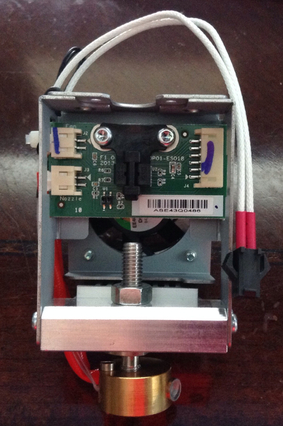
My new extruder arrived Wednesday the 25th. I shipped the defective unit on the 20th via priority mail to California so I consider this a quick turn-around. The serial number is different so I believe its a new part or at least a rebuilt unit. I quickly installed it in my Davinci 3D printer and then had it load filament. The display showed it staying at 10 degrees C and no hotter. At first I though maybe my mother board also failed but then I remembered there was another connector (the larger one on the right in the picture) that I forgot to connect. I had to pull the thing apart again and hook up the connector and then everything started working as expected.
The next step was to run a test print and thats when I found out the mounting bracket I had slightly bent when I was removing the defective unit was not put back in place properly. The extruder tip was way off from the heated platform so plastic was just streaming in the air.
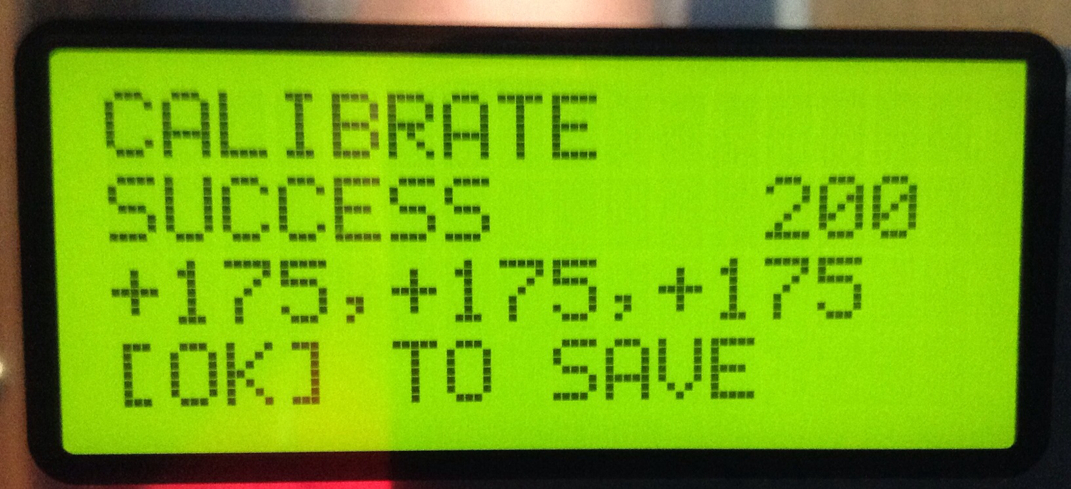
I stopped the print and bent it back into place and could see the extruder tip lower as I did it. This appears to be a very critical setting yet its easy to bend it. I then decided to run a calibration test, which I could only ever get it to pass once before. Miraculously it passed first time with equal numbers across all three test points +175 each. The target in the documentation is +240 but it showed calibrate success. But I've learned that isn't always worth trusting.
I stopped the print and bent it back into place and could see the extruder tip lower as I did it. This appears to be a very critical setting yet its easy to bend it. I then decided to run a calibration test, which I could only ever get it to pass once before. Miraculously it passed first time with equal numbers across all three test points +175 each. The target in the documentation is +240 but it showed calibrate success. But I've learned that isn't always worth trusting.
I ran another test print and this time I printed three small gears from that robot arm I mentioned in a previous post. I positioned them one at a time above the set screws on the platform and then ran the print. The back two gears had the plastic well off the platform and the filament was not sticking at all so I adjusted the base screws at each location as it printed to get the setting I wanted. The front gear made good contact with the base and printed fine so I left that adjustment alone.
Everything appeared to be working good so I stopped the print and then loaded a new file for the vertical blind clip I created and ran that print and it came out nearly perfect.
Everything appeared to be working good so I stopped the print and then loaded a new file for the vertical blind clip I created and ran that print and it came out nearly perfect.
Adjusting the base to extruder head is extremely critical. You don't want them too close or the bottom layer will be crushed and spread like peanut butter on bread. You also don't want the gap too large or the filament won't stick. Using the three identical items positioned just above the adjustment screws and then adjust it while it prints seems to work the best.
Overall I'm very happy with the response I got from XYZ Printing. It did cost me shipping to California but that's better than no replacement at all. They were very responsive via email and they shipped the extruder back to me via Fedex so I go it quicker. I can continue to recommend this excellent printer at an unbelieveable price when compared to the competition.
Overall I'm very happy with the response I got from XYZ Printing. It did cost me shipping to California but that's better than no replacement at all. They were very responsive via email and they shipped the extruder back to me via Fedex so I go it quicker. I can continue to recommend this excellent printer at an unbelieveable price when compared to the competition.
 RSS Feed
