Electronic Products
Find us here:
  • Books
    • Embedded C Books >
      • cbookfiles
      • cbook2files
      • cbook3files
    • BASIC Books >
      • Programming PICs in BASIC_vol1
      • PICBasic Book Support
      • Basic Atom Book Support
    • Other Books >
      • Arduino Book
      • chipkitbookfiles
  • Chuck's Blog
    • Blog Posts Archive
    • Disclaimer
  • YouTube Channel
  • About Chuck
    • About Chuck
    • Stock Car Racing
  • 3D Printing
    • Fabrikator Mini
  • Getting Started with PICs
    • BASIC Programming
    • C Programming >
      • C Compilers
  • Build Your Own PICKit 2
    • PICkit 2 Starter Kit
  • CHIPINO
    • Shields
  • CHIPAXE Breadboard Modules
  • Understanding Hex Files
  • chipKIT
  • Newsletter Archive
  • Contact
  • Retired Designs
    • BasicBoard
    • Ultimate OEM
    • Maximite BasicBox
    • Maximino
  • Downloads
  • Kickstarter Projects
    • Demo-Shield
  • Great Cow Basic Site
  • Buy Hardware
  • Links I Recommend

CHEPCLUB.com

2/20/2018

7 Comments

 
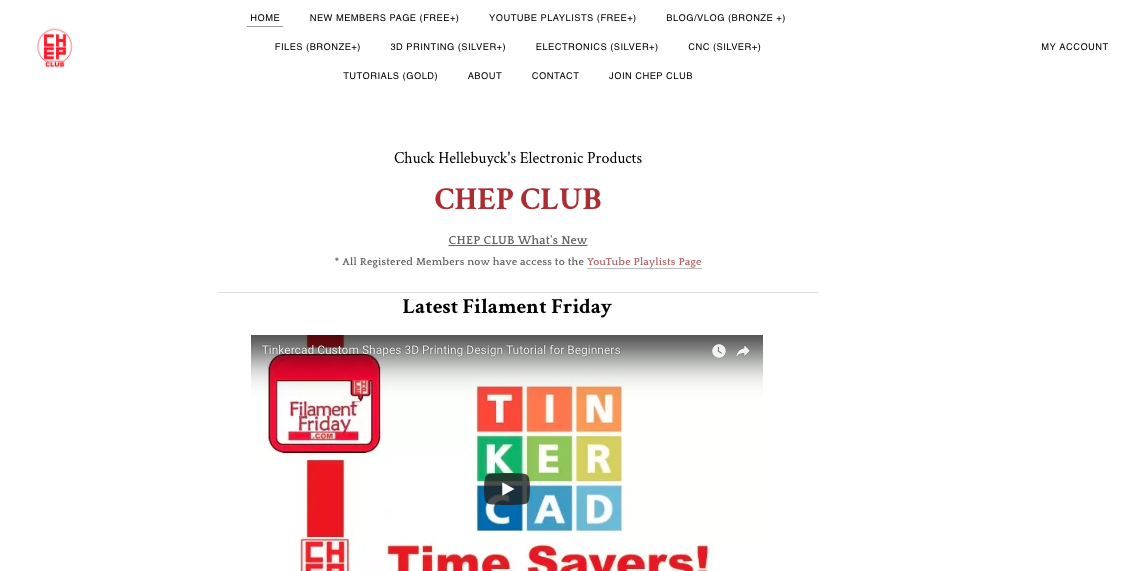
I recently launched a 2nd website to support my YouTube Channel and Patreon supporters. The channel hosts all my Video Playlists and features my latest Filament Friday 3D printing video on the main page.
Picture
The site has subscriptions level from free to $10/month. You can get all the details at the Join CHEPCLUB page.

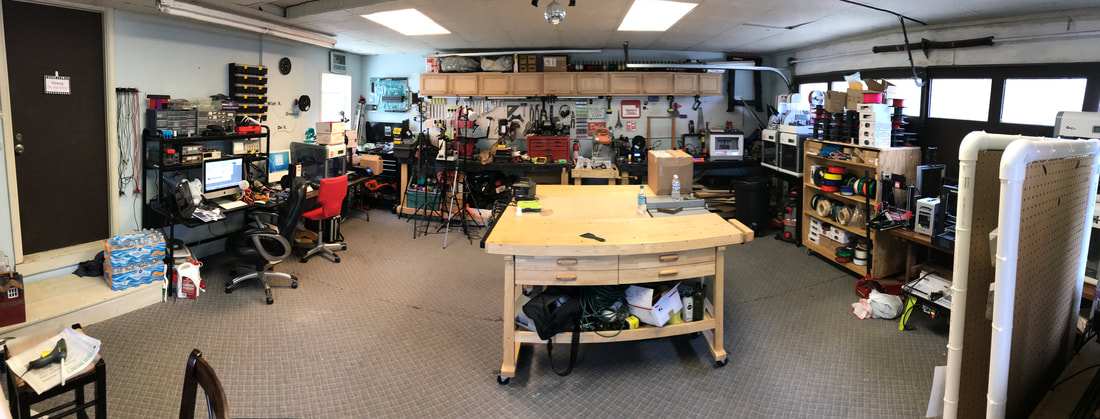
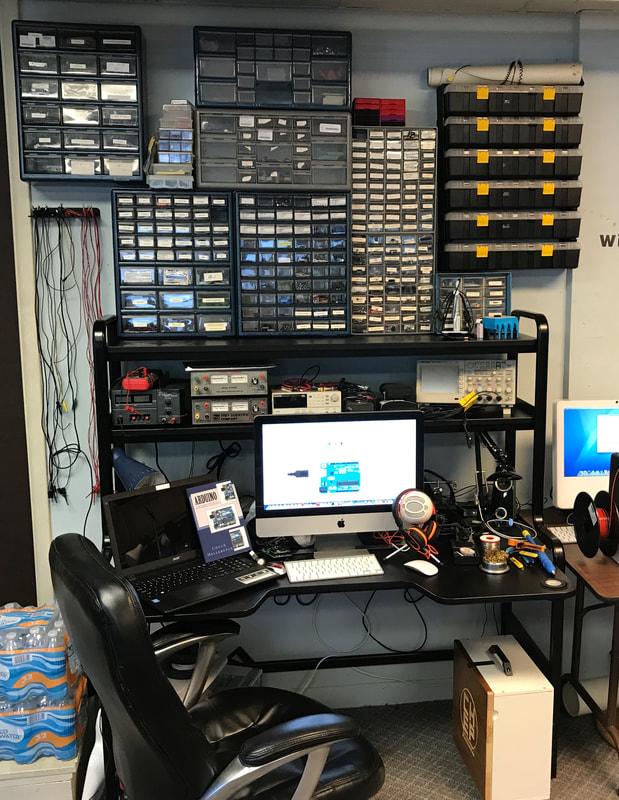
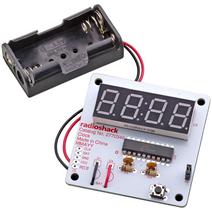
This elproducts.com site is setup to support my books and any past electronic projects I wanted to share. CHEP CLUB is a way for me to share the 3D printing projects, CNC projects and some future electronic projects. The cost of the different levels are what keeps me going with all this information. 

I am still working on books for C programming and even some BASIC programming so those will be hosted and supported here.
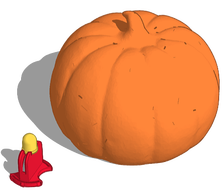
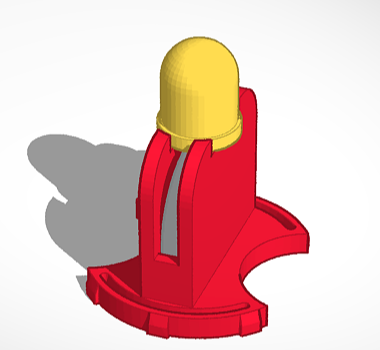
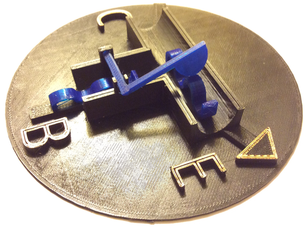
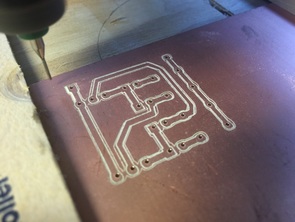
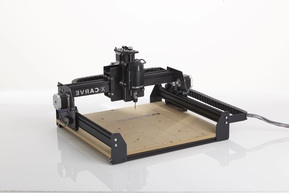
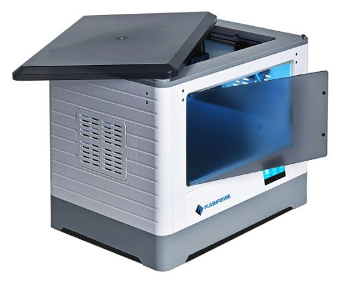
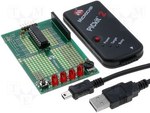
I also share any files such as 3D print files, CNC Easel files, Tinkercad design source files and even some electronic schematics an board layout files will be shared in teh files section of CHEP CLUB.

So if you are interested in 3D Printing, Electronics or Hobbyist CNC then check out my YouTube channel and also register at CHEPCLUB.com.
7 Comments

LEDs and 3D Printed Pumpkins

10/24/2017

2 Comments

 
In my October 20th Filament Friday show at my YouTube Channel I showed how to modify a 3D print pumpkin design in Tinkercad to include LED lighting. The LED insert is a relatively new feature in Tinkercad. Its one the of the Circuit Assemblies that offer now.
Picture
​The design is quite simple but still well done. The base is designed to have a spring loaded snap in capability. The center holds a CR2032 3V Coin Cell Battery and the LED is just pinched over the battery to make connection.
Picture
This led me to explain, in the video, how to wire up an LED and why a resistor is recommended. I also explained how this simple setup of pinching an LED around a coin cell battery works without a resistor.
If you are new to electronics or even 3D printing, this might be a great video to introduce you to these topics. This also is a great project to do with a child to introduce them to 3D printing and electronics. You can watch the video below.
2 Comments

How does a Bipolar Transistor Work

9/6/2017

2 Comments

 
Many people getting started with electronics can be confused at how a bipolar transistor works. I decided to help by building a 3D printed prop that attempts to explain it. The design uses the theory of water as current. The Base has a channel for water (current) to flow and a paddle in-line. The paddle is connected to a lever arm that has another paddle blocking the Collector/Emitter channel. When a little bit of water flows into the Base, the paddle is pushed and Collector/Emitter paddle is lifted higher showing the amplification.
Picture
The design was created in Tinkercad.com software and printed in two different color PLA plastics. The C, B, E and arrow were all just highlighted by a gold marker for effect. The full story and explanation are show in the video below from my YouTube Channel. In it I describe the differences between Active and Saturation mode. I also included some extra circuitry in the video to help explain the operation.
Hopefully this helps beginners learn how a bipolar transistor works and leads to better understanding of the numerous transistor circuits you can build with a bipolar transistor.
Some people have asked for a FET version but I'm still working on that. The FET is really not that hard to understand so I'm not sure how to approach that just yet. The files are available on Thingiverse if you want to print them out yourself. If you use it in a classroom or any teaching environment all I ask is that you give me credit for the design and mention my YouTube Channel.
2 Comments

Workshop Pictures

7/18/2017

3 Comments

 
Picture
This is my personal Maker Space where I create my projects for the YouTube Channel. I also do some woodworking for around the house. I have an electronics bench and an X-Carve CNC to cut circuit boards and many types of wood carvings.  l also have many 3D printers but several need repair.
Picture
My Electronics bench was consolidated from other places into this one location. I 3D printed some brackets and cable hangers and brought in all my parts cabinets. If it doesn't fit here it has to be sold or thrown out. I have collected way to much electronics junk over the years.
I hope to keep making stuff here for many years. It's not perfect but its mine and everything is paid for (except the garage, that's still part of a mortgage). Someday maybe I'll be able to retire and work out here full time.
3 Comments

Hacking RadioShack Kit

11/15/2016

5 Comments

 
Picture
RadioShack lives on where I live. We have two stores near me. I found a clock kit for $19.95 and discovered it was a PIC16F690 based design that was easily hackable. RadioShack offers the code for the clock in Microchip XC8 C language format but I chose to reworked it using Great Cow Basic compiler to create a countdown control.
Picture
RadioShack doesn't offer the schematic for download but they include it in the paper manual that is part of the kit. The kit is easy to assemble and the circuit board is designed to be hacked as a programming port is designed in. I hooked up my PICkit 2 clone and was able to re-flash the PIC16F690 with ease.
I'm working on this for a future YouTube video and I share the progress with my Patreon supporters who give me $1/month or more to keep my YouTube productions going. I'll post more here but if you want to see how it progresses into a Rocket Launcher then join me on Patreon at this link.
5 Comments

Milling a Printed Circuit Board (PCB)

8/6/2016

3 Comments

 
Many years ago I worked with a friend of mine to do custom electronic design. We had a few projects that required a custom circuit board and he took on the job of cutting out the first prototypes on a local CNC machine we borrowed.
Picture
I wanted him to teach me how to do it but it just never happened. Since then I've designed 100's of boards and had most of them made at a board manufacturer. The prices have become very cheap to get 2 sided FR4 boards with solder mask and silk screen lettering. So I never really pursued the milling idea but it was always there on my "things I want to do" list.
Picture
About two years ago I saw that the Shapeoko CNC dropped to $499 and I bought one to try and make circuit boards. I ended up learning a lot about CNC but never was successful in milling a PCB. About a year ago Inventables.com offered me a large X-Carve CNC for my YouTube channel. I accepted and did a few videos on it. It wasn't until recently that I decided to put the time in to figure out how to make a board on the X-Carve. I finally figured out all the steps and successfully created my first CNC'd circuit board for a Filament Friday project. You can see the video below.
It wasn't the most complicated design but it was fun to make and I'm sure I'll be doing more in the future.
3 Comments

New Arduino Book is Released

7/13/2016

1 Comment

 
My latest book Arduino - A Beginner's Guide to Programming Electronics has been released. Its available on Amazon but even cheaper here on my site. The book has 11 projects that teach you the fundamentals of Arduino and how to get started.
Picture
The book uses a standard set of components for 10 of the projects and also, as an alternative, use my CHIPINO Demo Shield that I featured on Kickstarter. So a reader can skip the hardware setup and just code or build the circuits if they choose. The 11th project is for an LCD module that again can use a DFRobot LCD shield or a standard 2x16 LCD.
I hope to release more books in this series to teach more complex programming using this popular electronic module.
1 Comment

FlashForge Dreamer Review

5/24/2016

1 Comment

 
I did a review of the FlashForge Dreamer on my YouTube Channel for Filament Friday. I've since used this 3D Printer a lot. I've concluded that this is what I had hoped the DaVinci 1.0 would have been when I bought that 2 years ago.
Picture
The Dreamer has dual extruders as well which I don't really need but it's nice to have PLA loaded on one side and ABS on the other so I can choose which filament to print with just a few selections in the slicer. It also works great with Simplify3D.
The review can be seen in the video below. I compared it some of my other printers and the results were good. Overall I liked it but as time goes on it's becoming one of my favorite printers to use. It prints so reliably. It's a great addition to my shop.
1 Comment

Batman vs Superman XBOX One Controller Stand

3/4/2016

1 Comment

 
Picture
I used Tinkercad to create this 3D printed XBOX One Controller stand for Batman Vs Superman controllers from Gamersoption.com. I detailed the full build on my YouTube Channel for Filament Friday.
The base used PLA and the symbols used ABS. Printed on a MAKERFRONT and Fabrikator Mini 3D printer. 
This was fun to make and came out better than I expected. It's shared on Thingiverse.
1 Comment

PICkit 2 Starter Kit Replacement

1/25/2016

3 Comments

 
Picture
I used the PICkit 2 Starter Kit for all my Beginner's Guide to Embedded C Programming books but its no longer available from Microchip. You may be able to find one on EBAY or elsewhere but the nice thing is the PICkit 2 is open sourced so there are many clones available. I even created a clone design for fun and posted it here on my site.
I created a recommended replacement list of parts so you can put together your own PICkit 2 Starter kit. Nuts & Volts Magazine is also planning on offering a kit that includes my recommended replacements.
You can see the detail at my page here.
Now I could have just re-written the books for the PICkit 3 starter kit but Microchip also changed from MPLAB 8 to MPLAB X and also introduced a new compiler in XC8 to replace HI-TECH compiler I used and recently released the MPLAB Code Configurator which helps you build projects and makes coding much easier. So all these changes have made me tear up what I was doing and kind of start over. Needless to say, this is gonna take me a lot longer than just updating the current books. I also had plans to use another Microchip Development Board but recently found out that may be getting replaced as well.  So stay tuned for a future book that brings all this new technology together.
3 Comments
<<Previous

    Categories

    All
    3D Printer
    Chipaxe
    Chipino
    Chipkit
    CNC
    Copper Connection
    Dot Matrix
    Elproductsnews
    Expresspcb
    Graphic Lcd
    Great Cow Basic
    Kickstarter
    Lcd Shield
    Makefaire
    Makercase
    Maximite
    Microchip Pic
    Pickit 2
    Pickit 3
    Videos

    Visit previous blog posts in the archives below.

    Archives

    February 2018
    October 2017
    September 2017
    July 2017
    November 2016
    August 2016
    July 2016
    May 2016
    March 2016
    January 2016
    November 2015
    September 2015
    August 2015
    July 2015
    June 2015
    April 2015
    March 2015
    February 2015
    January 2015
    December 2014
    November 2014
    October 2014
    September 2014
    August 2014
    July 2014
    June 2014
    May 2014
    April 2014
    March 2014
    February 2014
    January 2014
    December 2013
    November 2013
    October 2013
    September 2013
    August 2013
    July 2013
    June 2013
    May 2013
    April 2013
    March 2013
    October 2012
    October 2011

    RSS Feed


    About Chuck

    Chuck has been programming with PIC Microcontrollers since there were only five devices. Now there are over 700 and growing. He also has a lot of fun 3D printing designs using his Davinci 3D printer and TinkerCad software. In this series of blog posts and occasional videos on his YouTube Channel he tries to help you get started with electronics and 3D printing.

    Disclaimer

Powered by Create your own unique website with customizable templates.